Step 2: Customize Registration Form
This guide walks you through customizing the registration form for your dance event. You’ll learn how to add and organize questions, set required information, and tailor the form to your event’s needs — ensuring a smooth and clear registration experience for participants.
This step allows you to create the foundation of your event inside the app. Once created, you’ll be able to configure all additional settings.
To create new event:
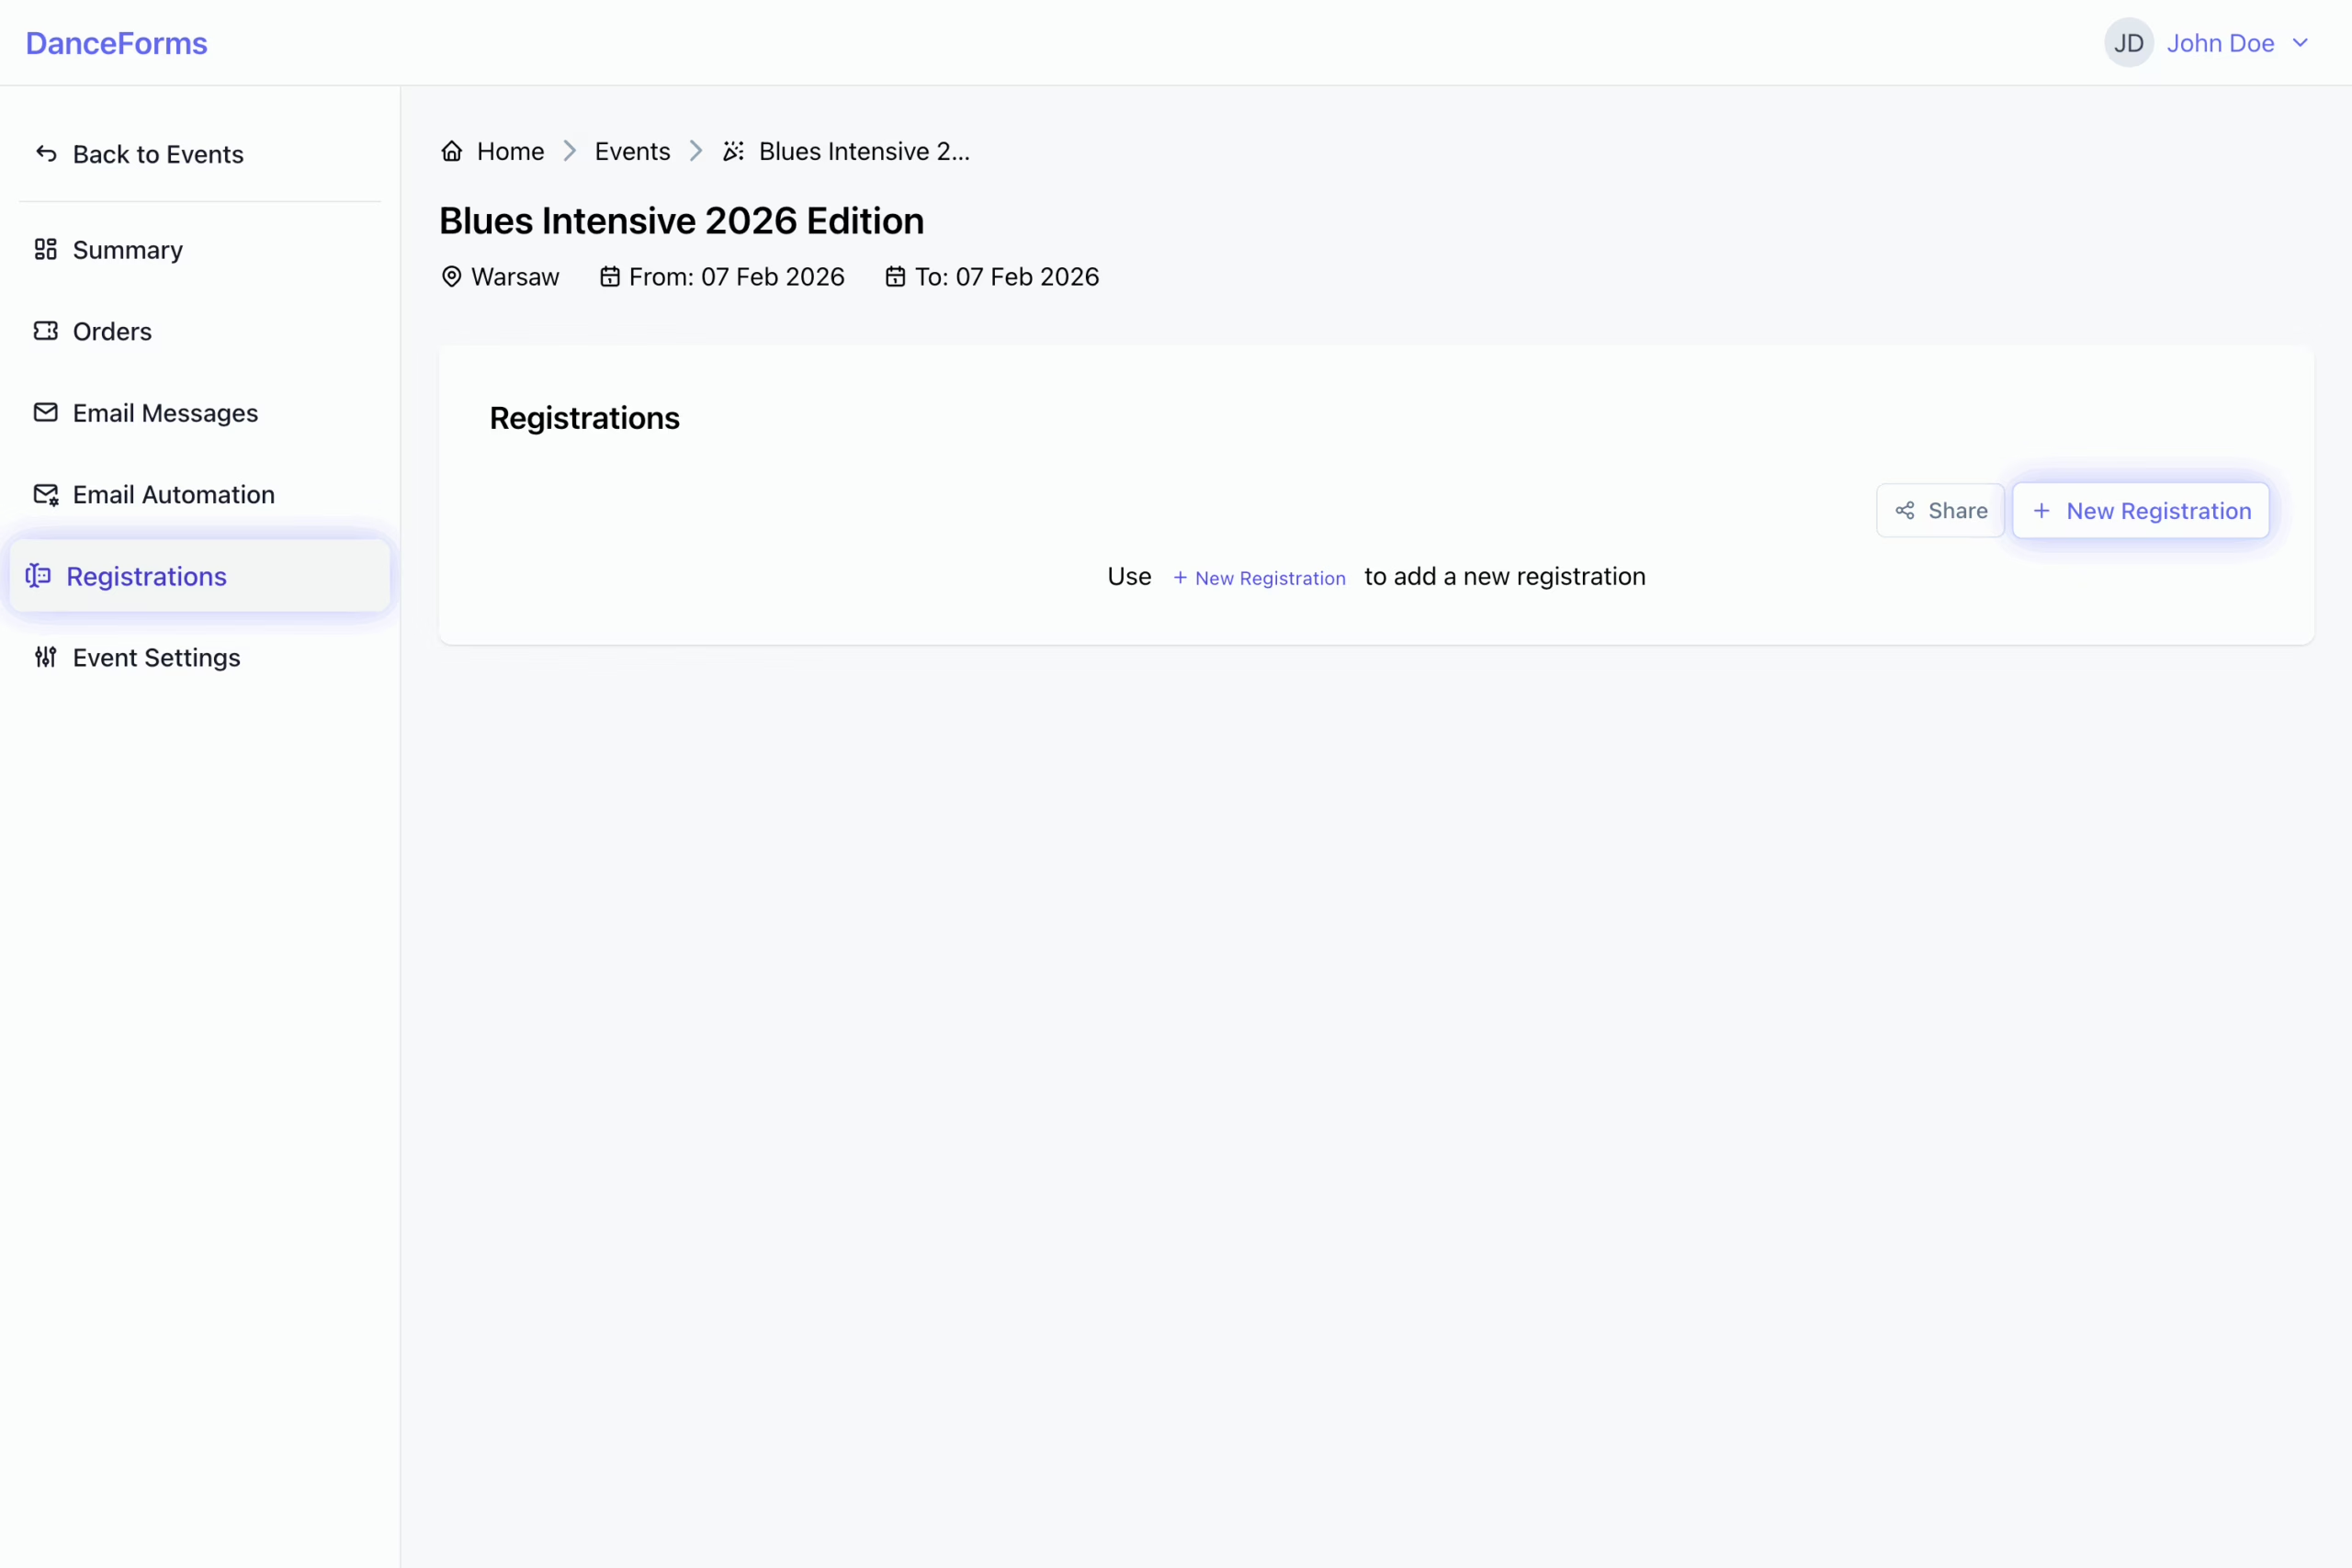
- Go to the Registrations tab in the event navigation.
- Click the New Registration button.
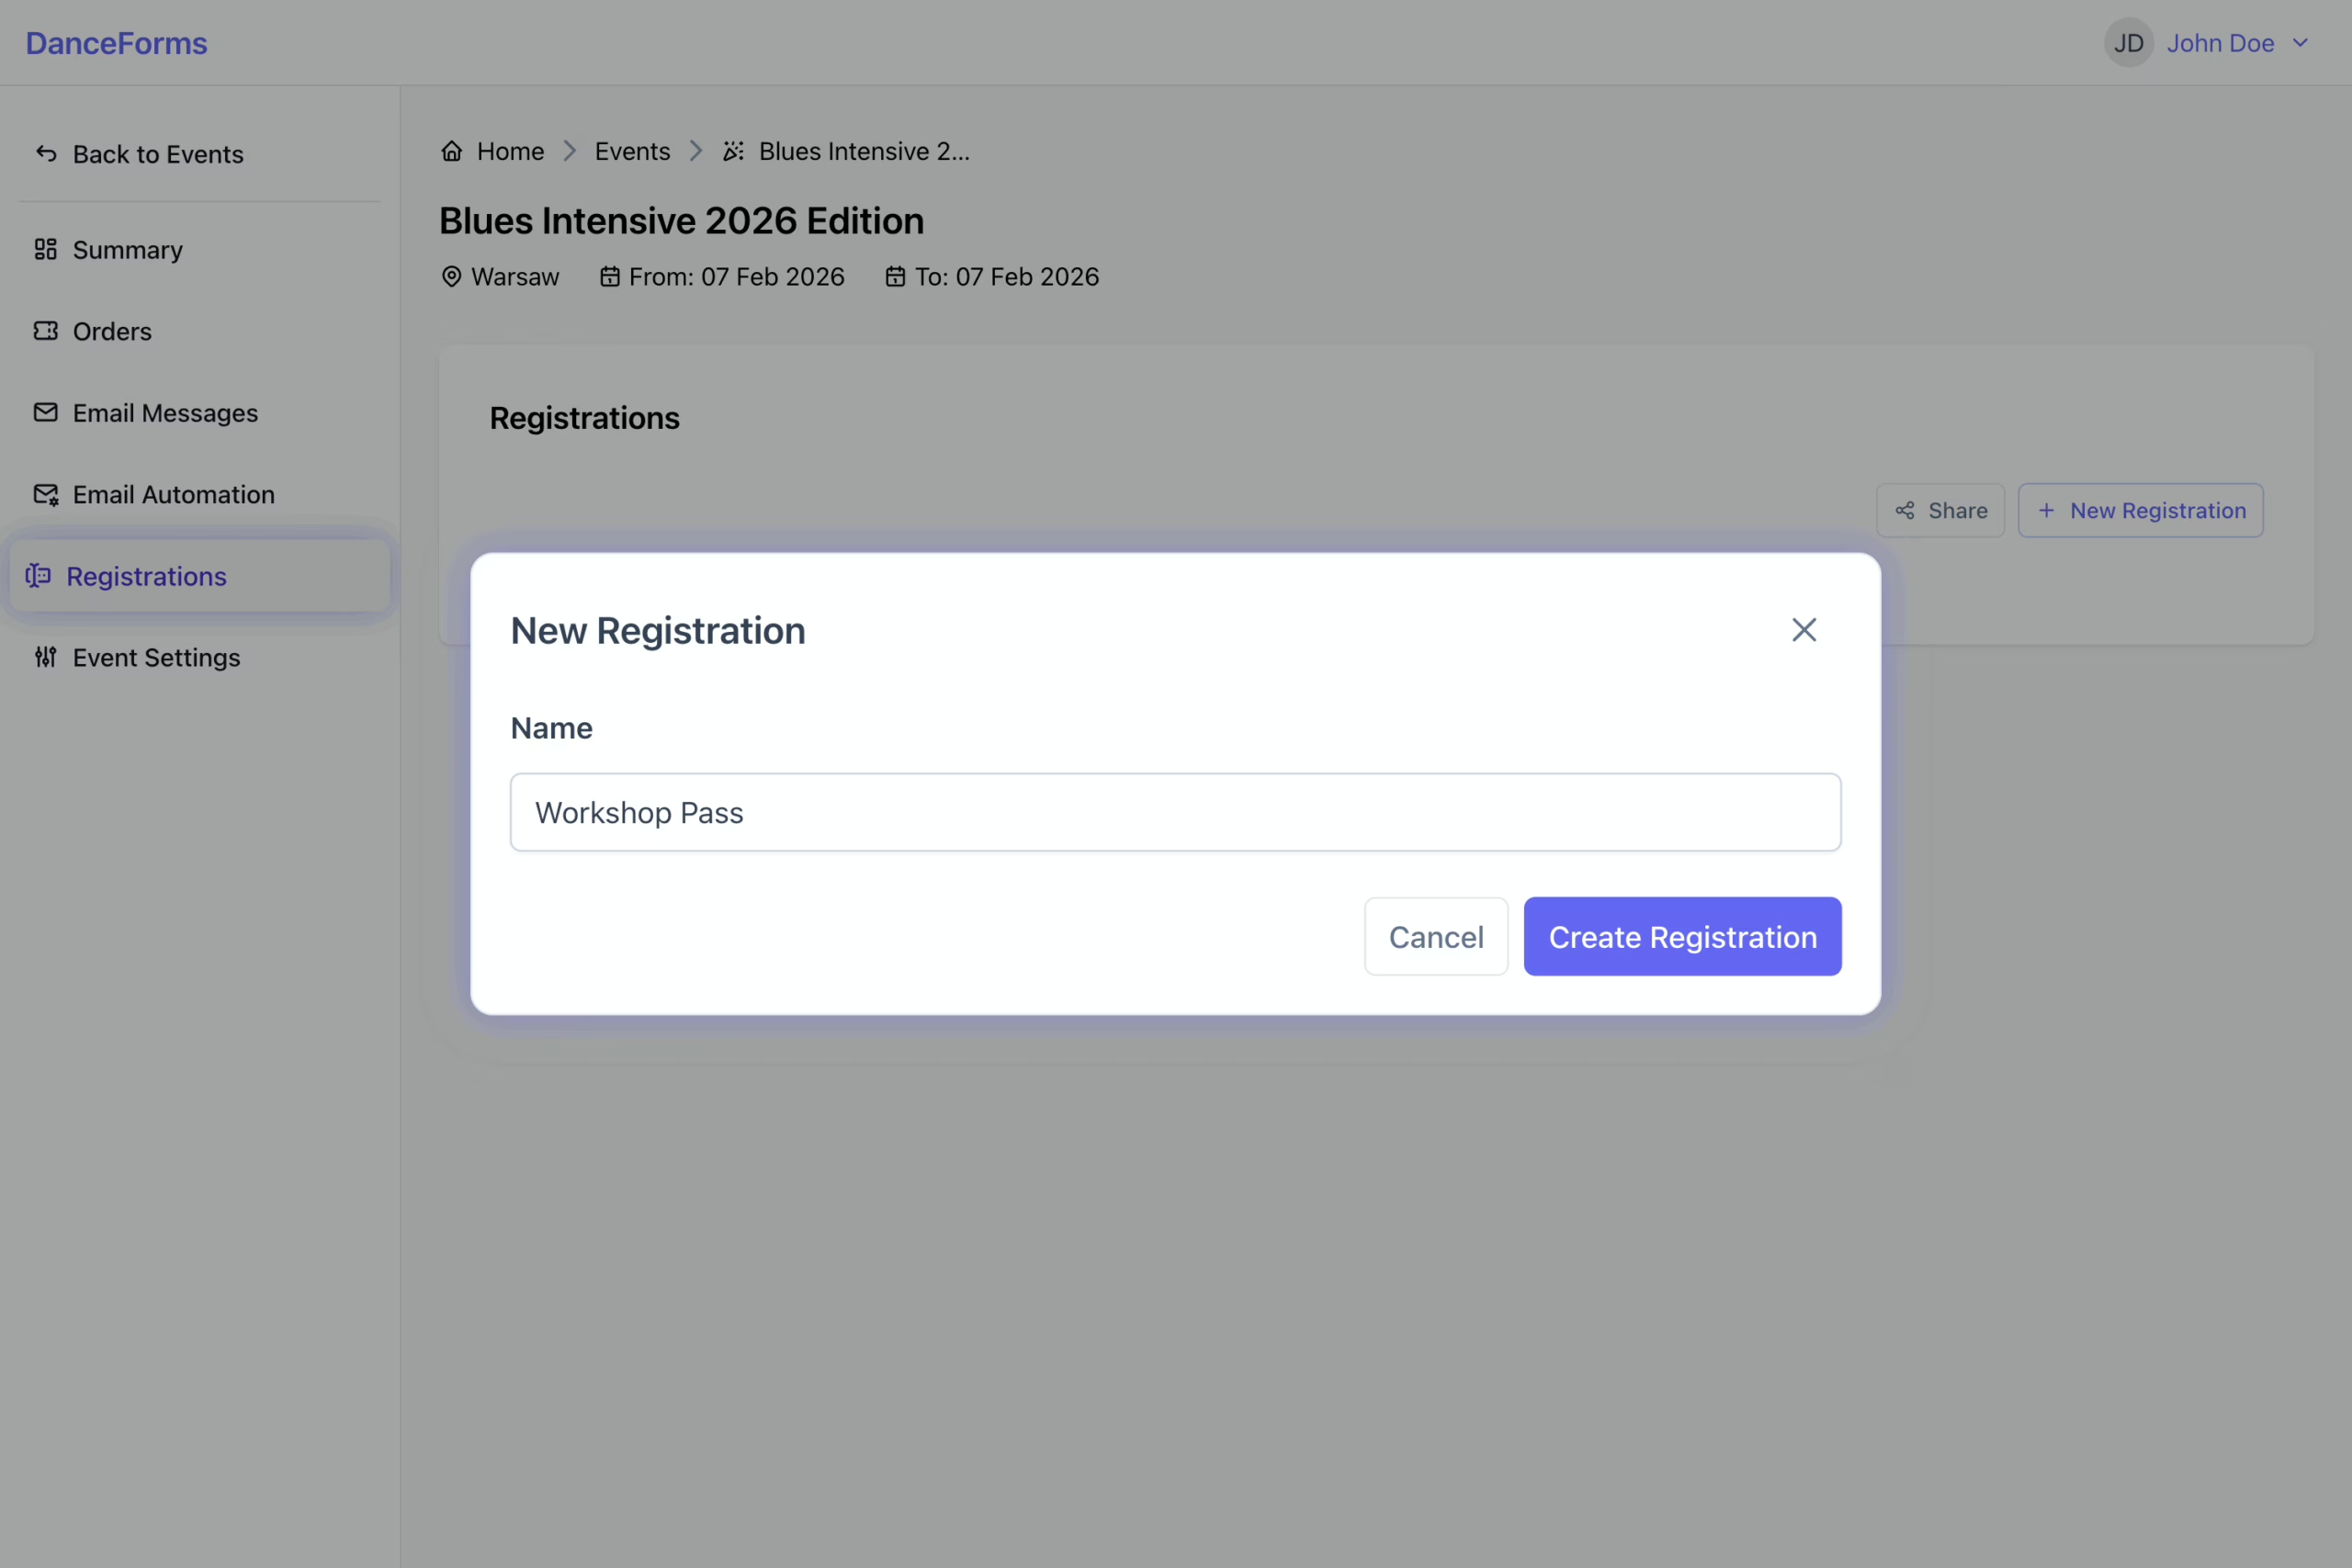
- Provide basic information:
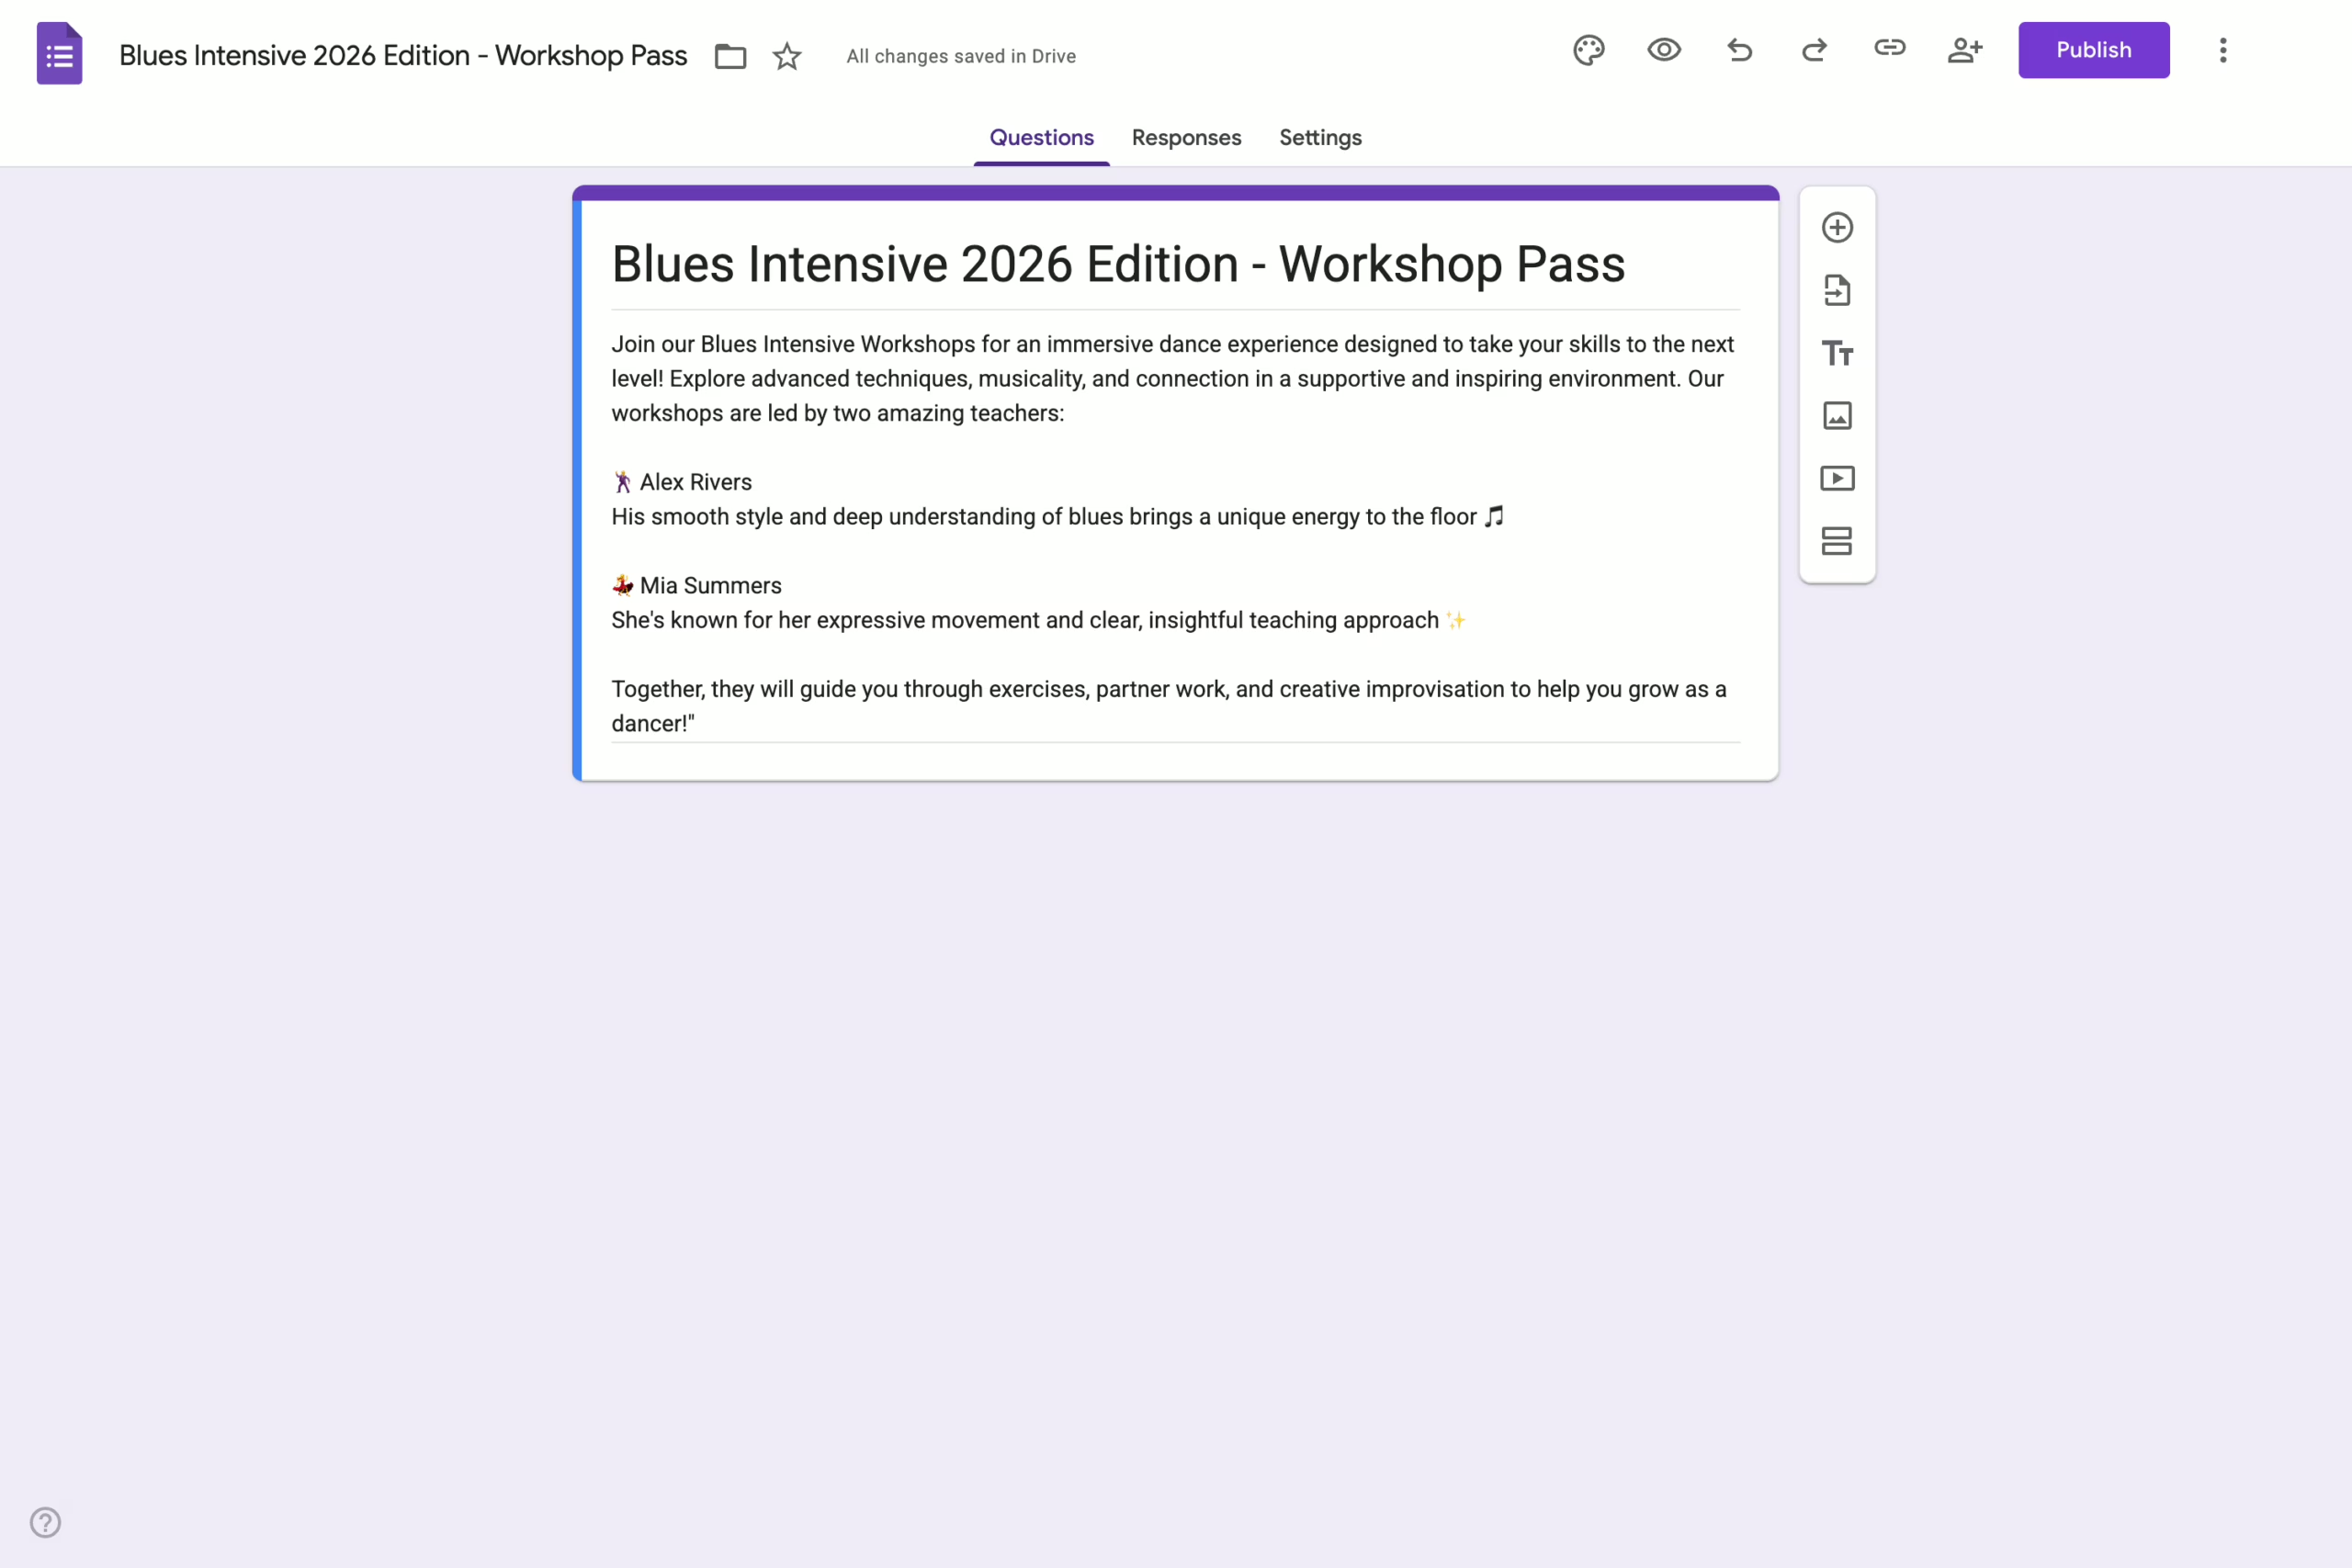
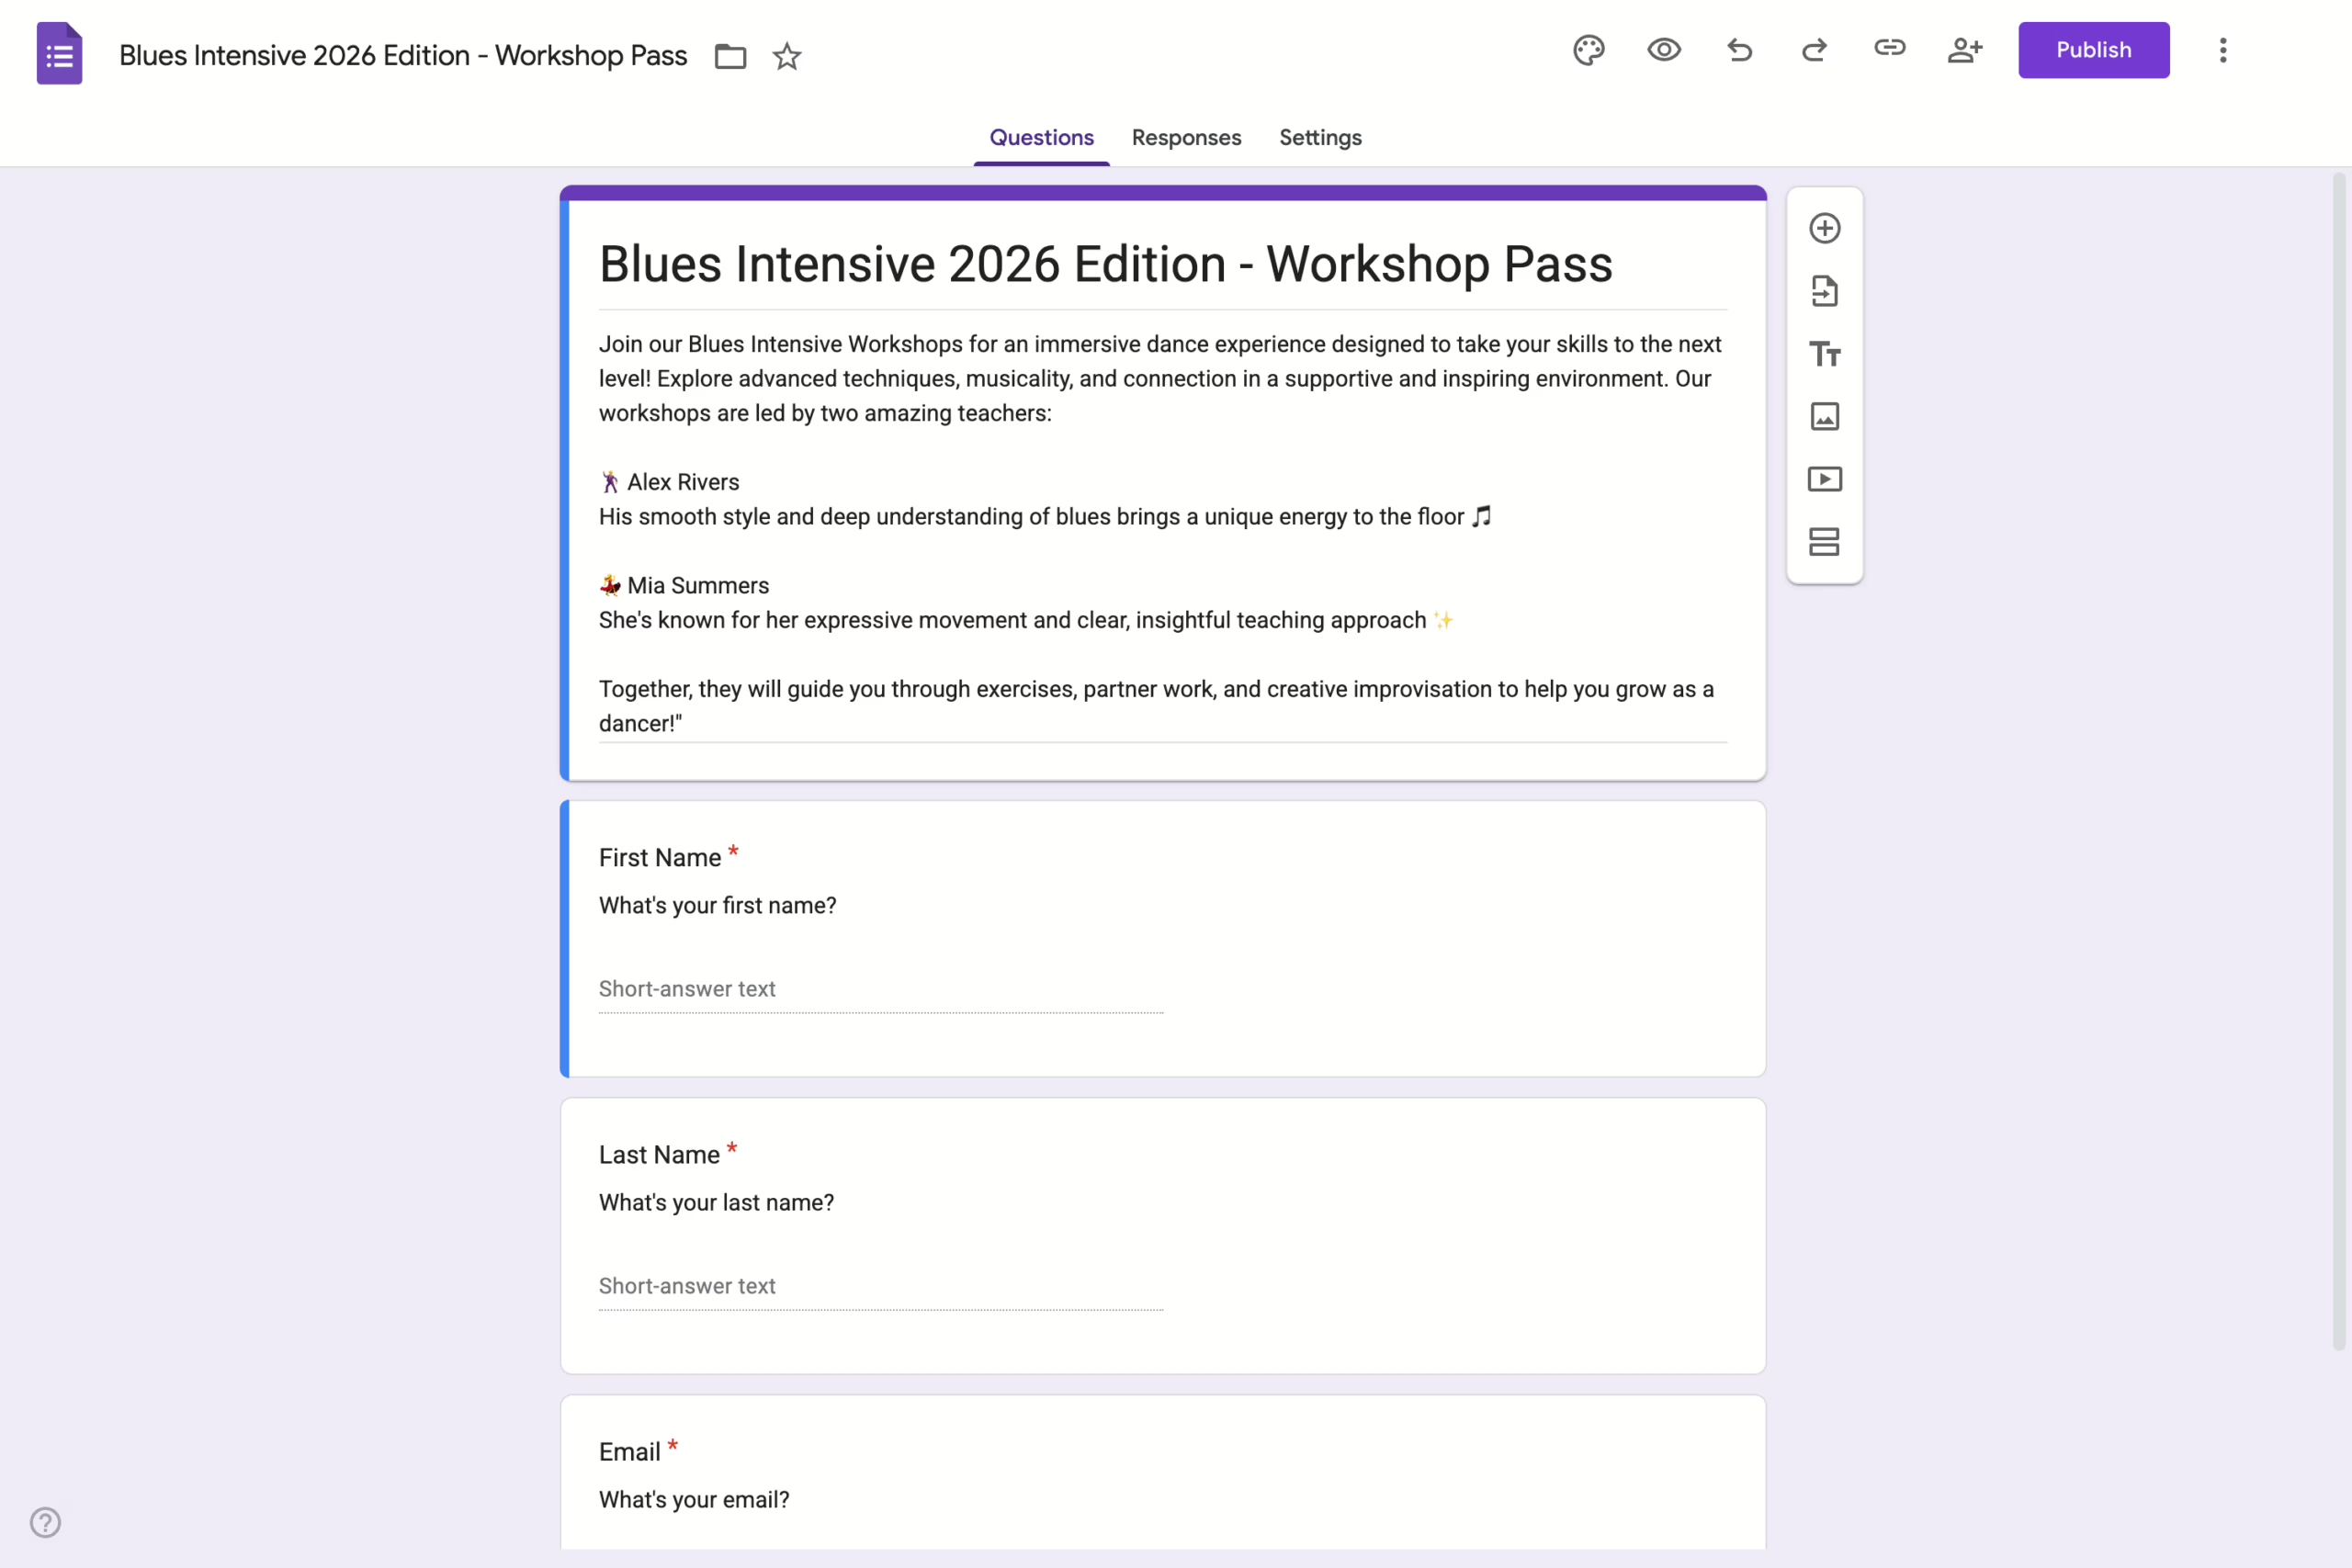
- Name – This name will initially appear as part of the Google Form title.
- Click the Create Registration button to submit the form.
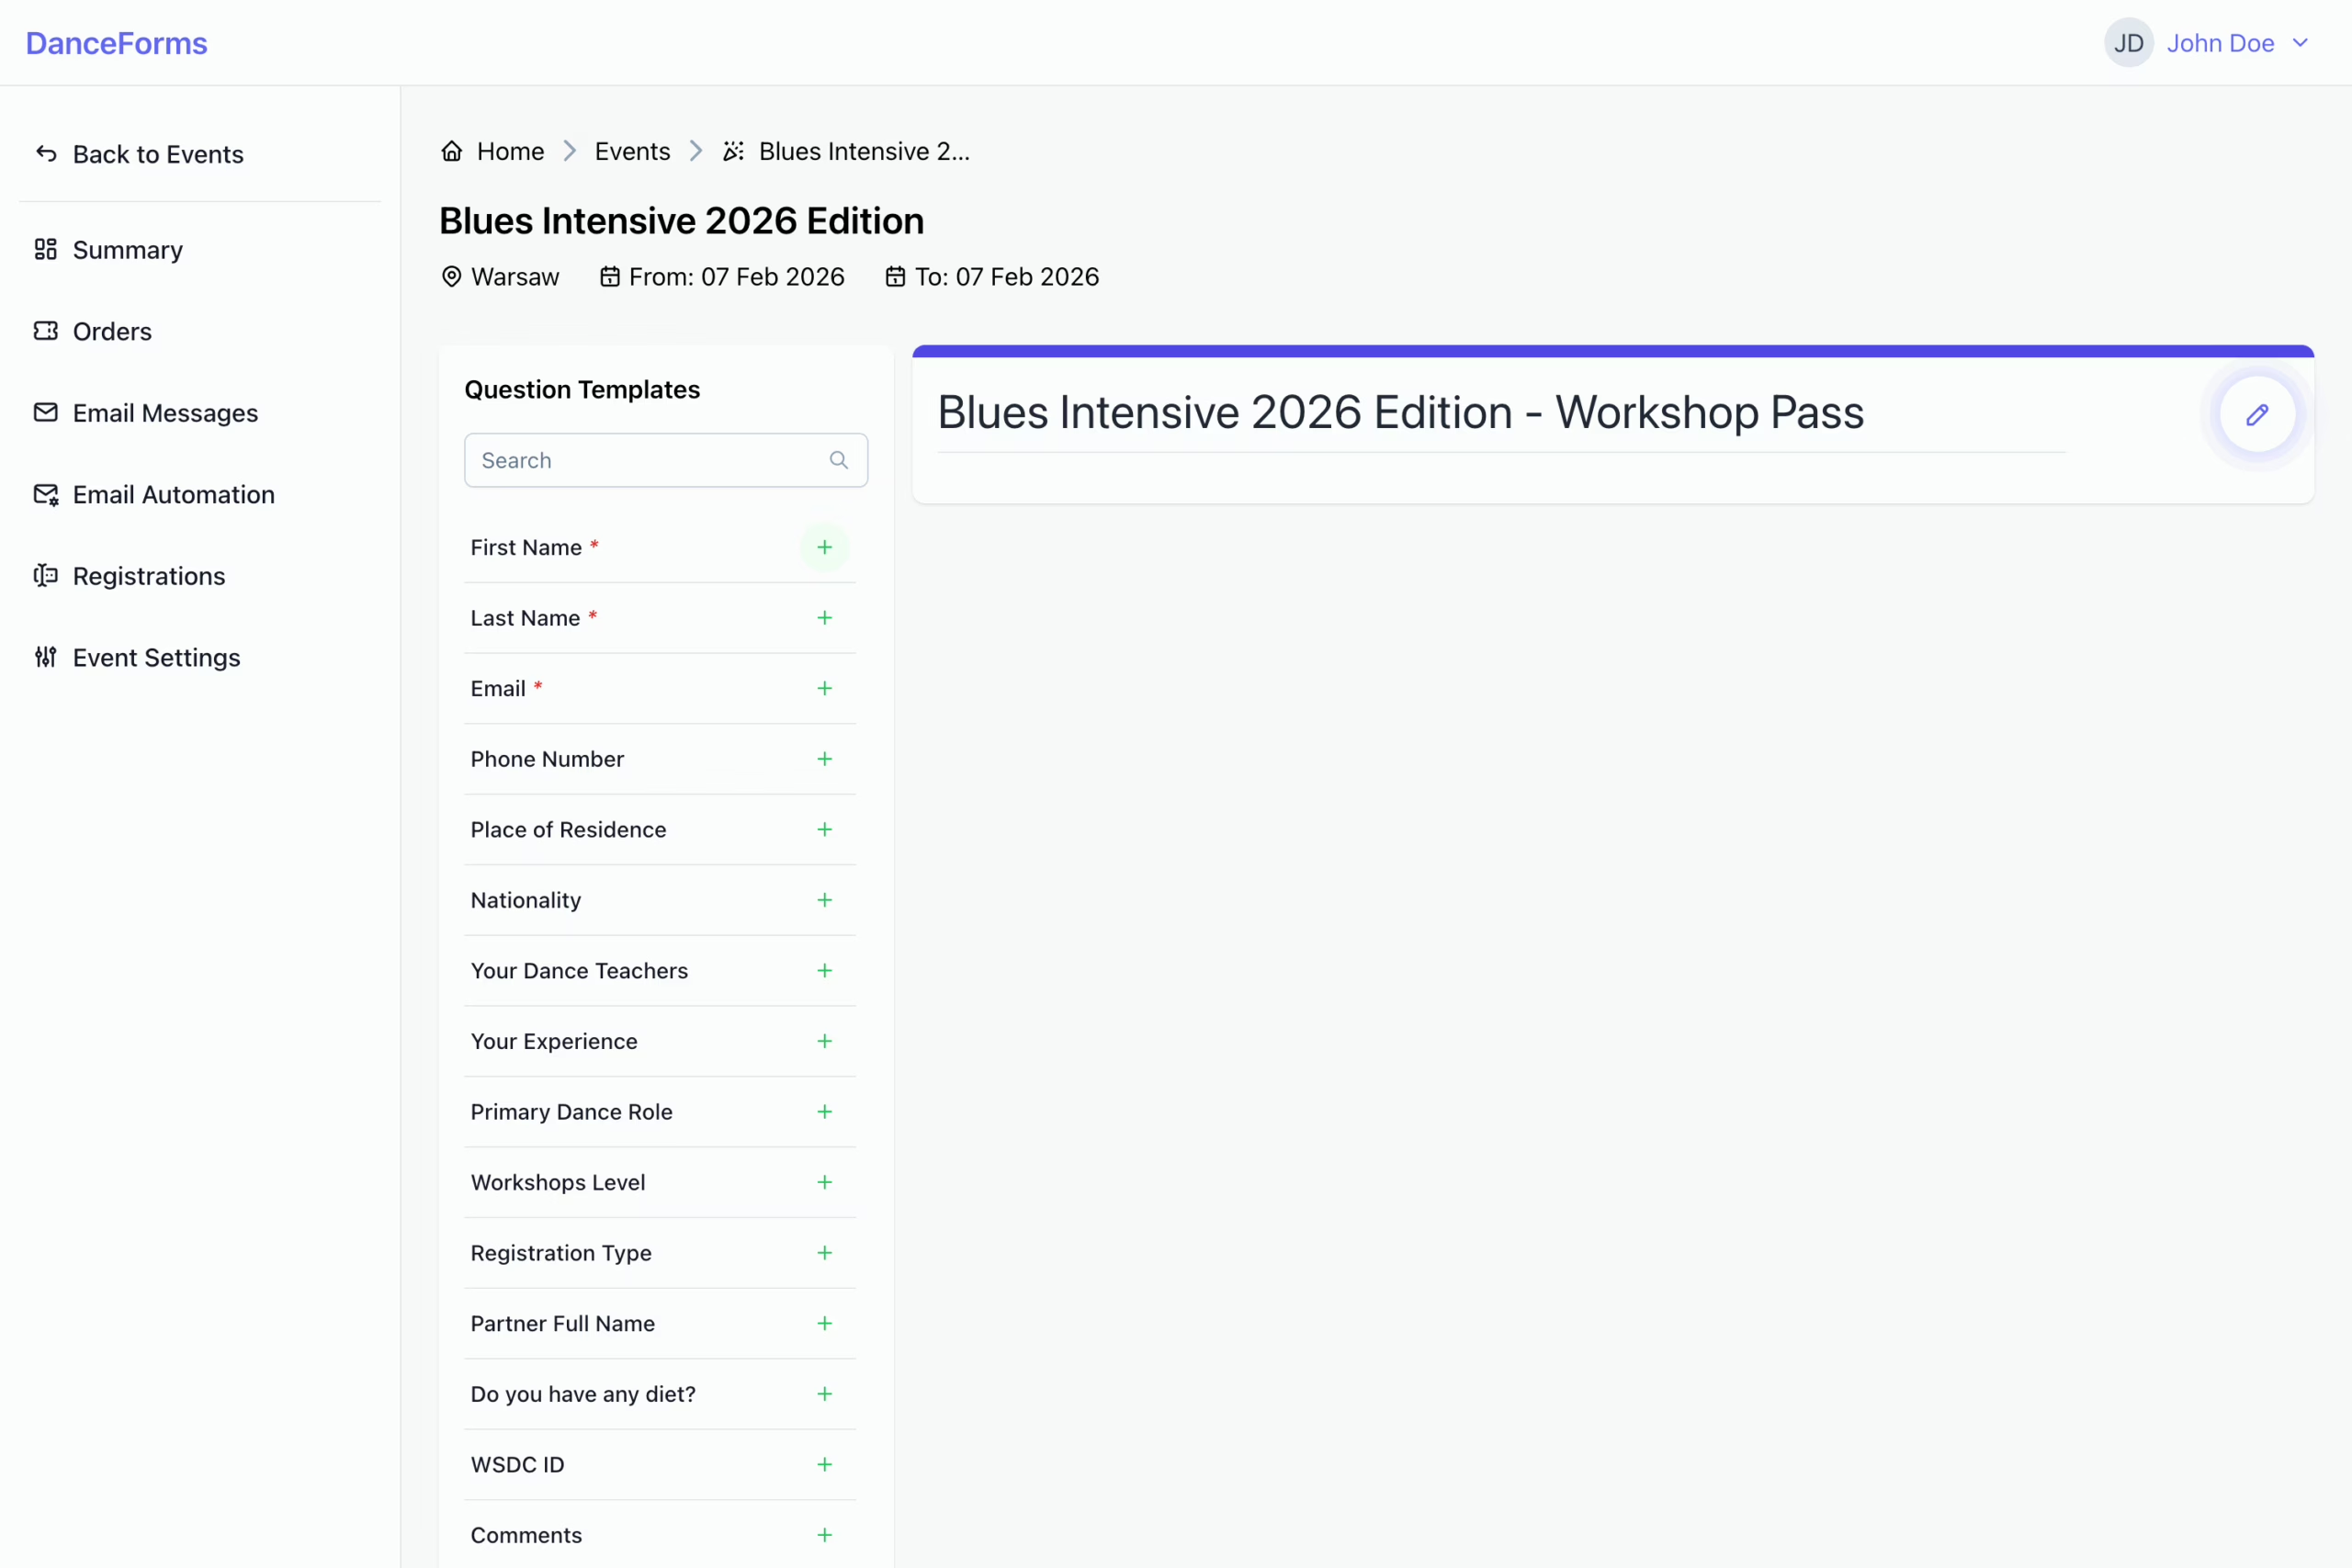
- Locate the newly created registration in the Registrations list and click its name to open the registration form editor.
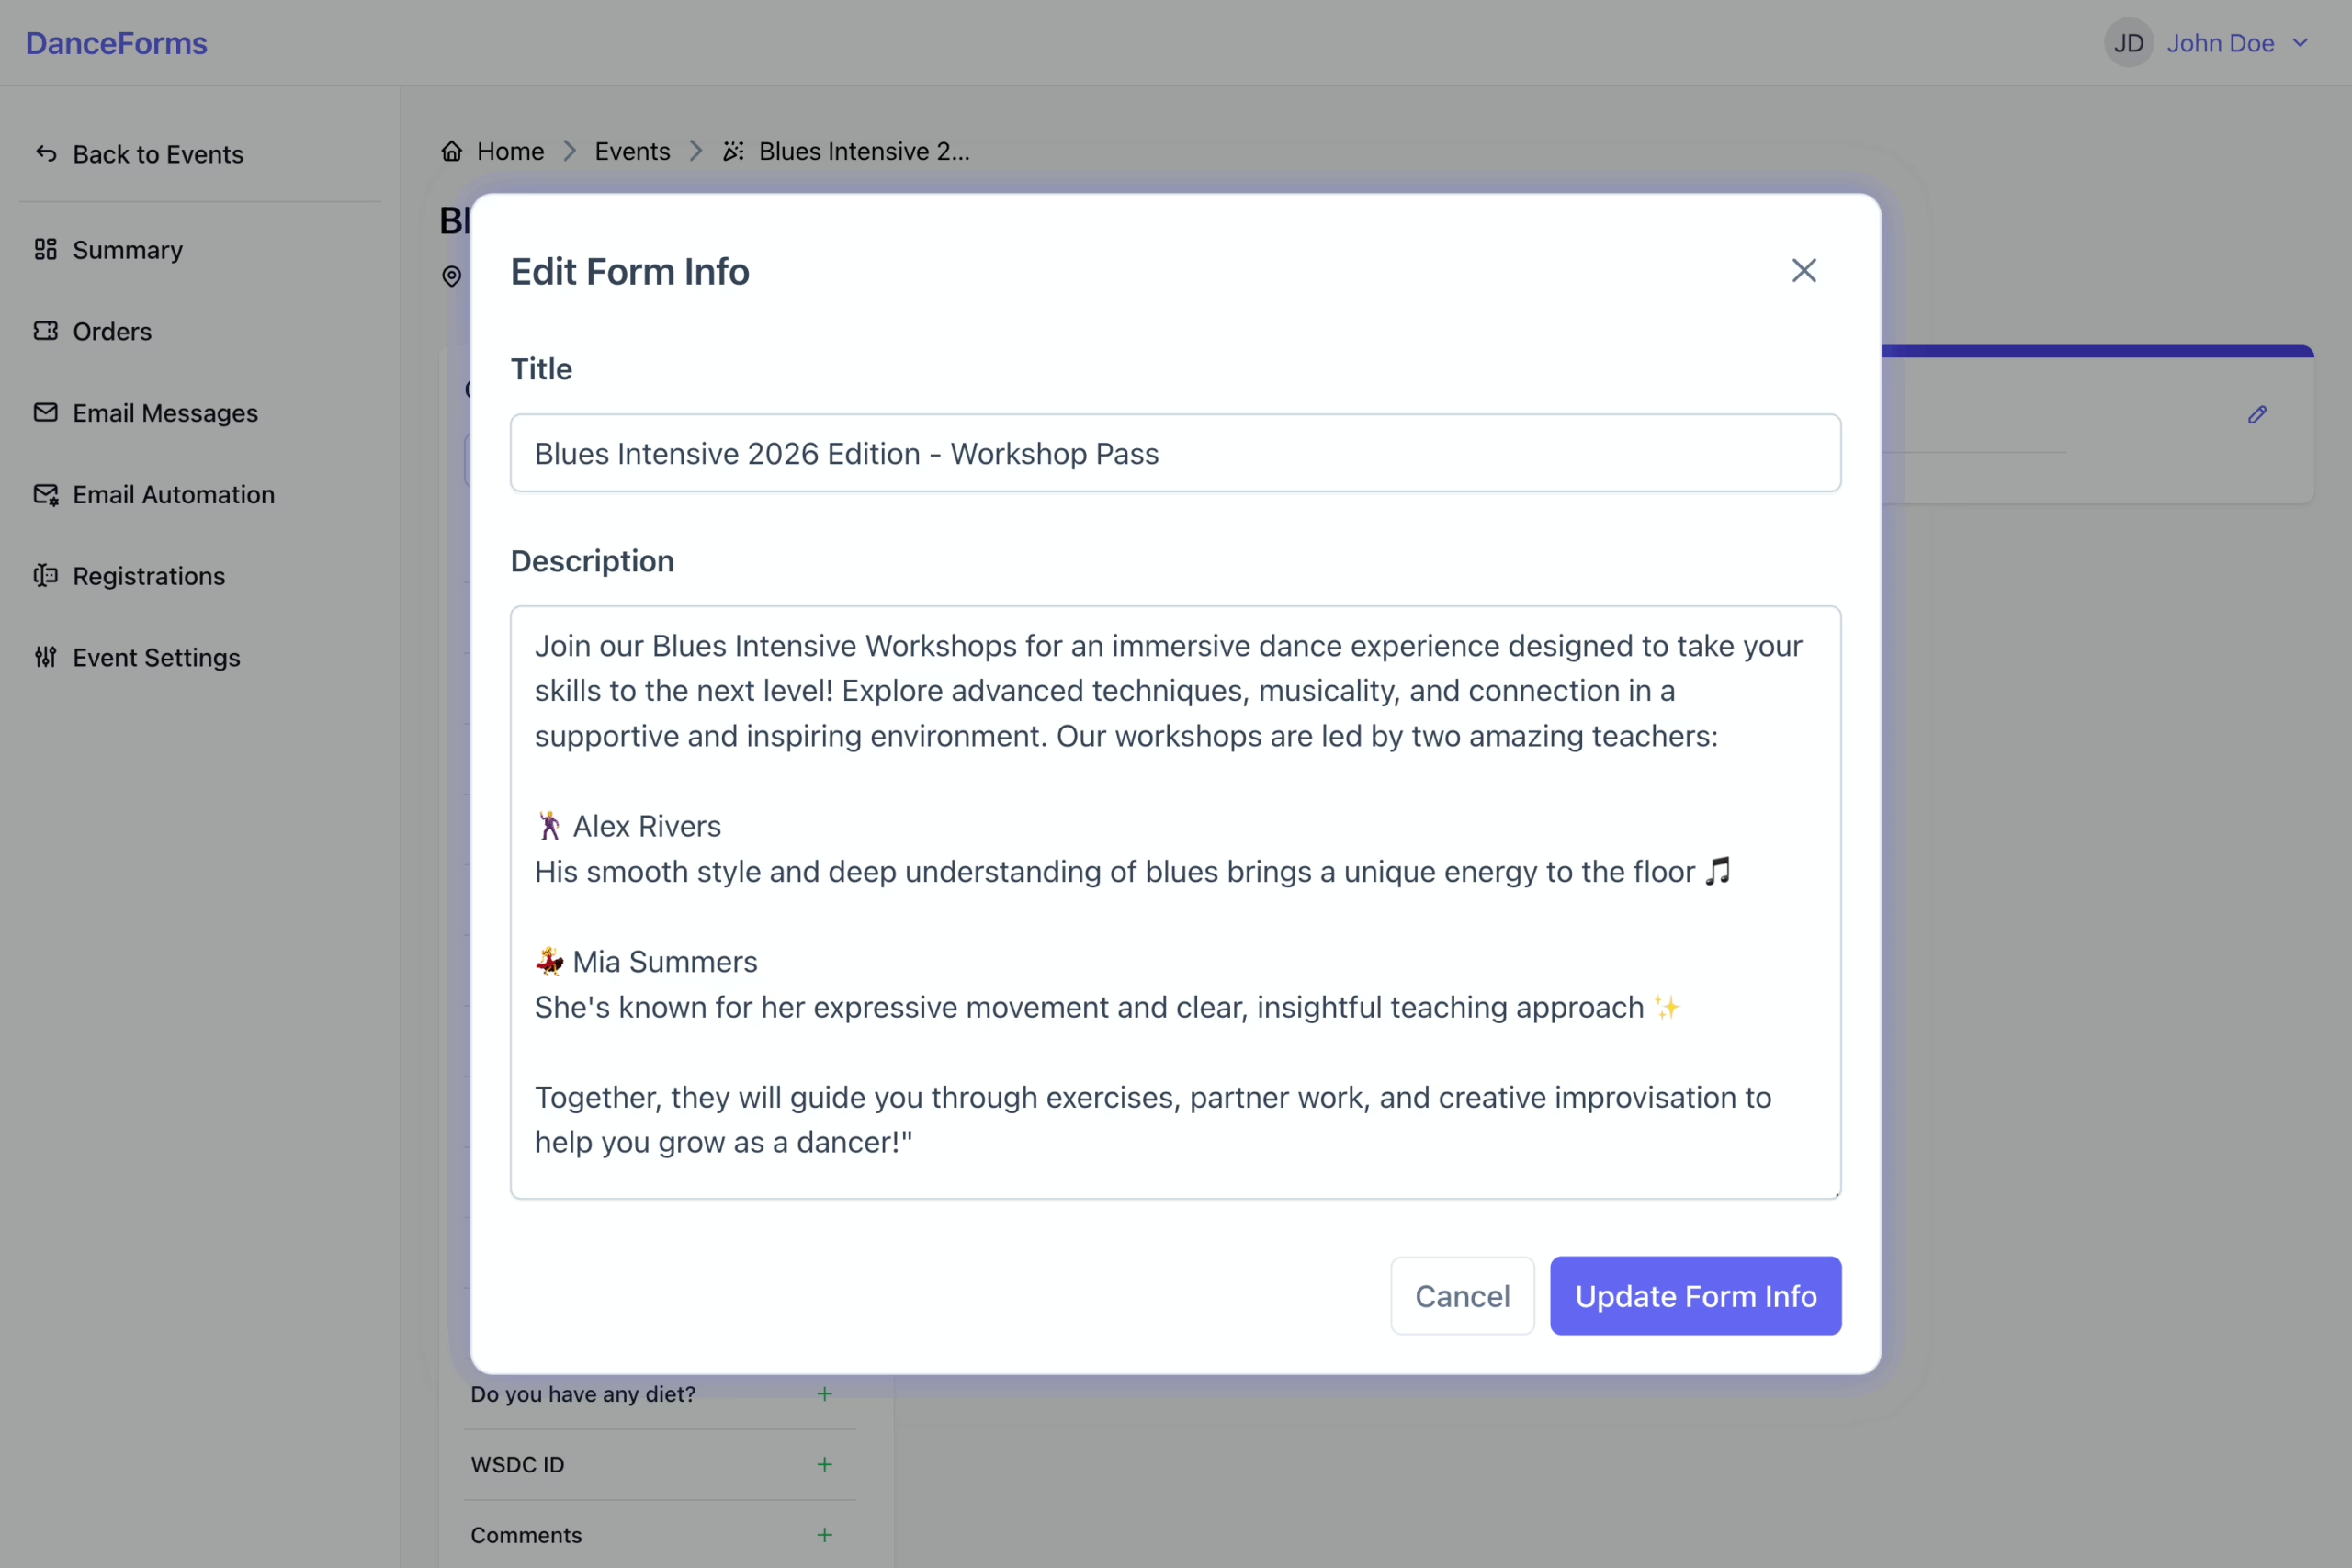
Add a brief description to your registration form to give participants additional context.
To add the description:
- Click the Edit icon next to the form title.
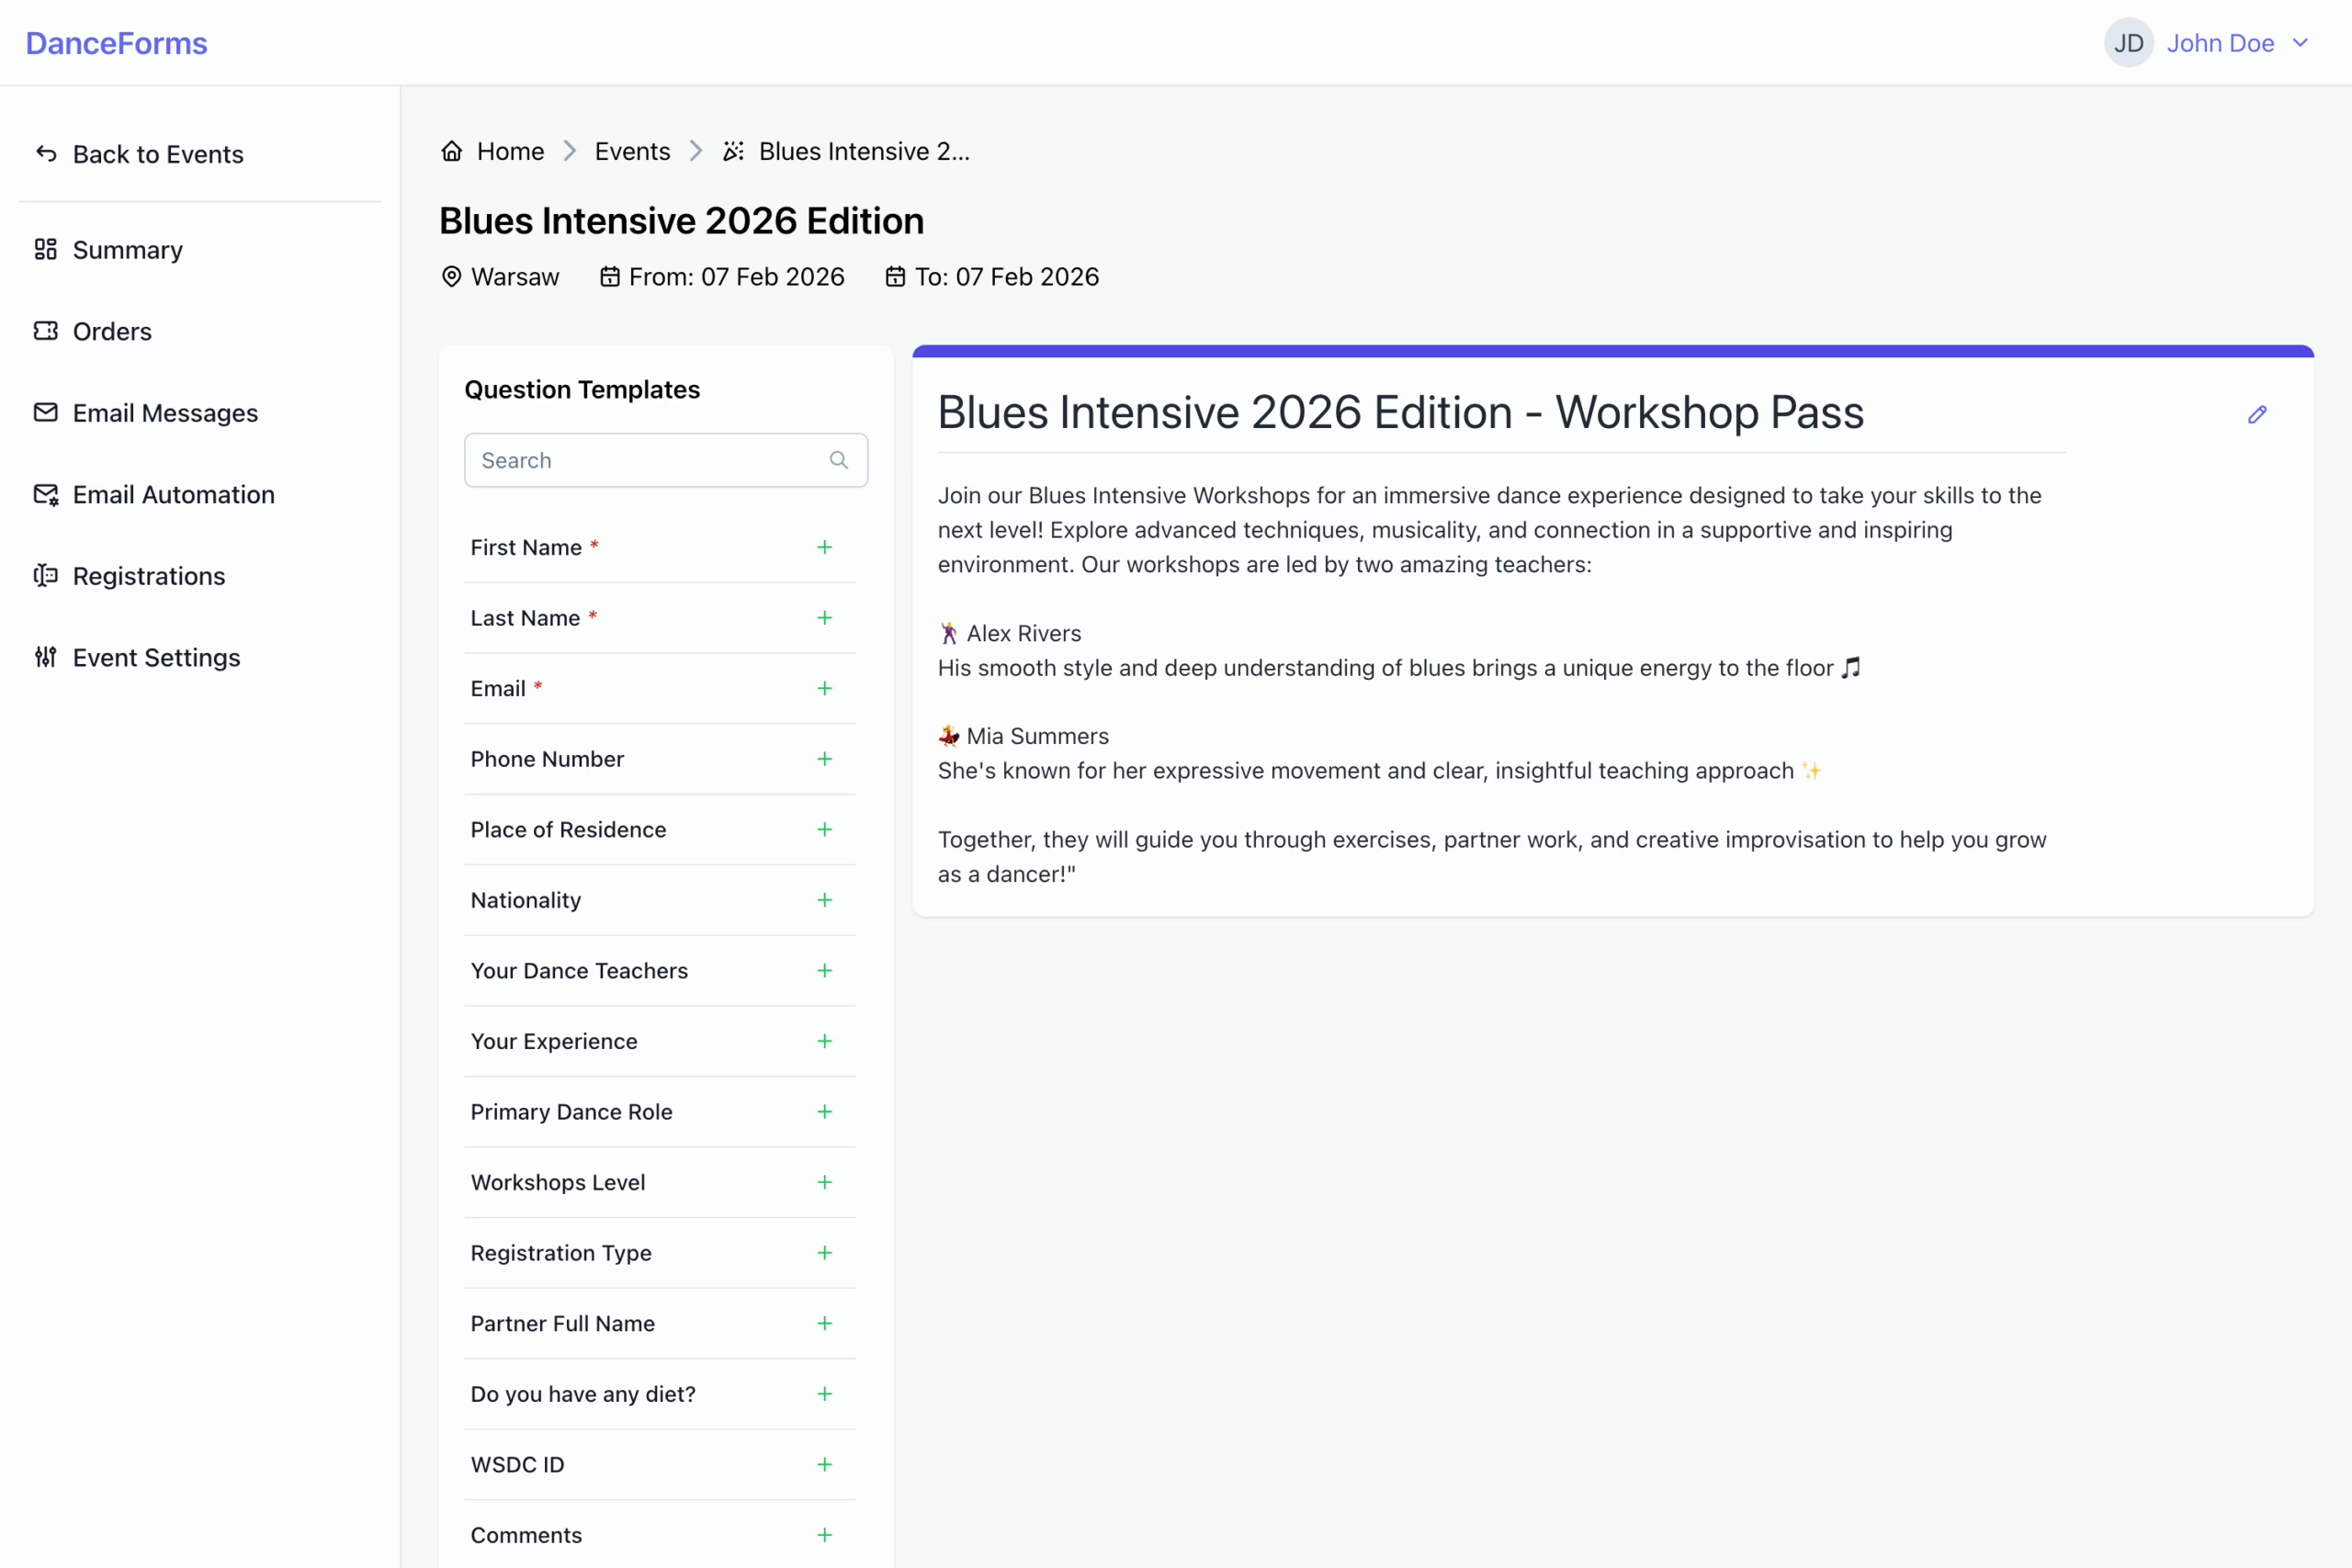
- Enter a description (emojis are allowed).
- Click Update Form Info to complete.
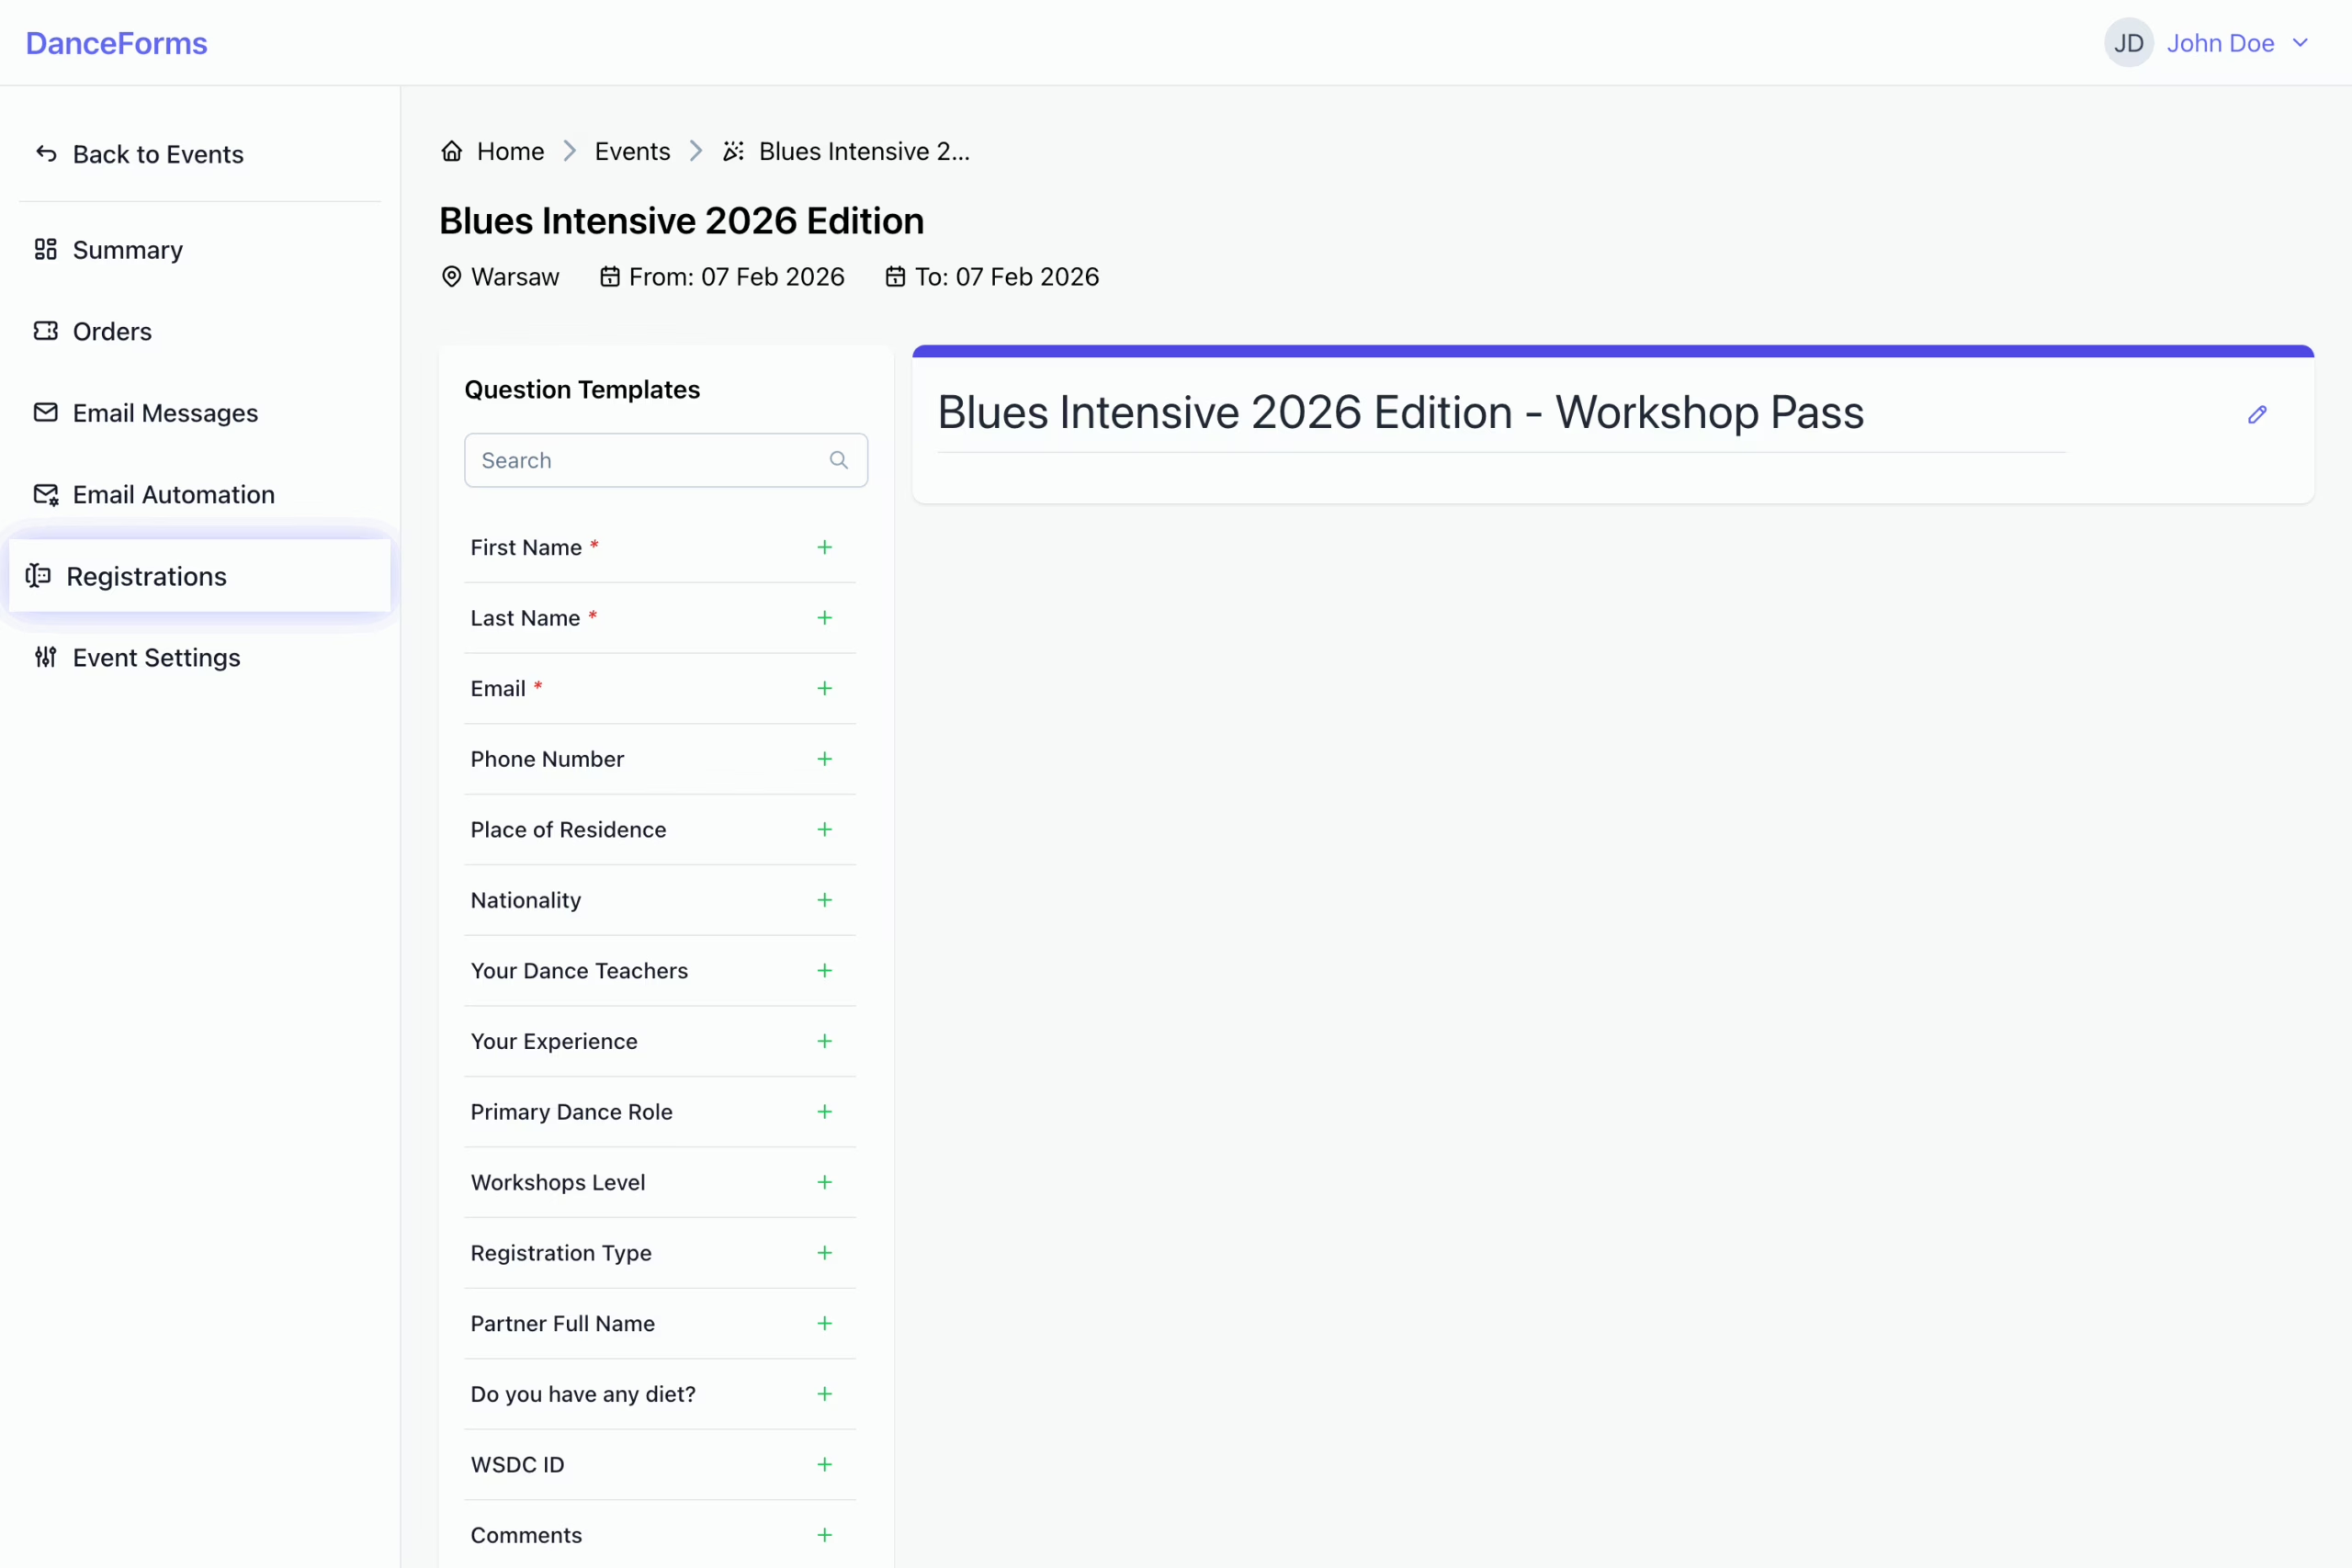
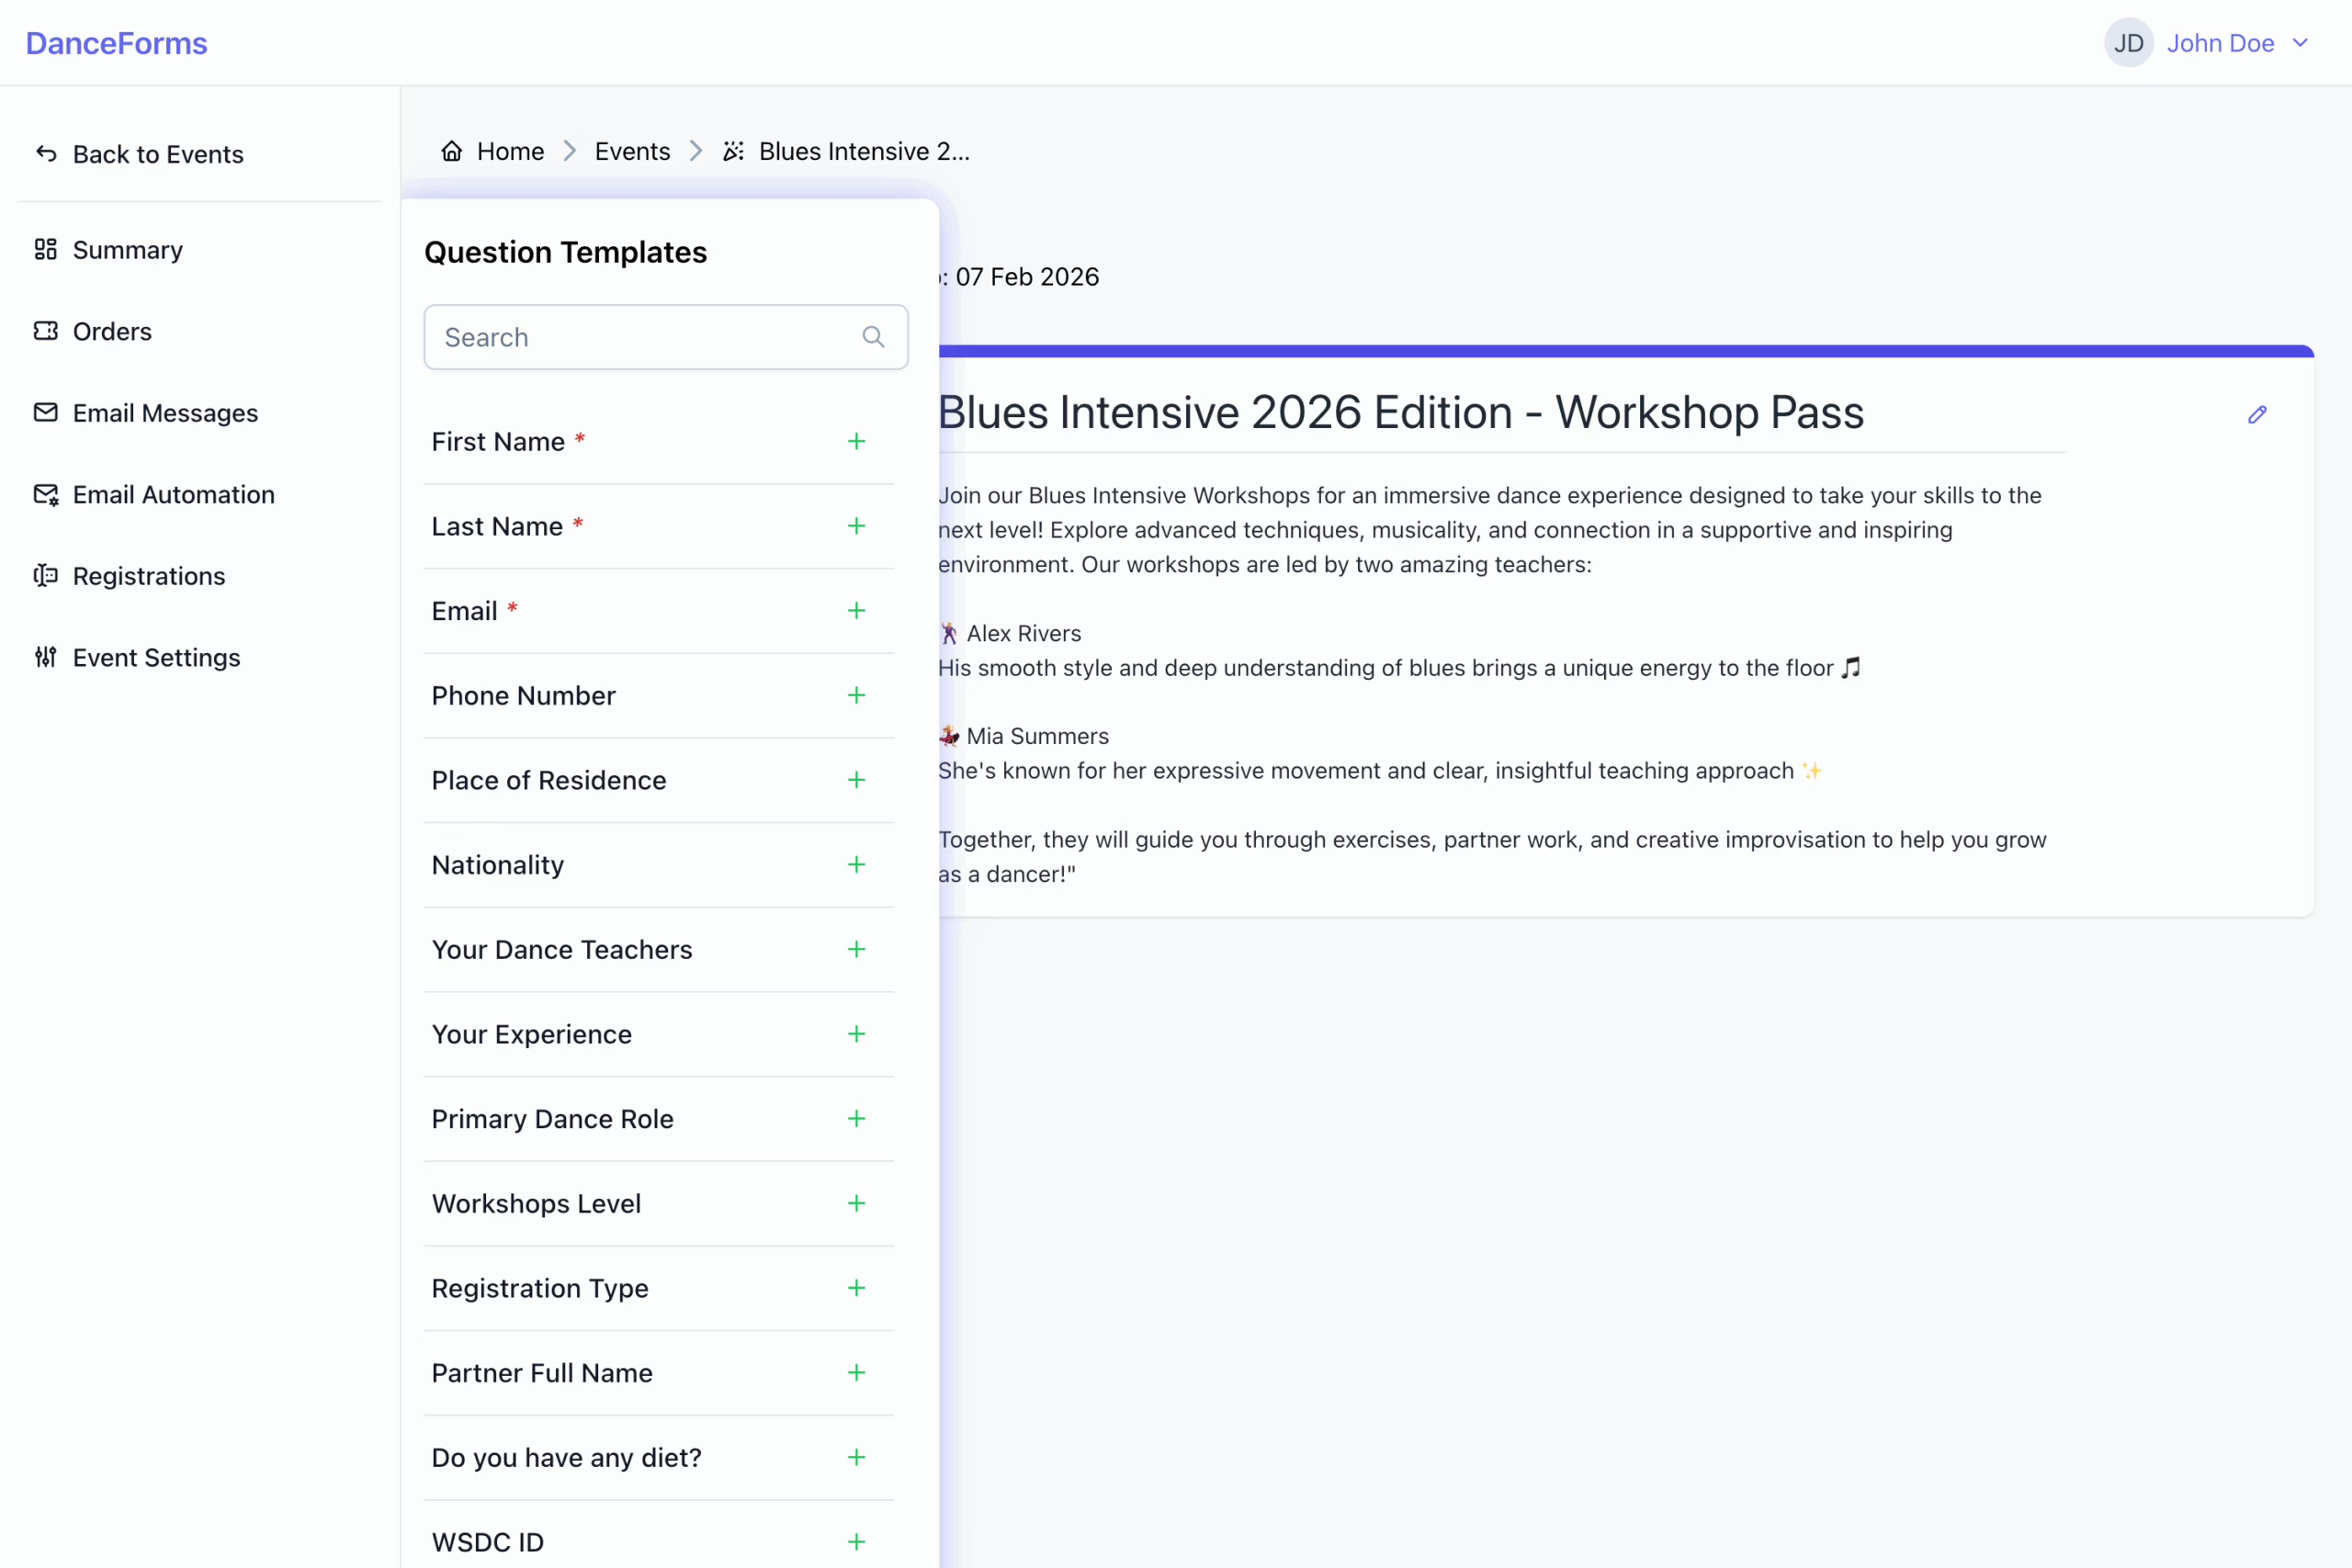
There are four types of questions you can add to your registration form:
To add a question:
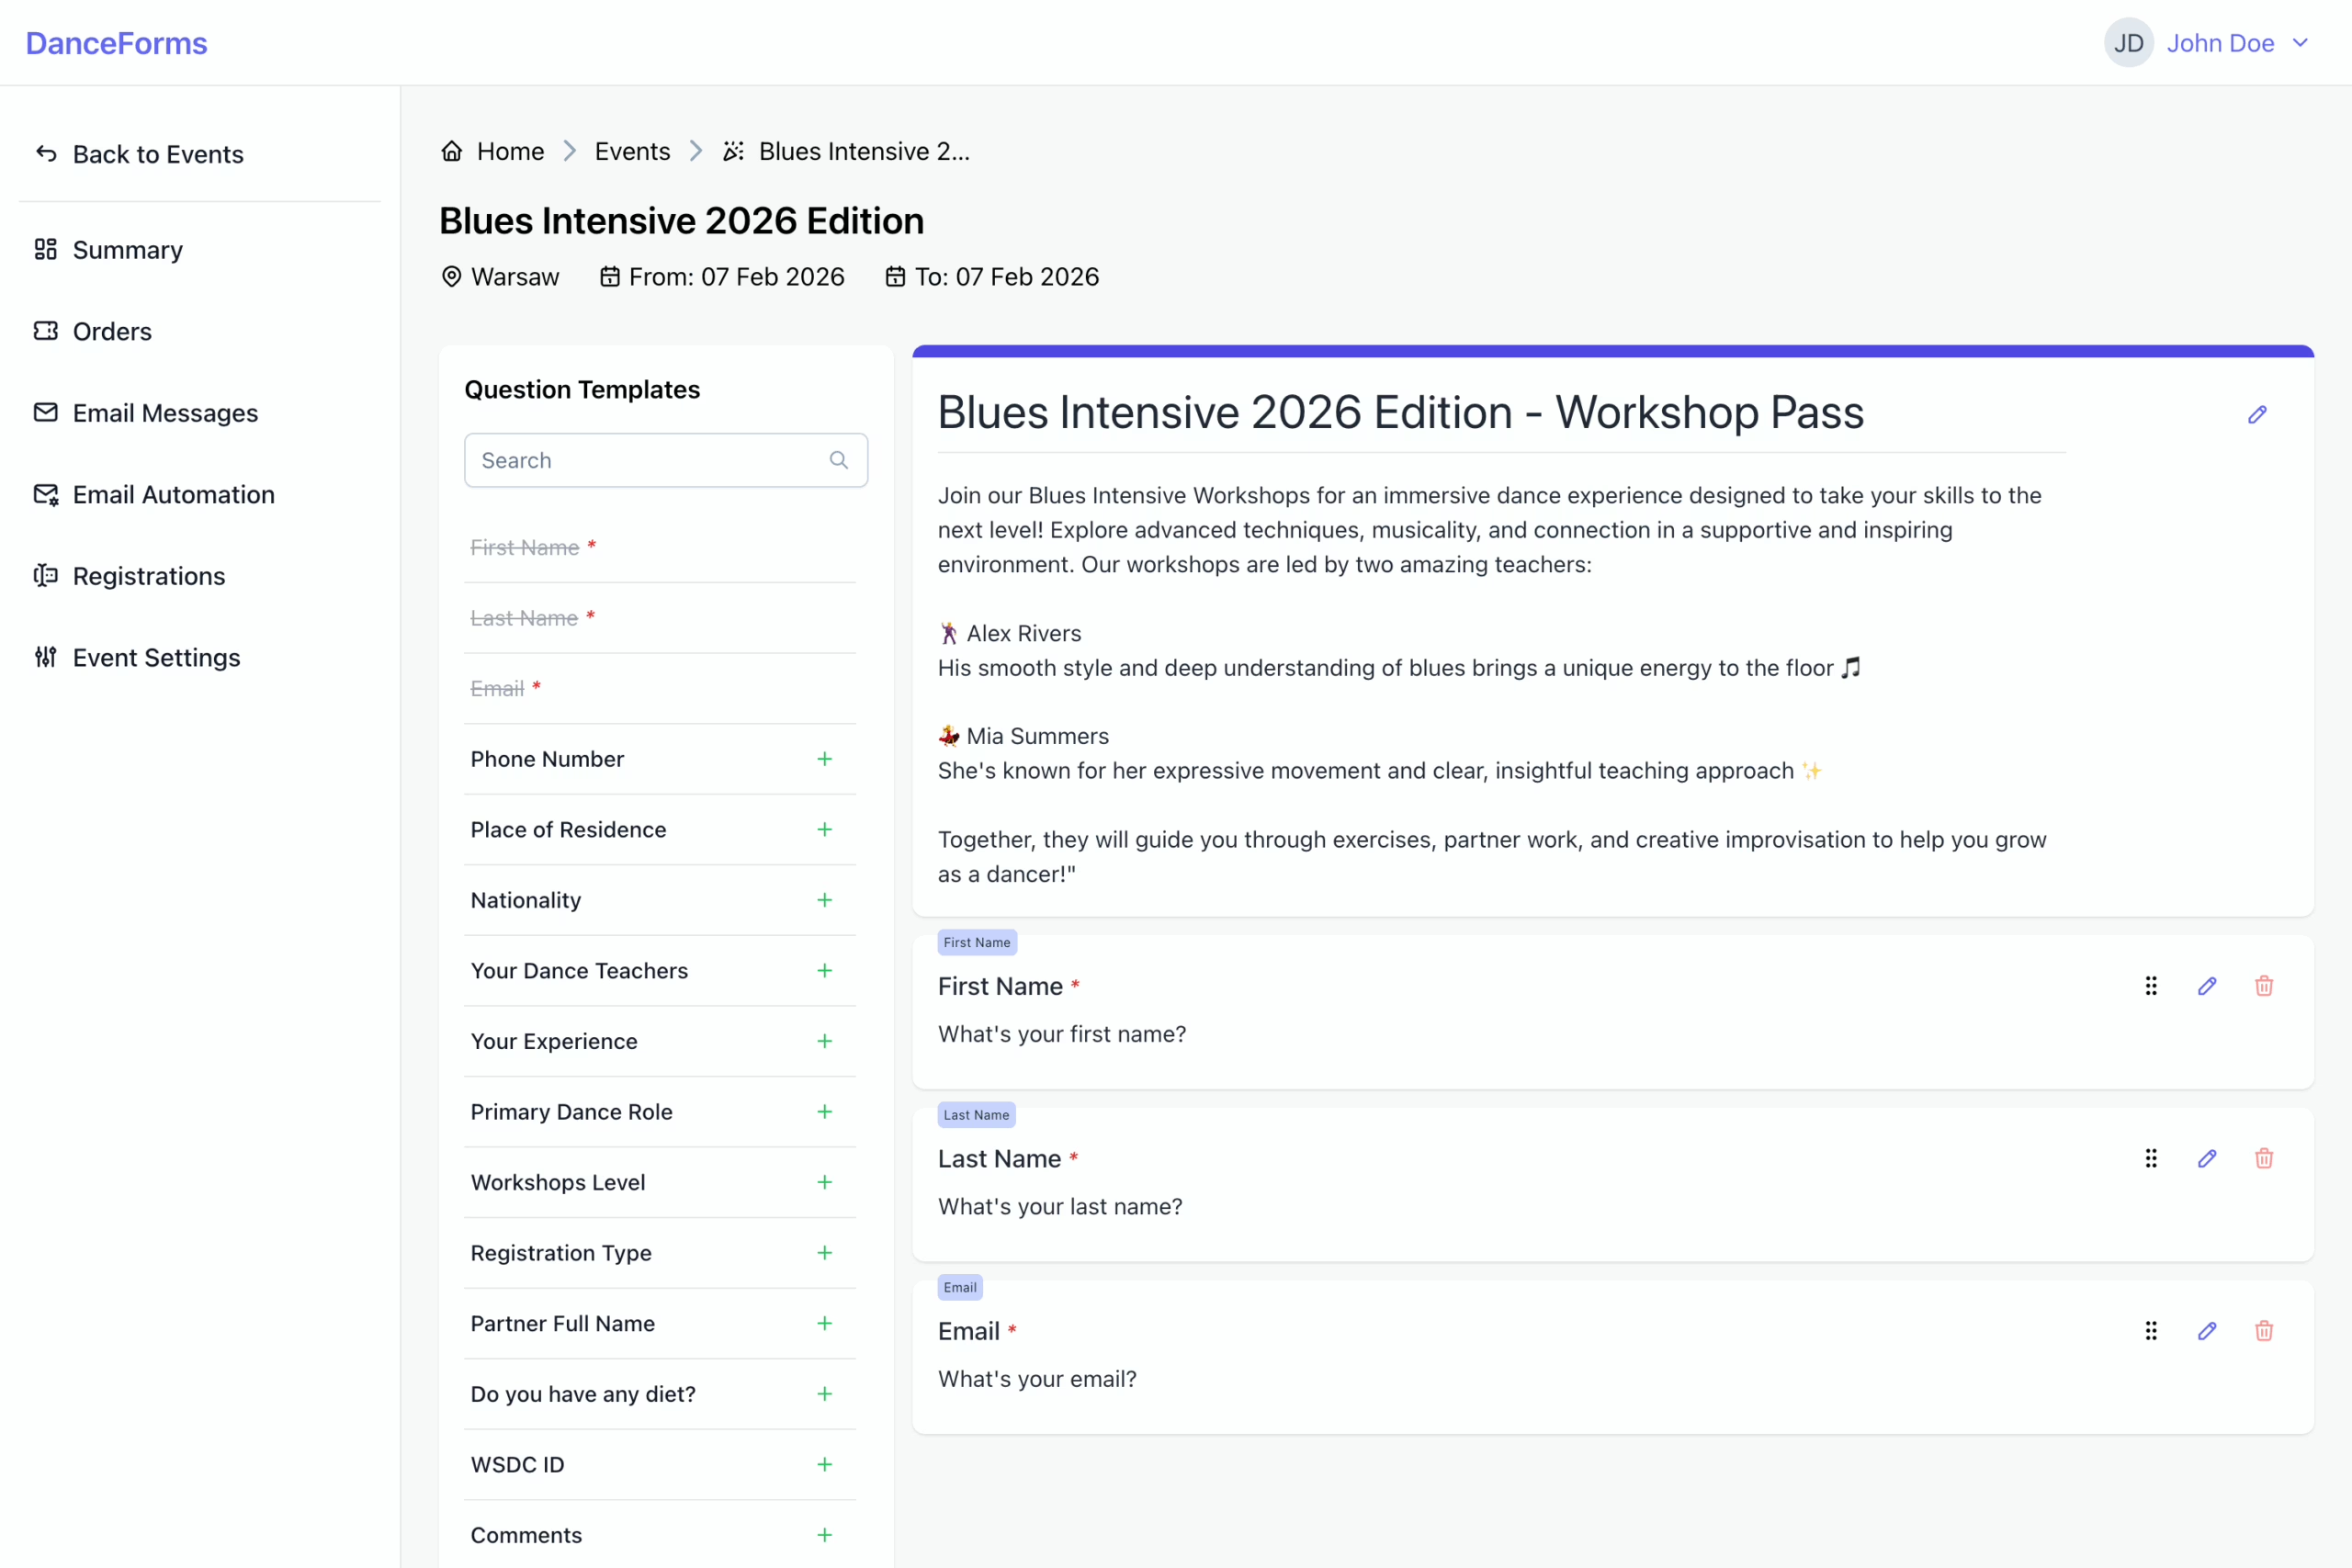
- Select a question template from the list and click + to add it to the form.
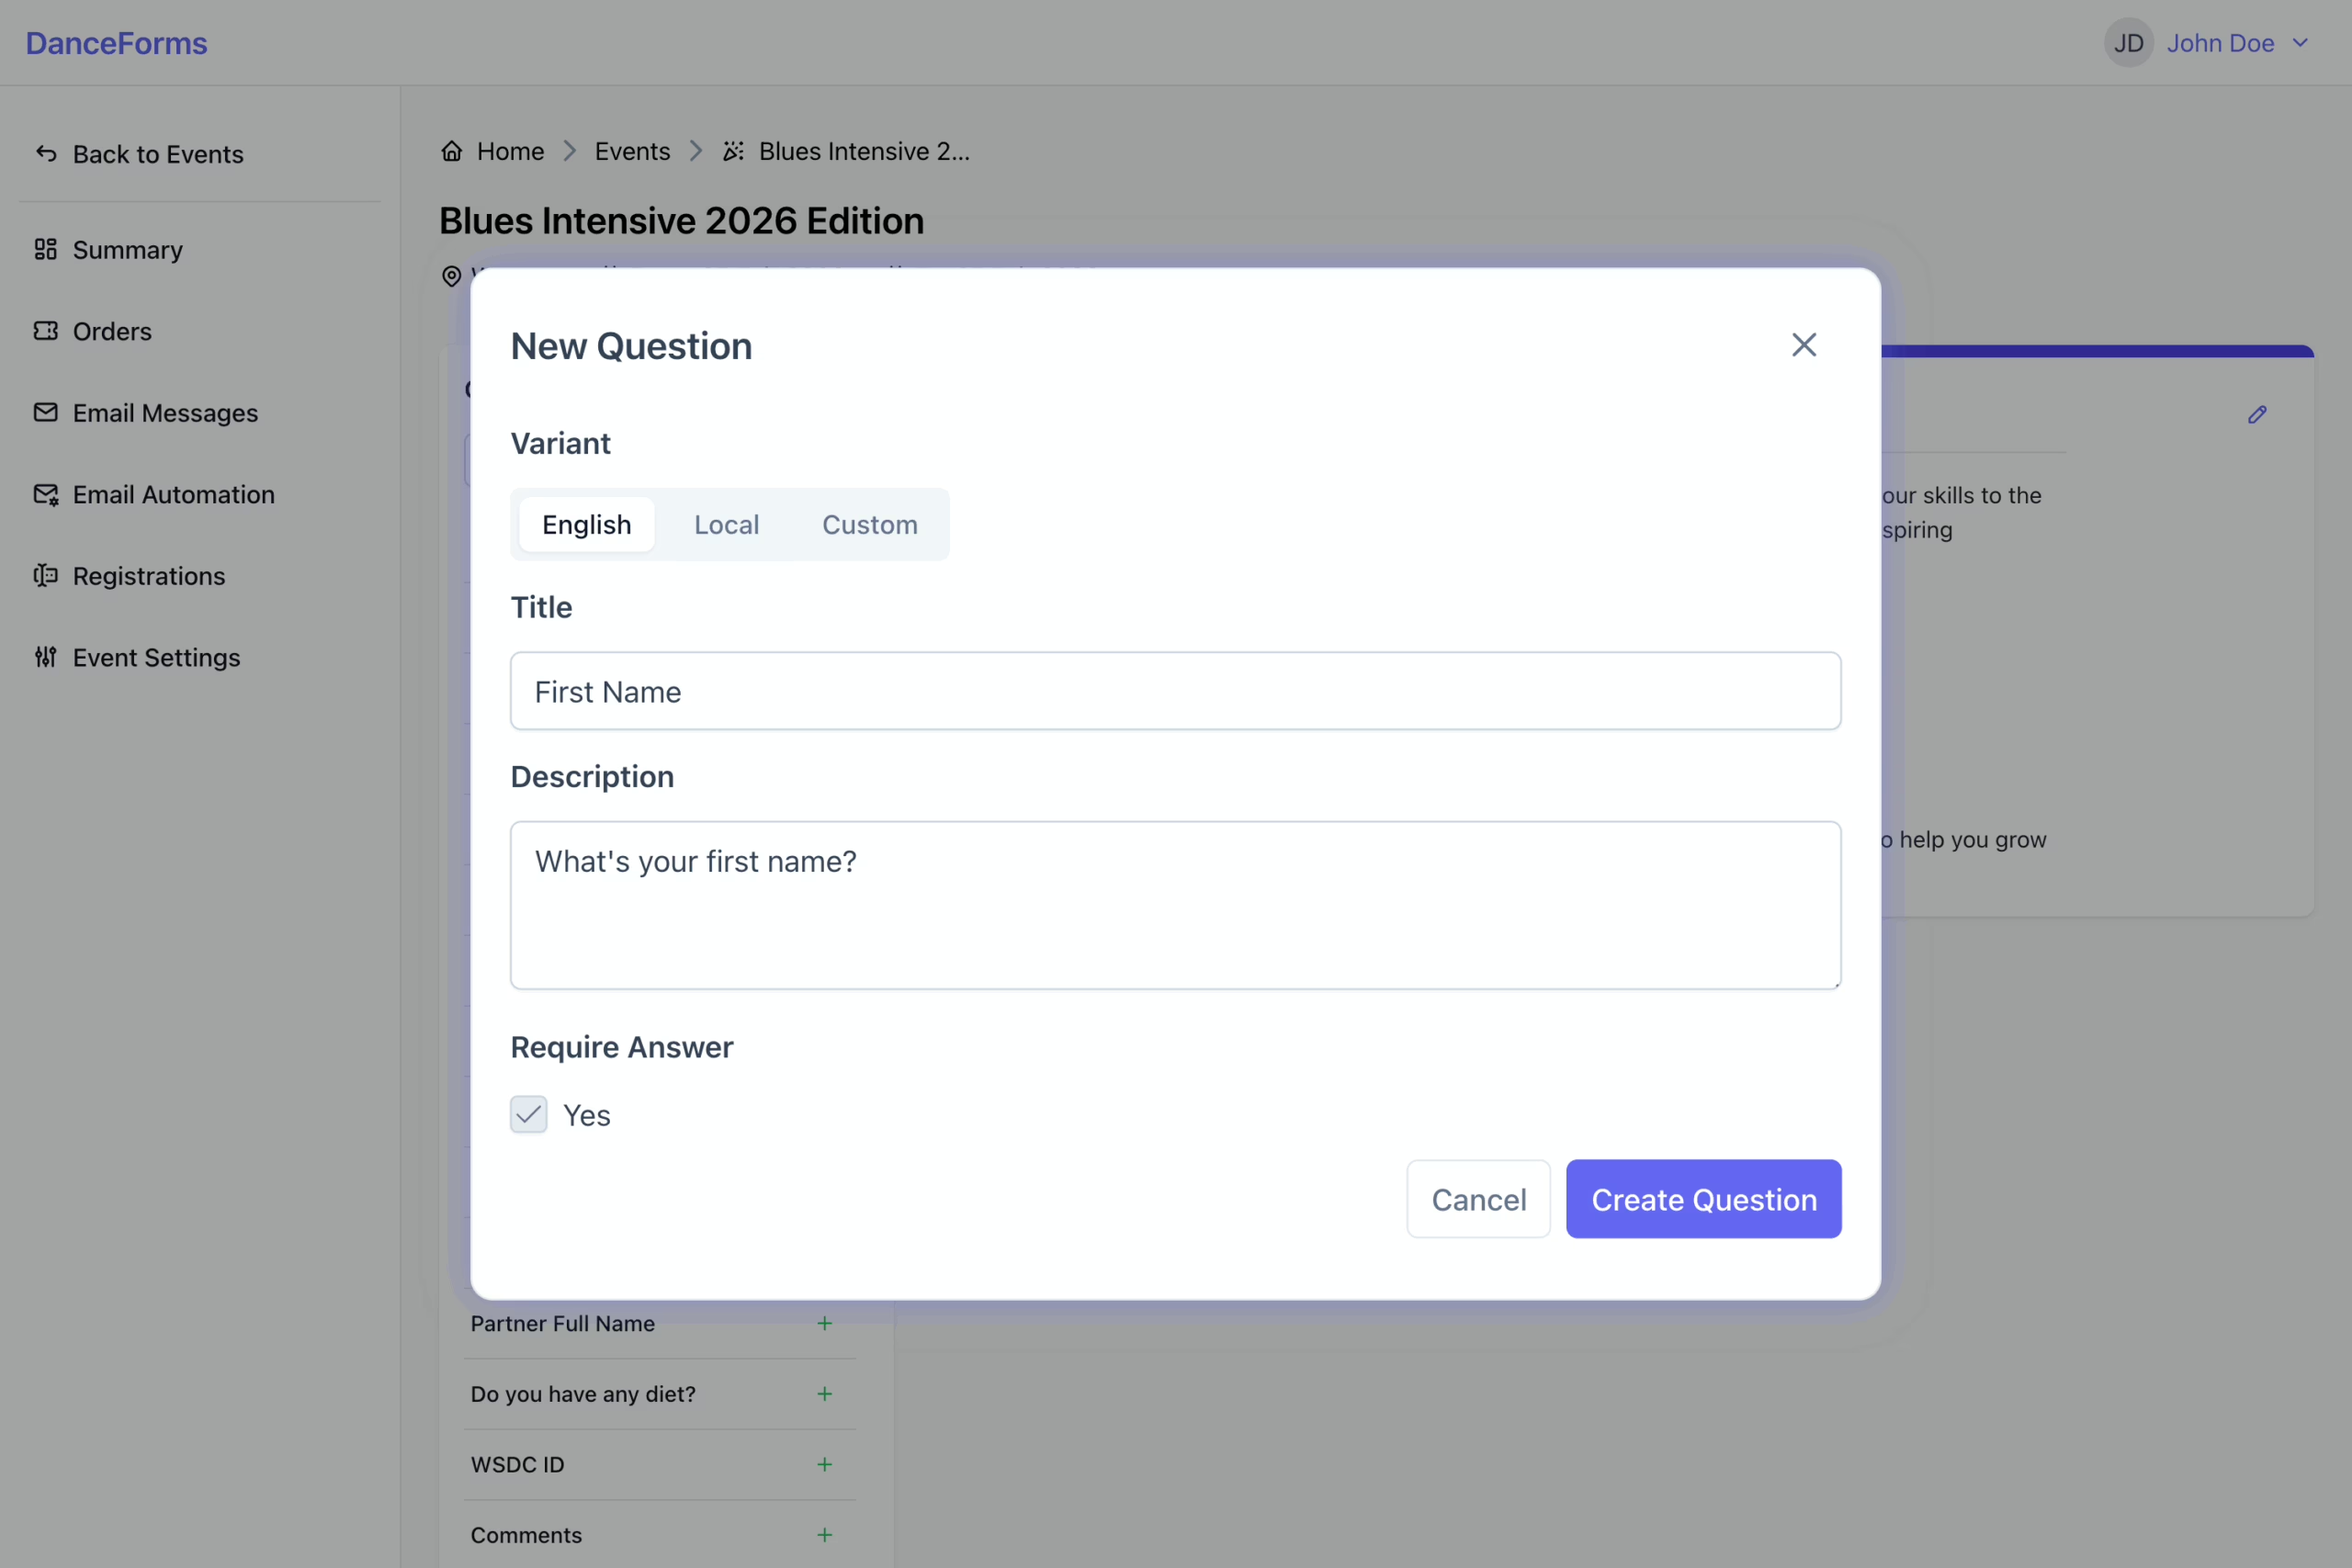
- Provide the question title and description.
- Single Choice questions: provide at least two options.
- Agreement questions: provide a checkbox label.
- Specify whether an answer is required.
- Click Create Question to complete the process.
This step allows you to set pricing for your registration, including optional foreign currency support and time-based pricing.
To add a price:
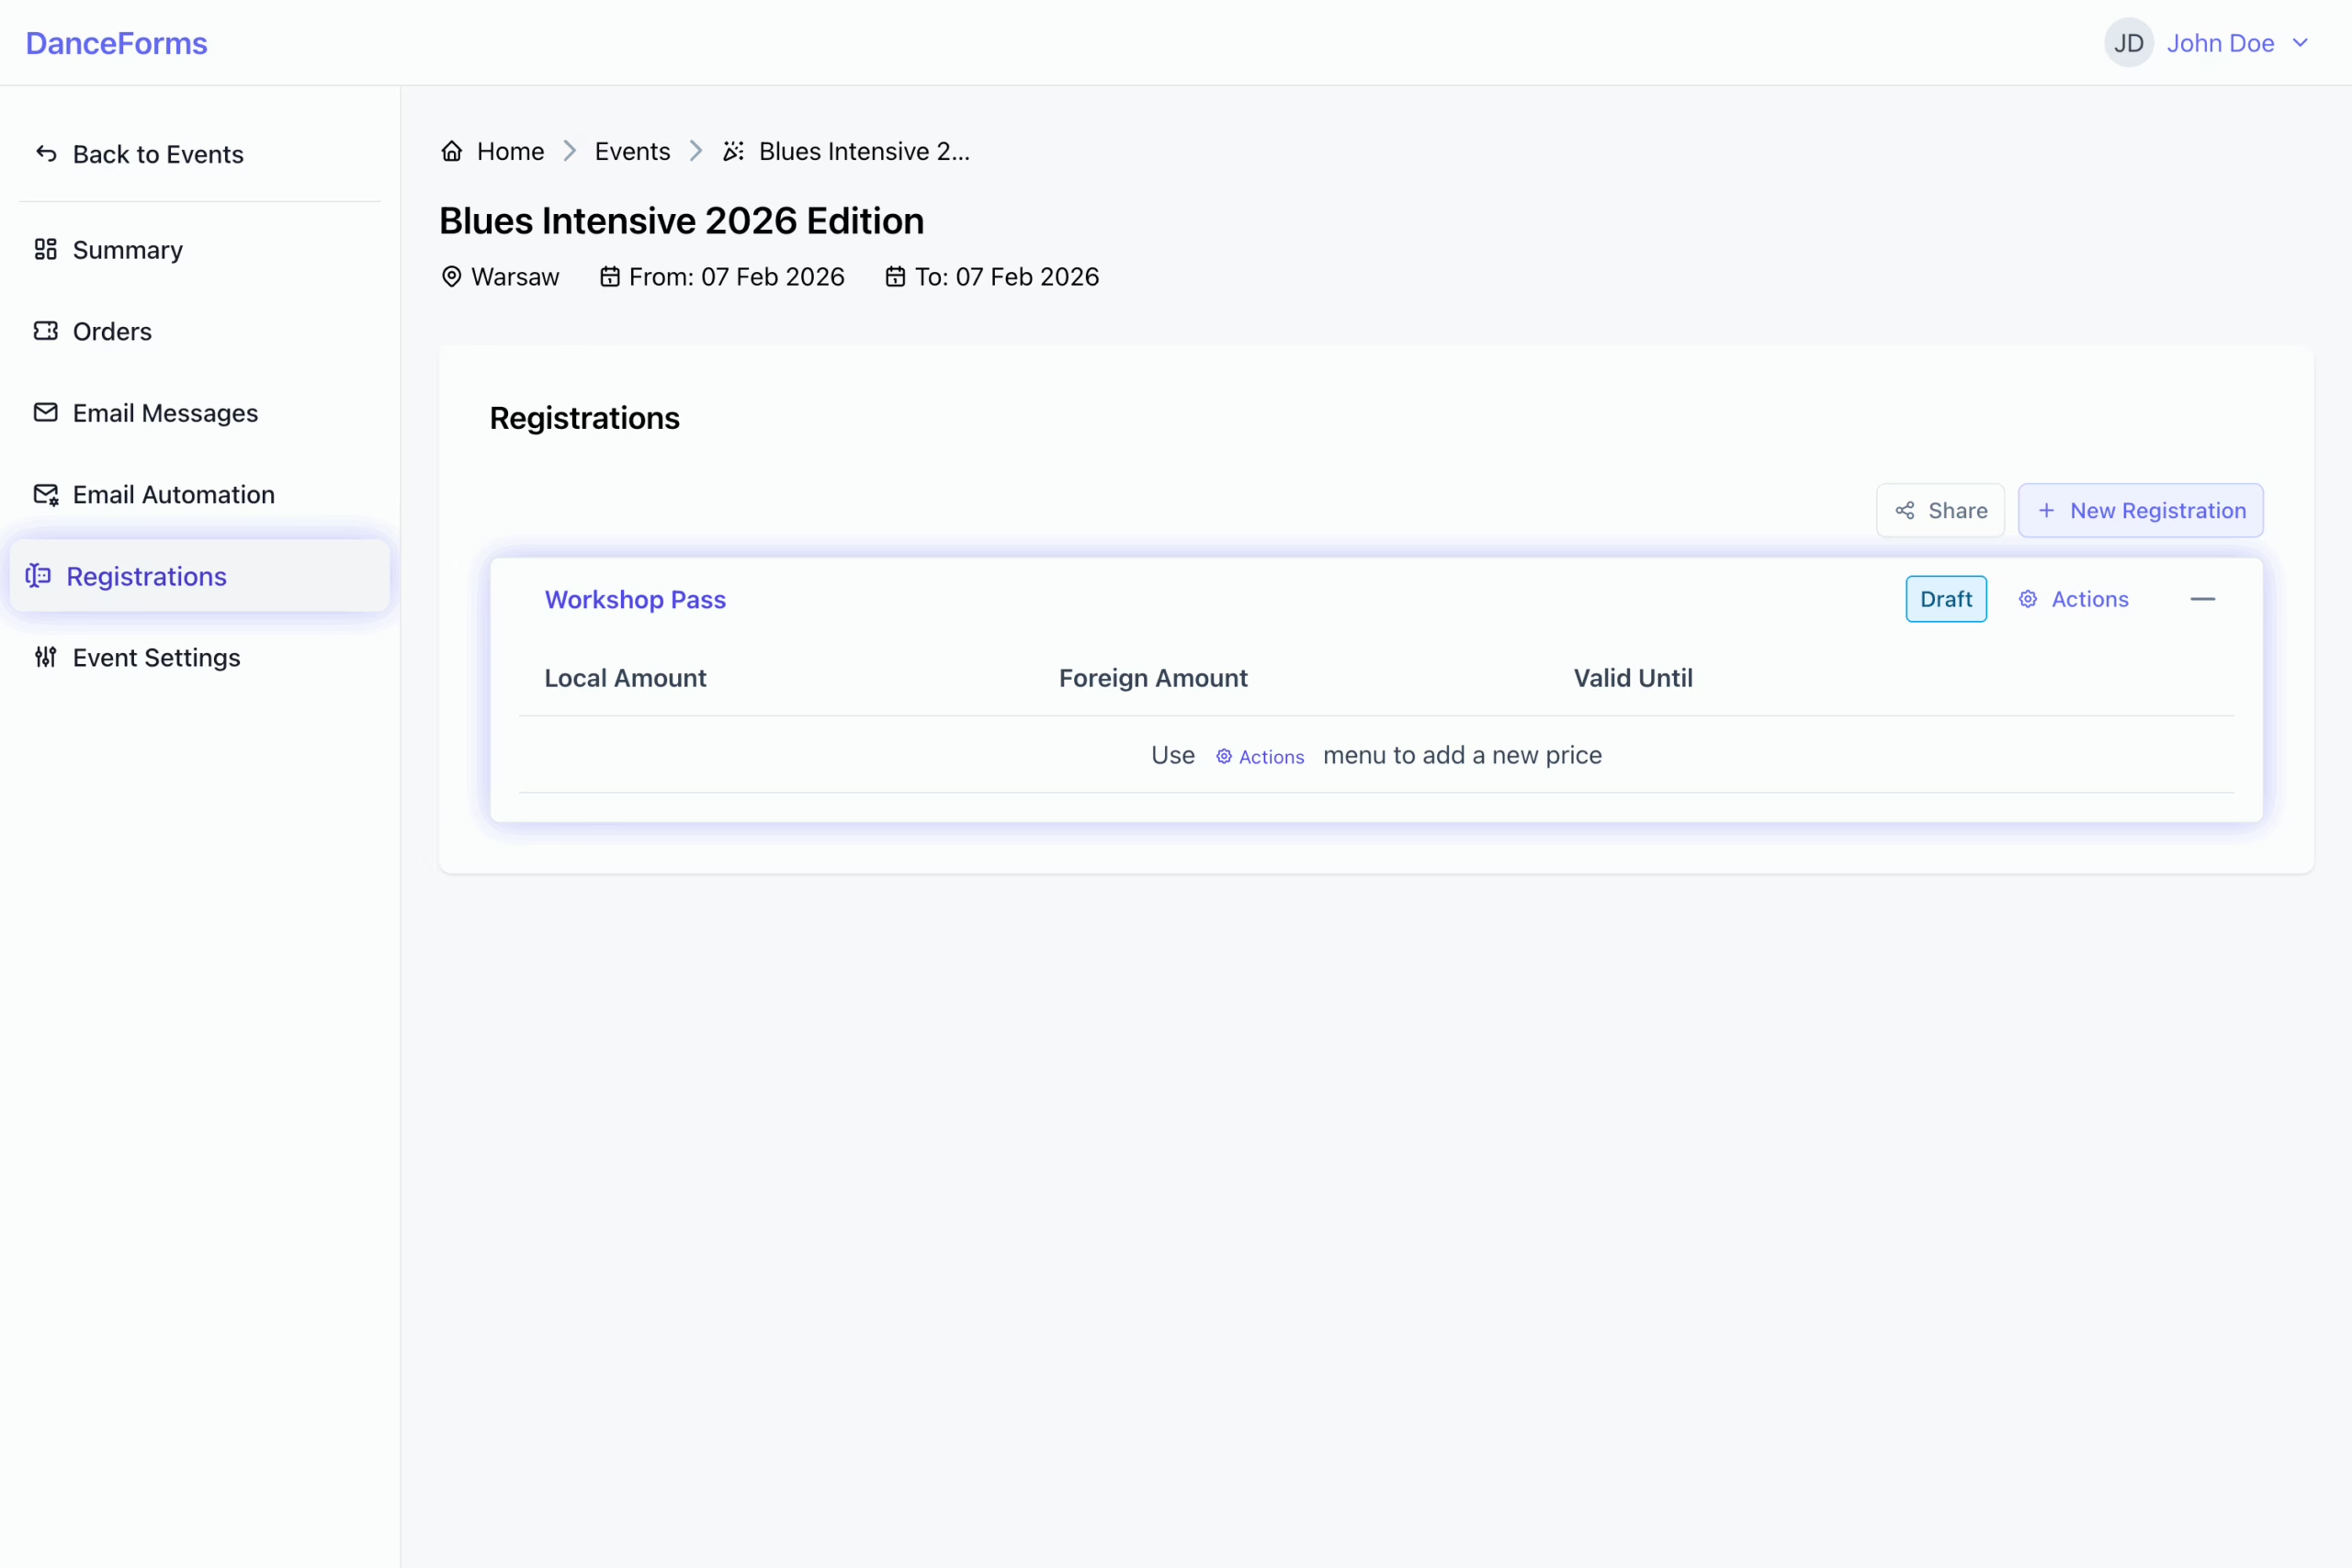
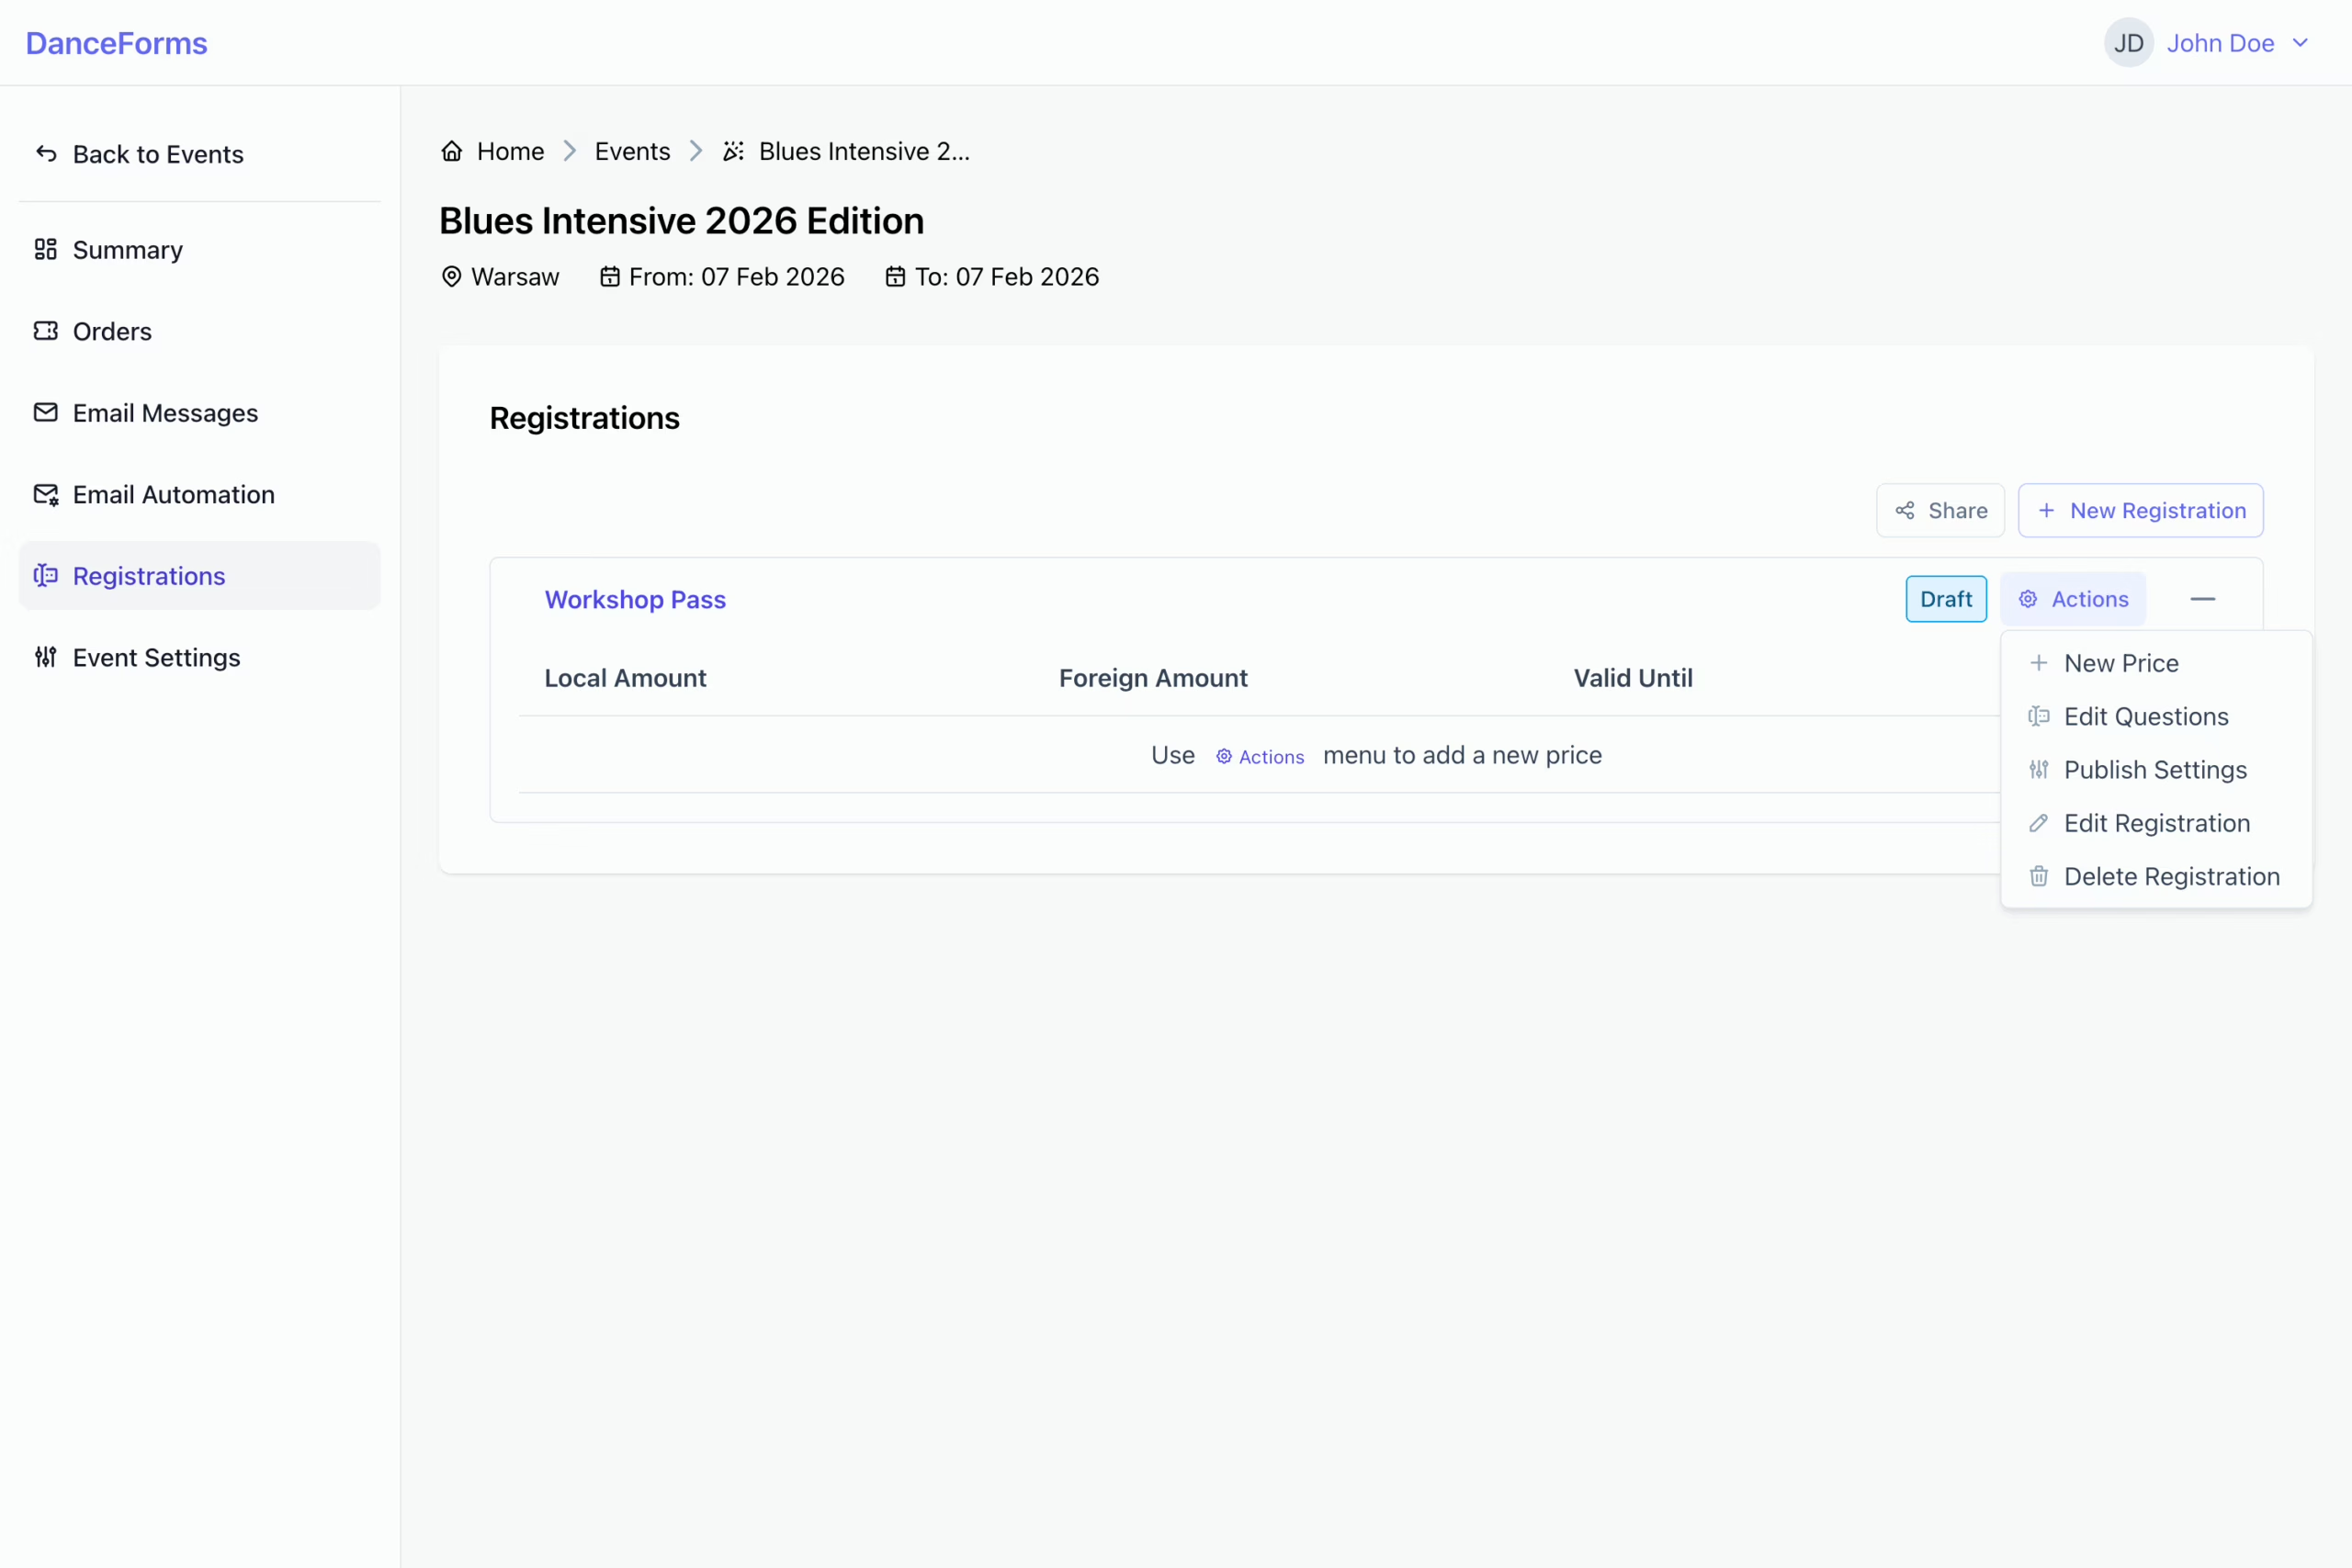
- Go back to the Registrations list view.
- Click the Actions button next to the registration name to open the dropdown menu.
- Select New Price to open the form.
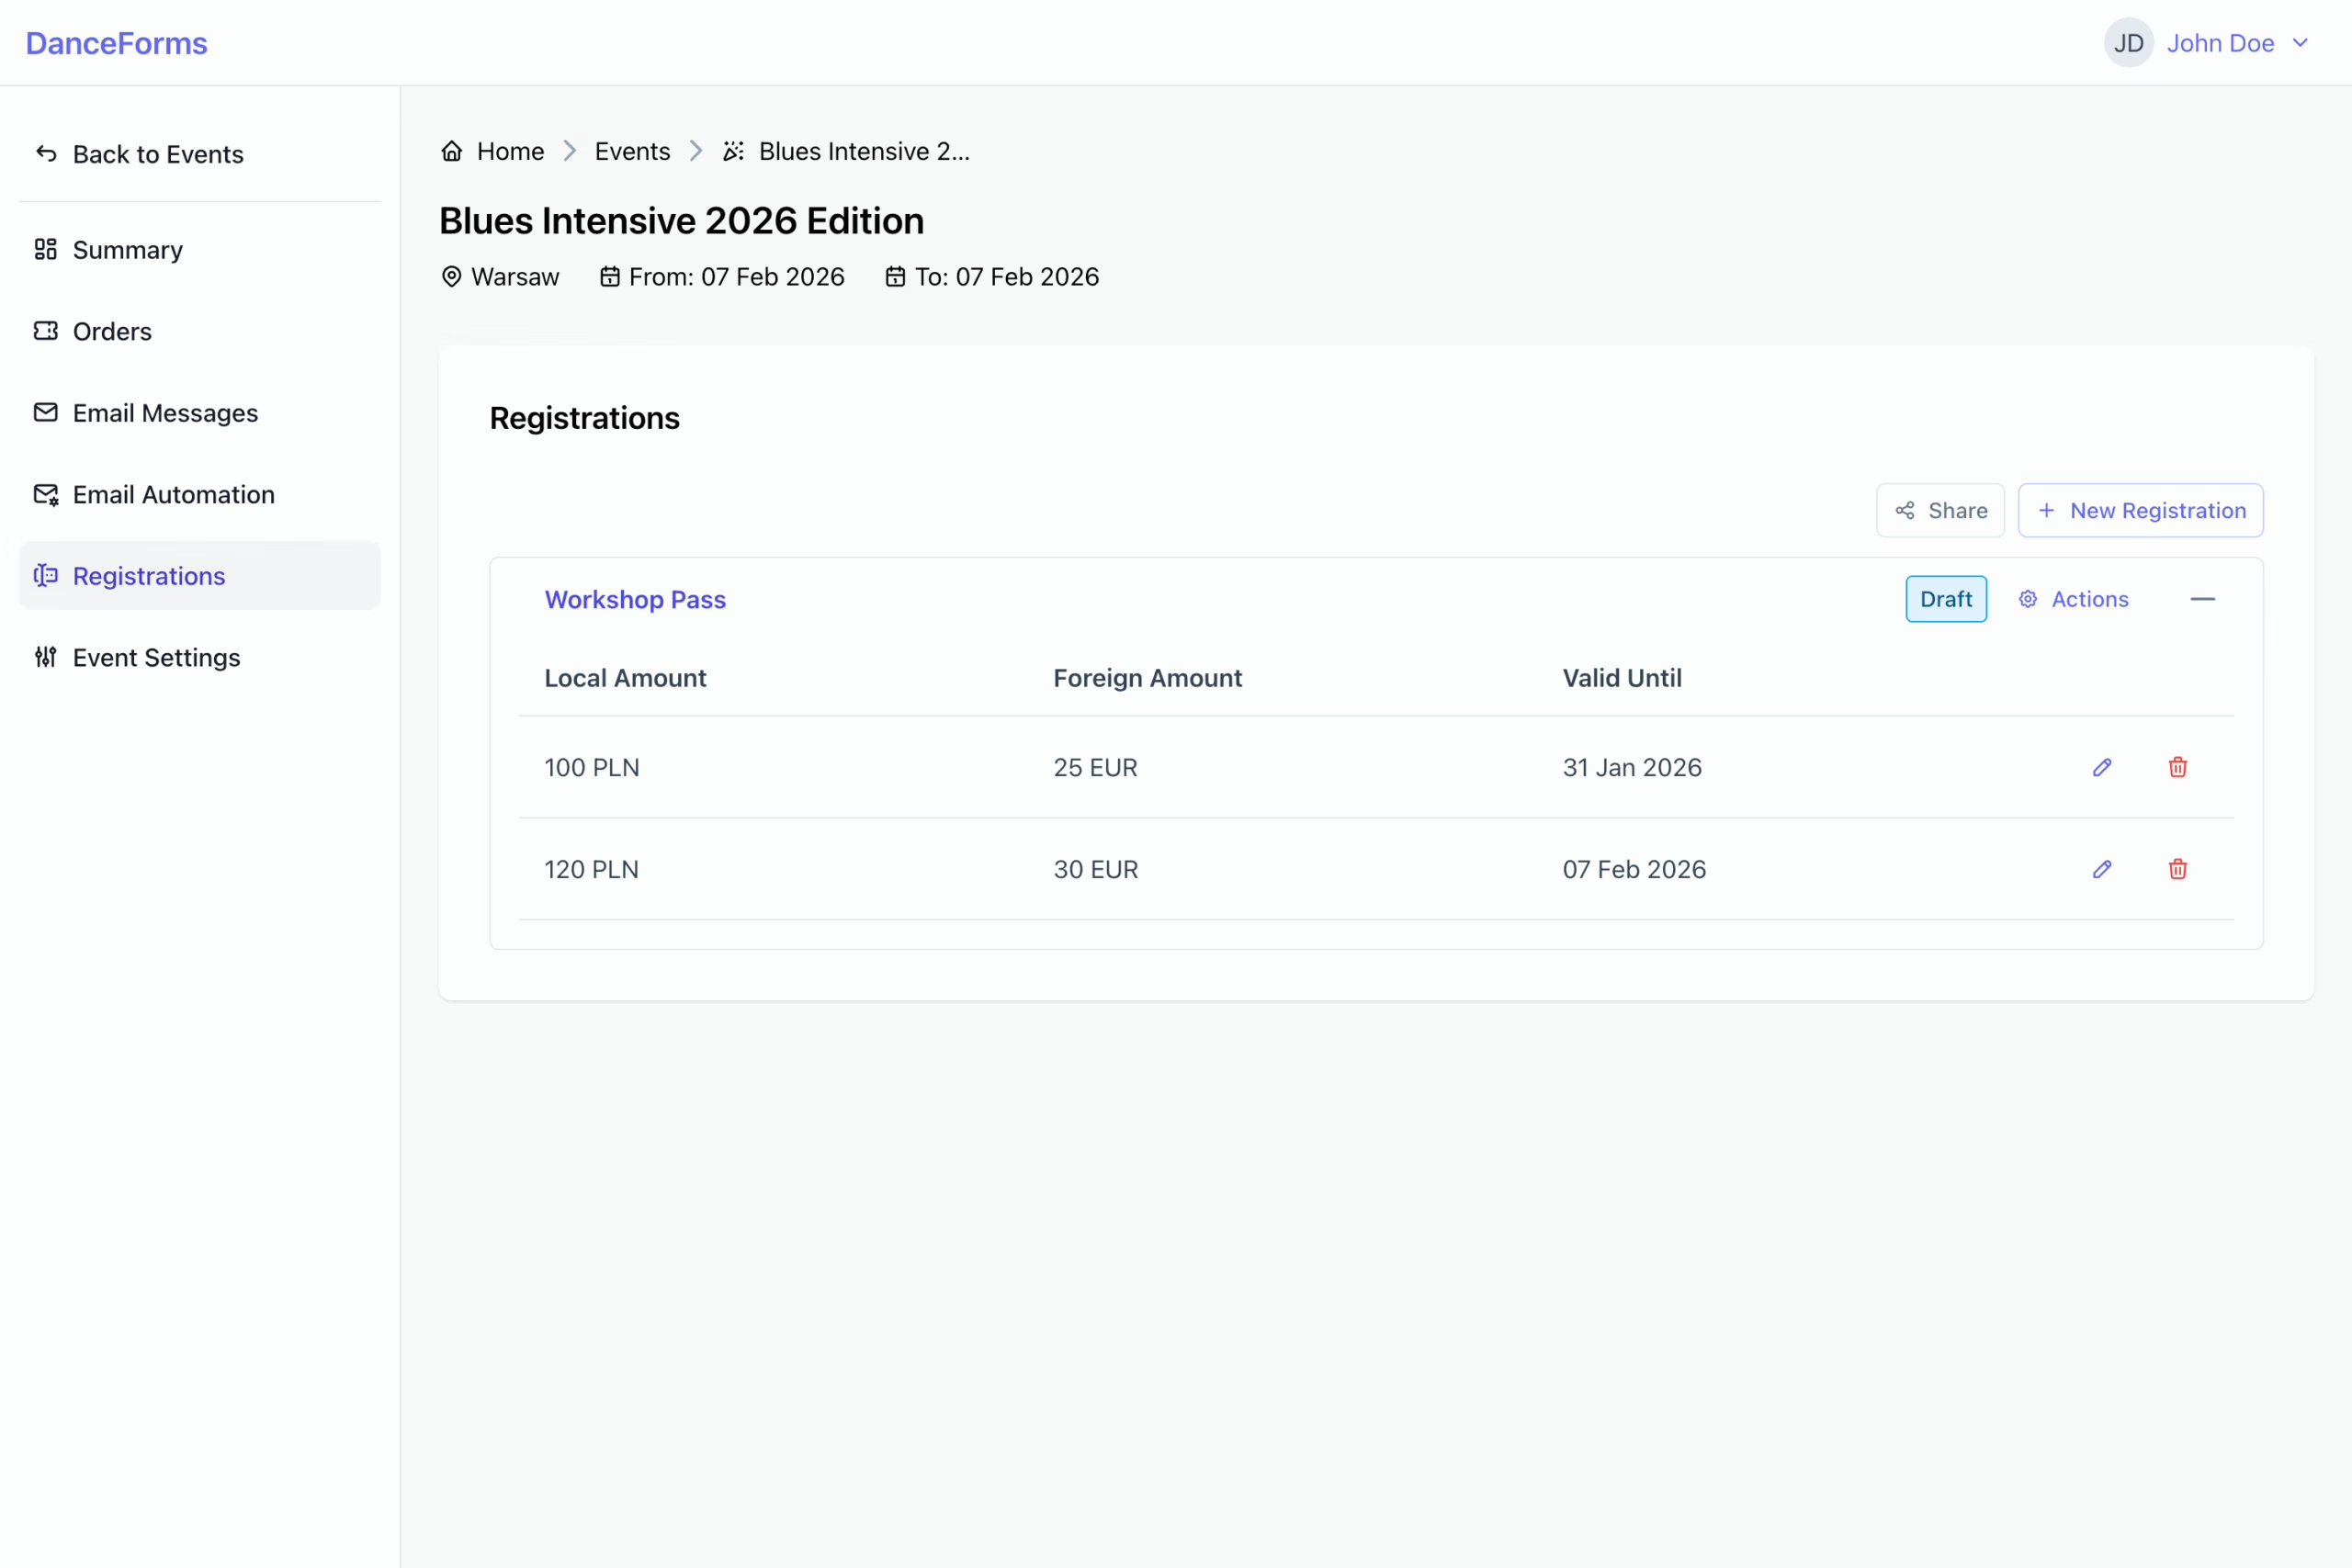
- Enter the price in the local and foreign currency (if enabled in Event Settings).
- Select the date until the price is valid.
- Click Create Price to complete the process.
Tip: You can add multiple prices for the same registration, such as early-bird, regular, or last-minute pricing, by defining different validity dates.