Step 3: Share & Collect Responses
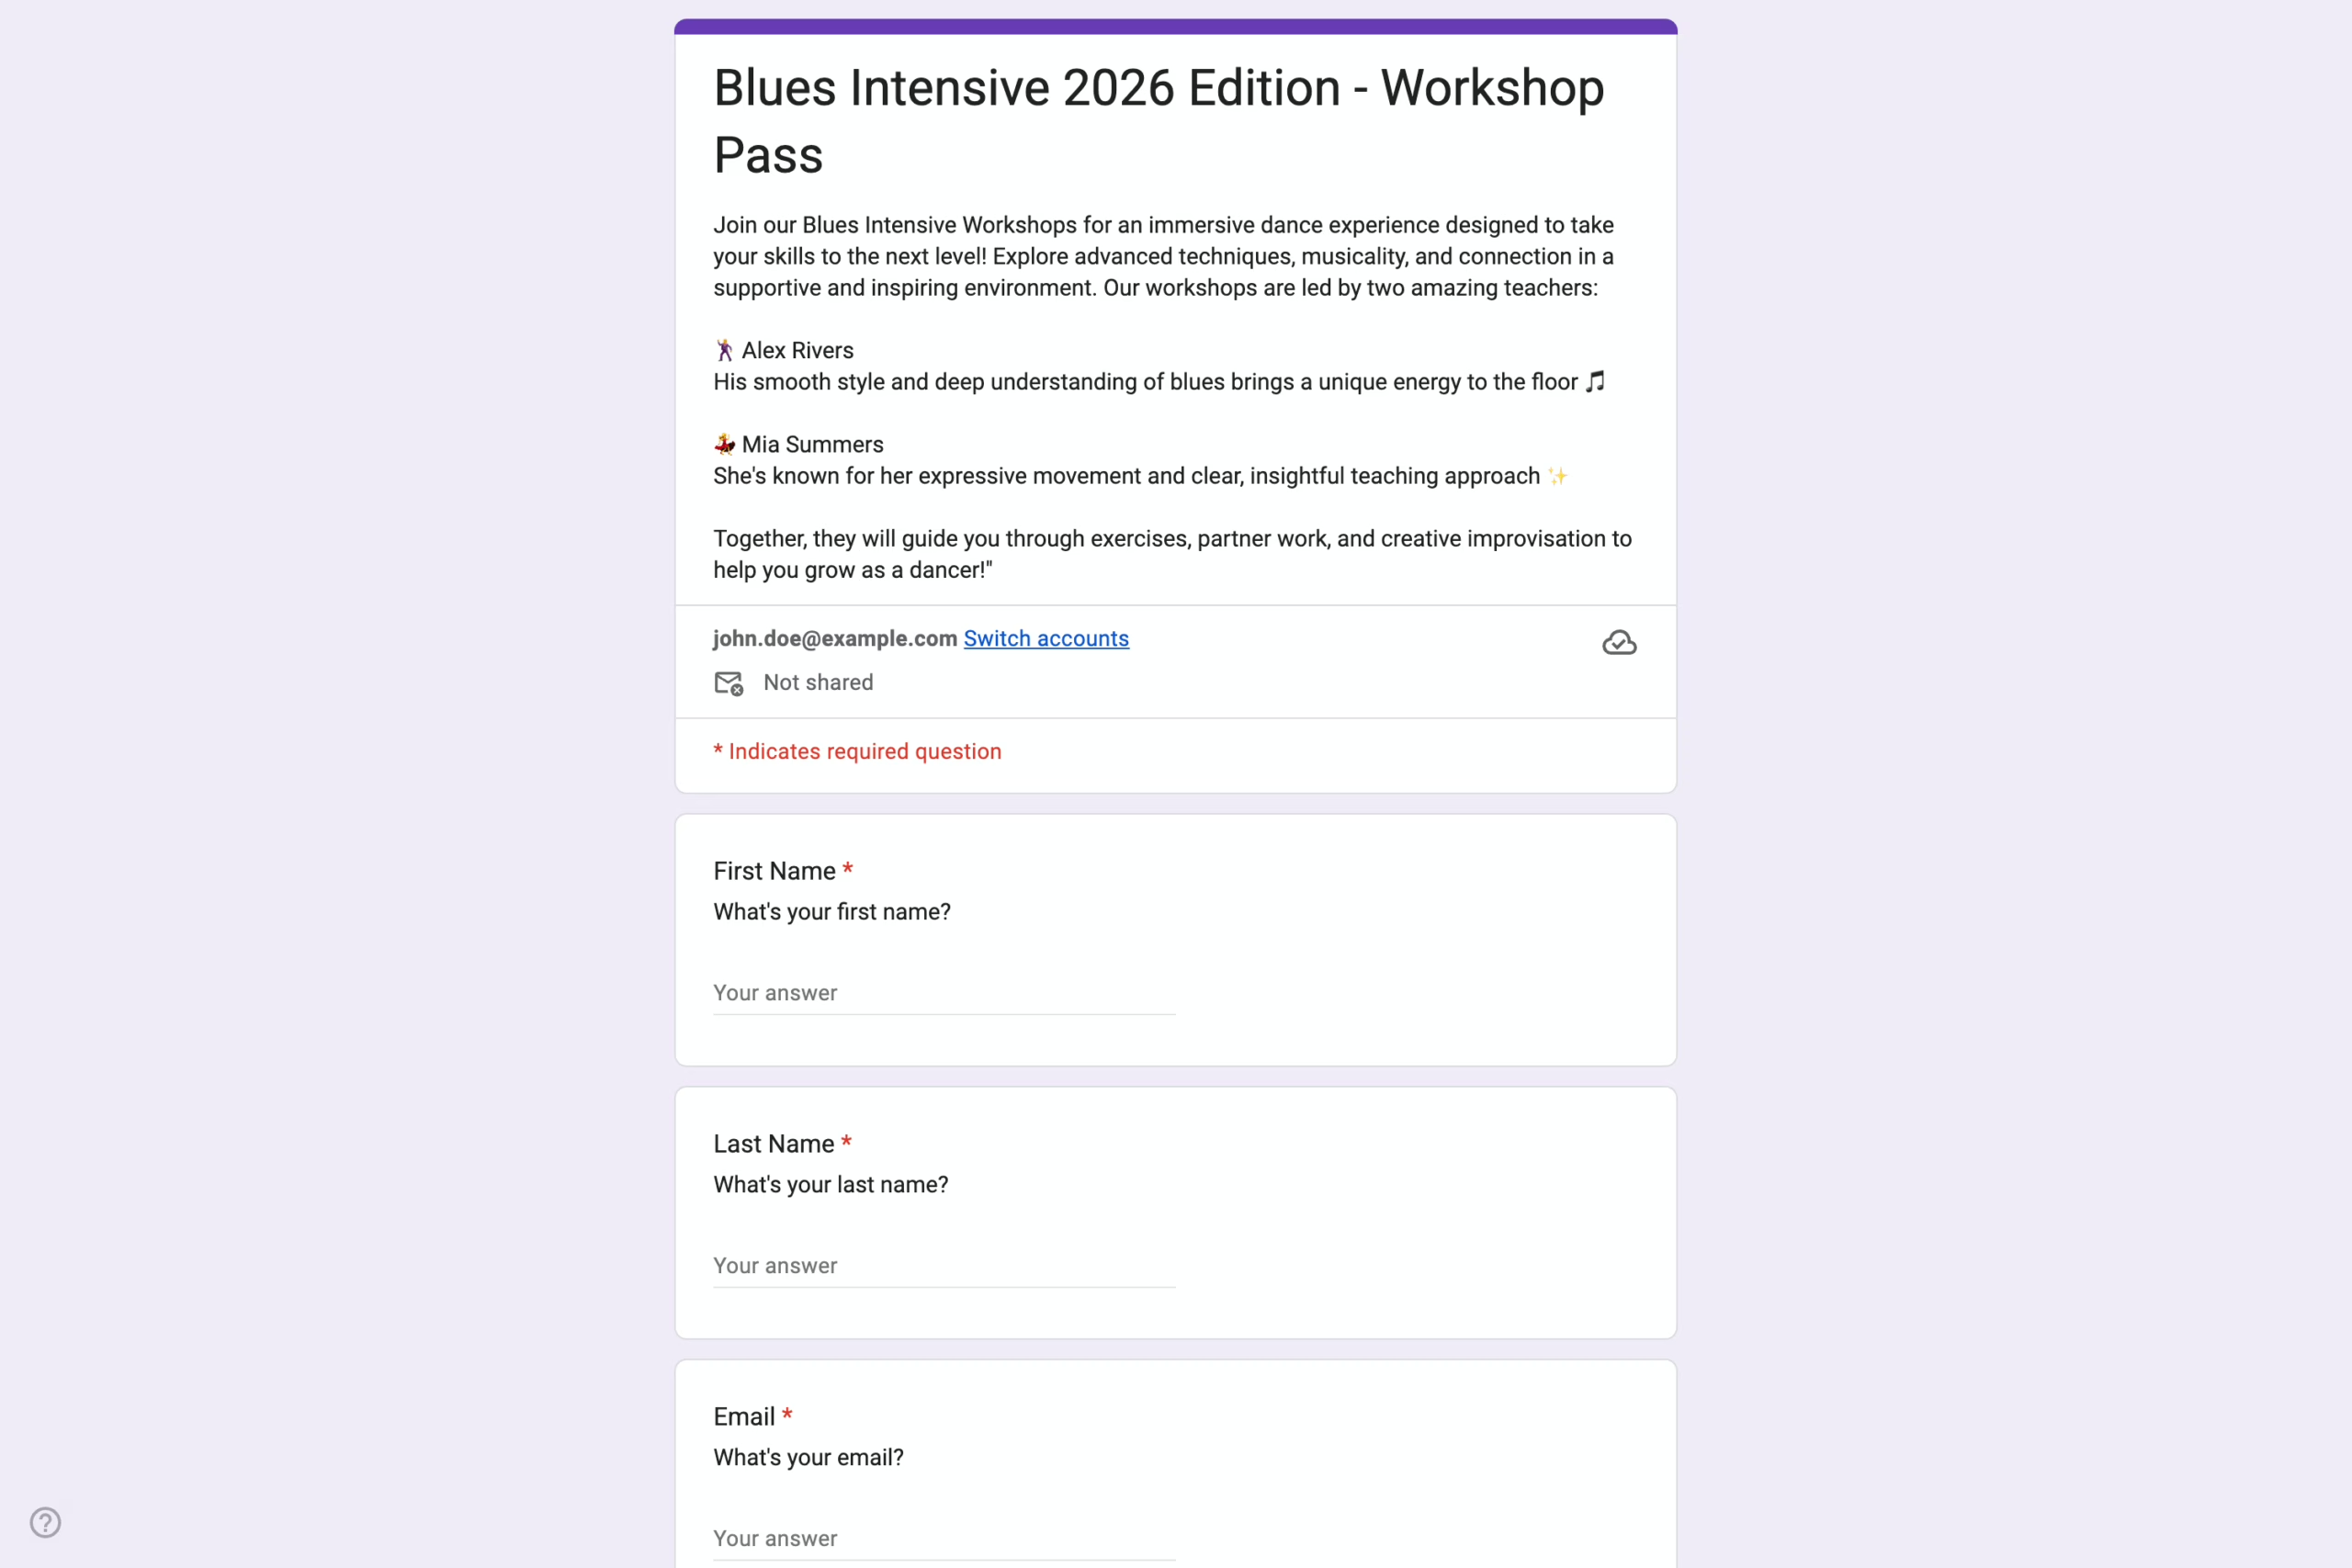
This guide walks you through publishing and sharing your registration form. You’ll learn how to control when the form becomes available and how to share it with participants, ensuring registrations open at the right time and reach the right audience.
This step allows you to control when your registration form becomes available to participants.
To publish the form:
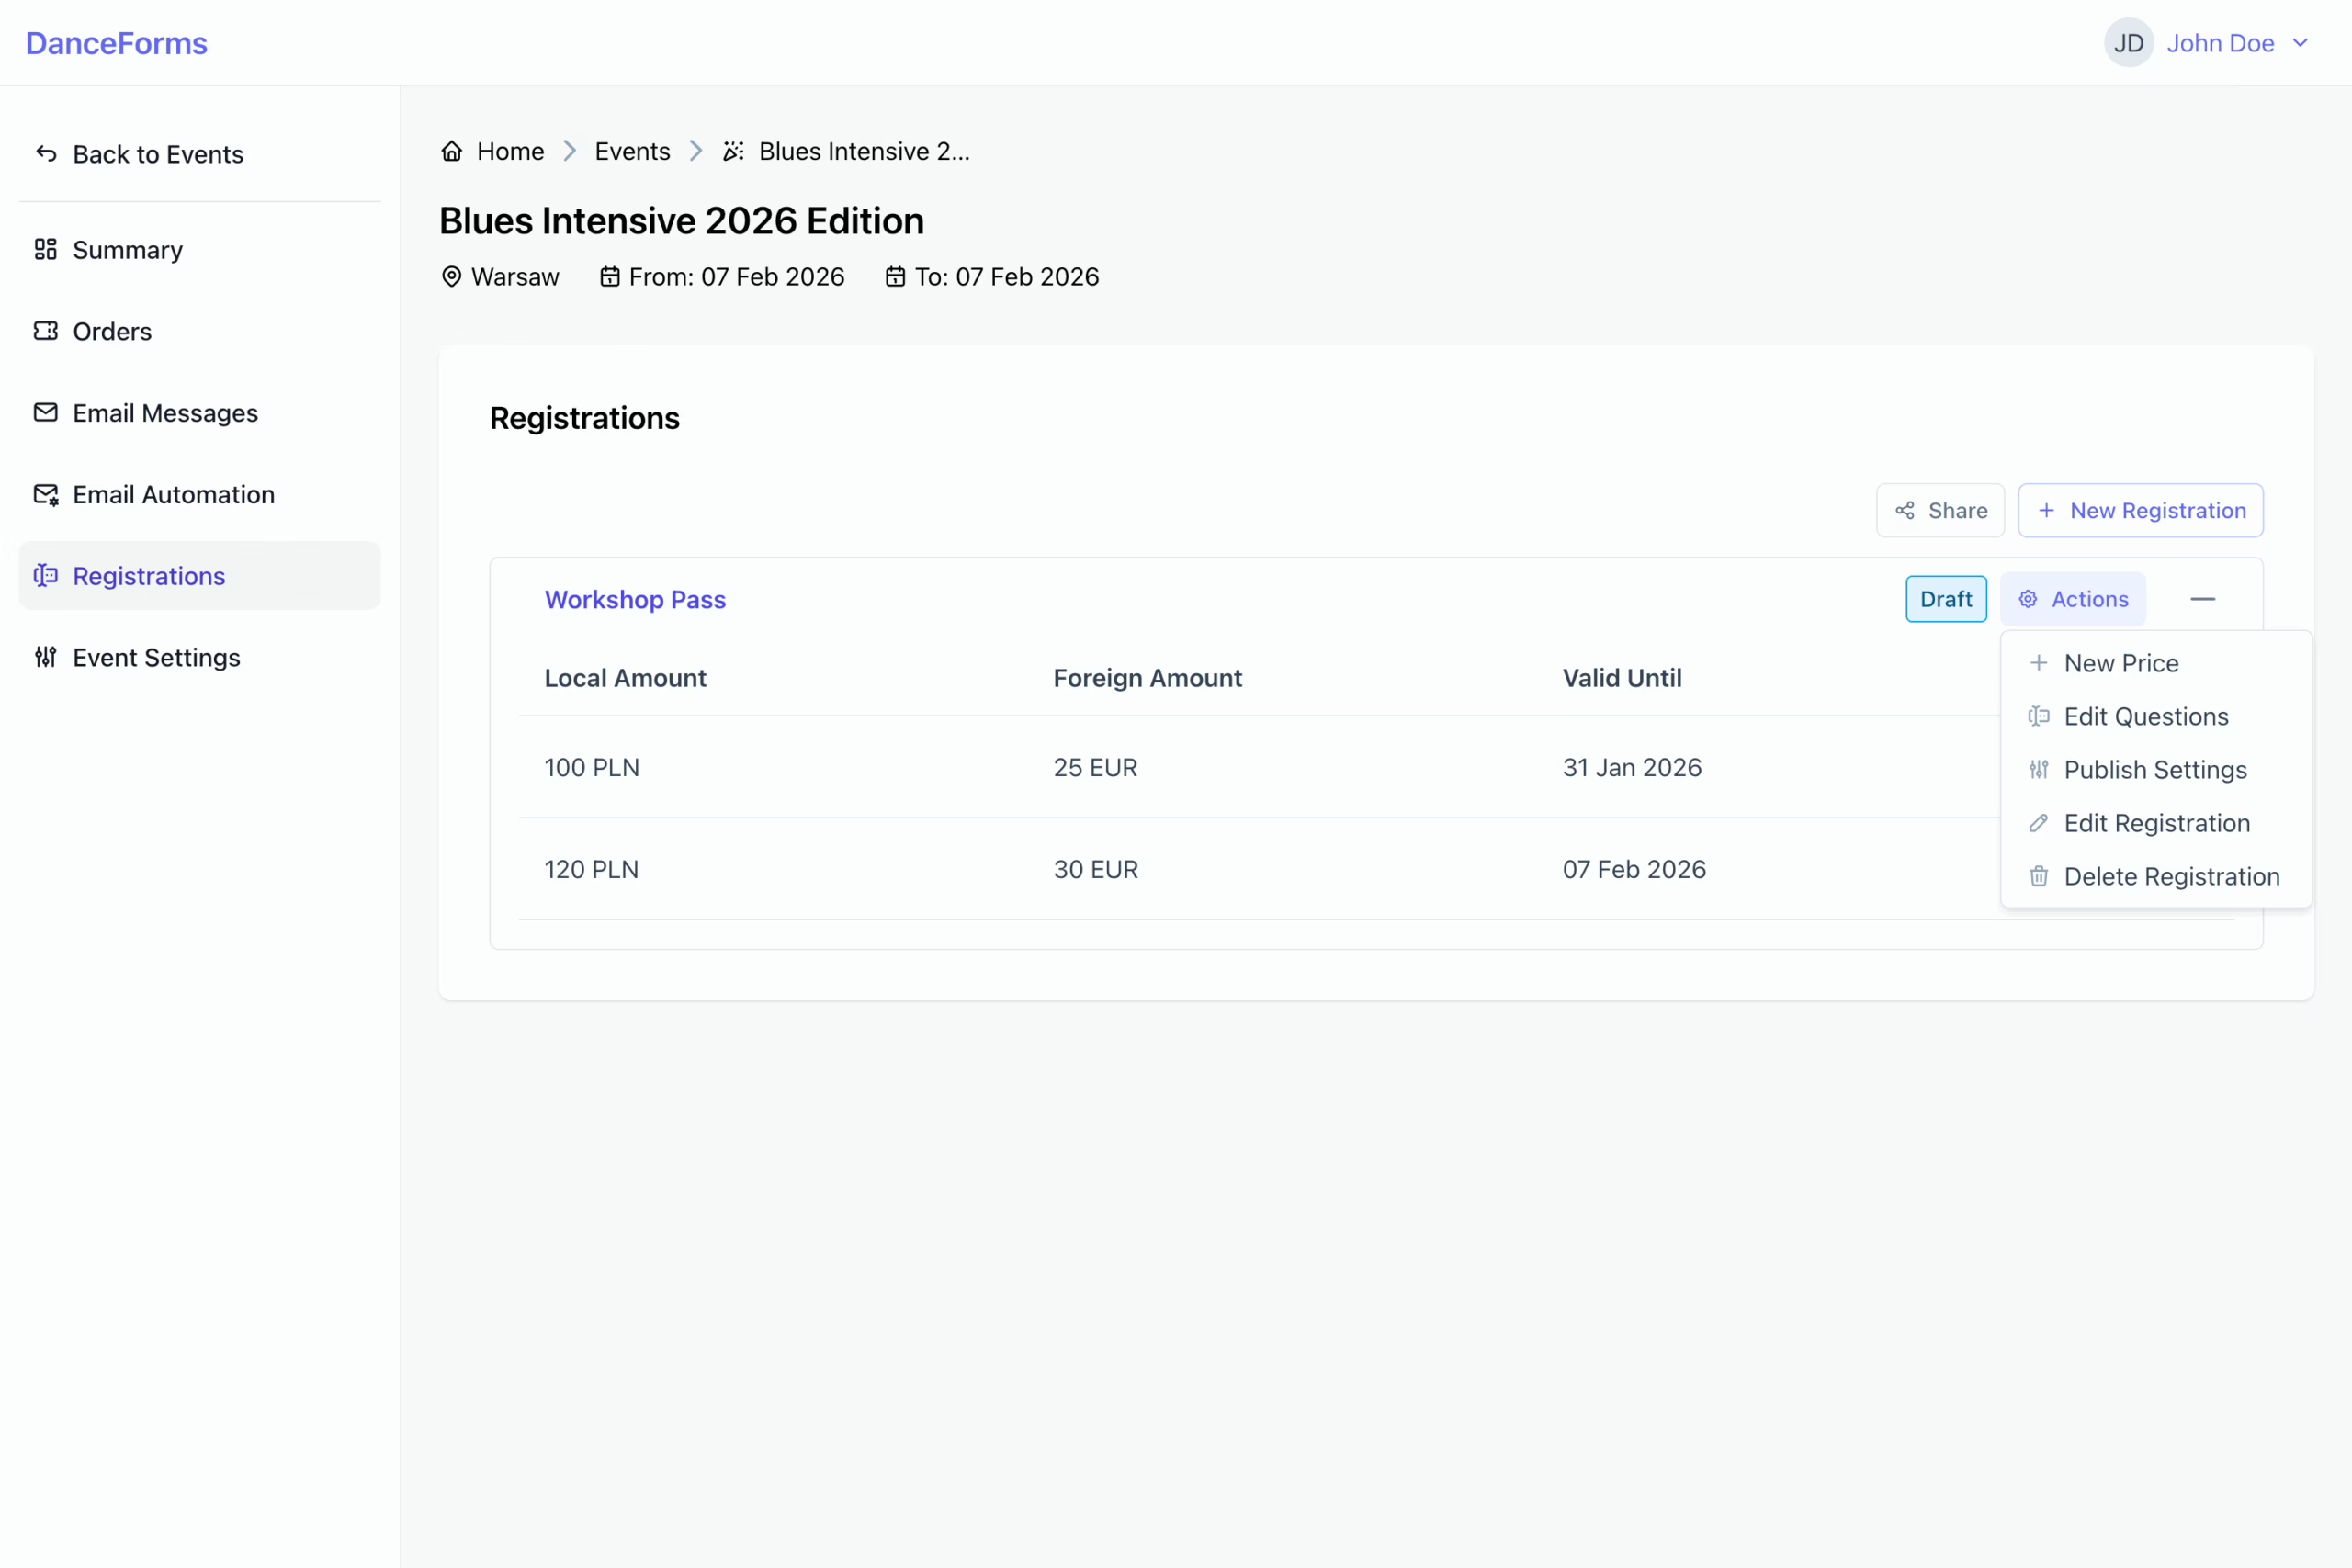
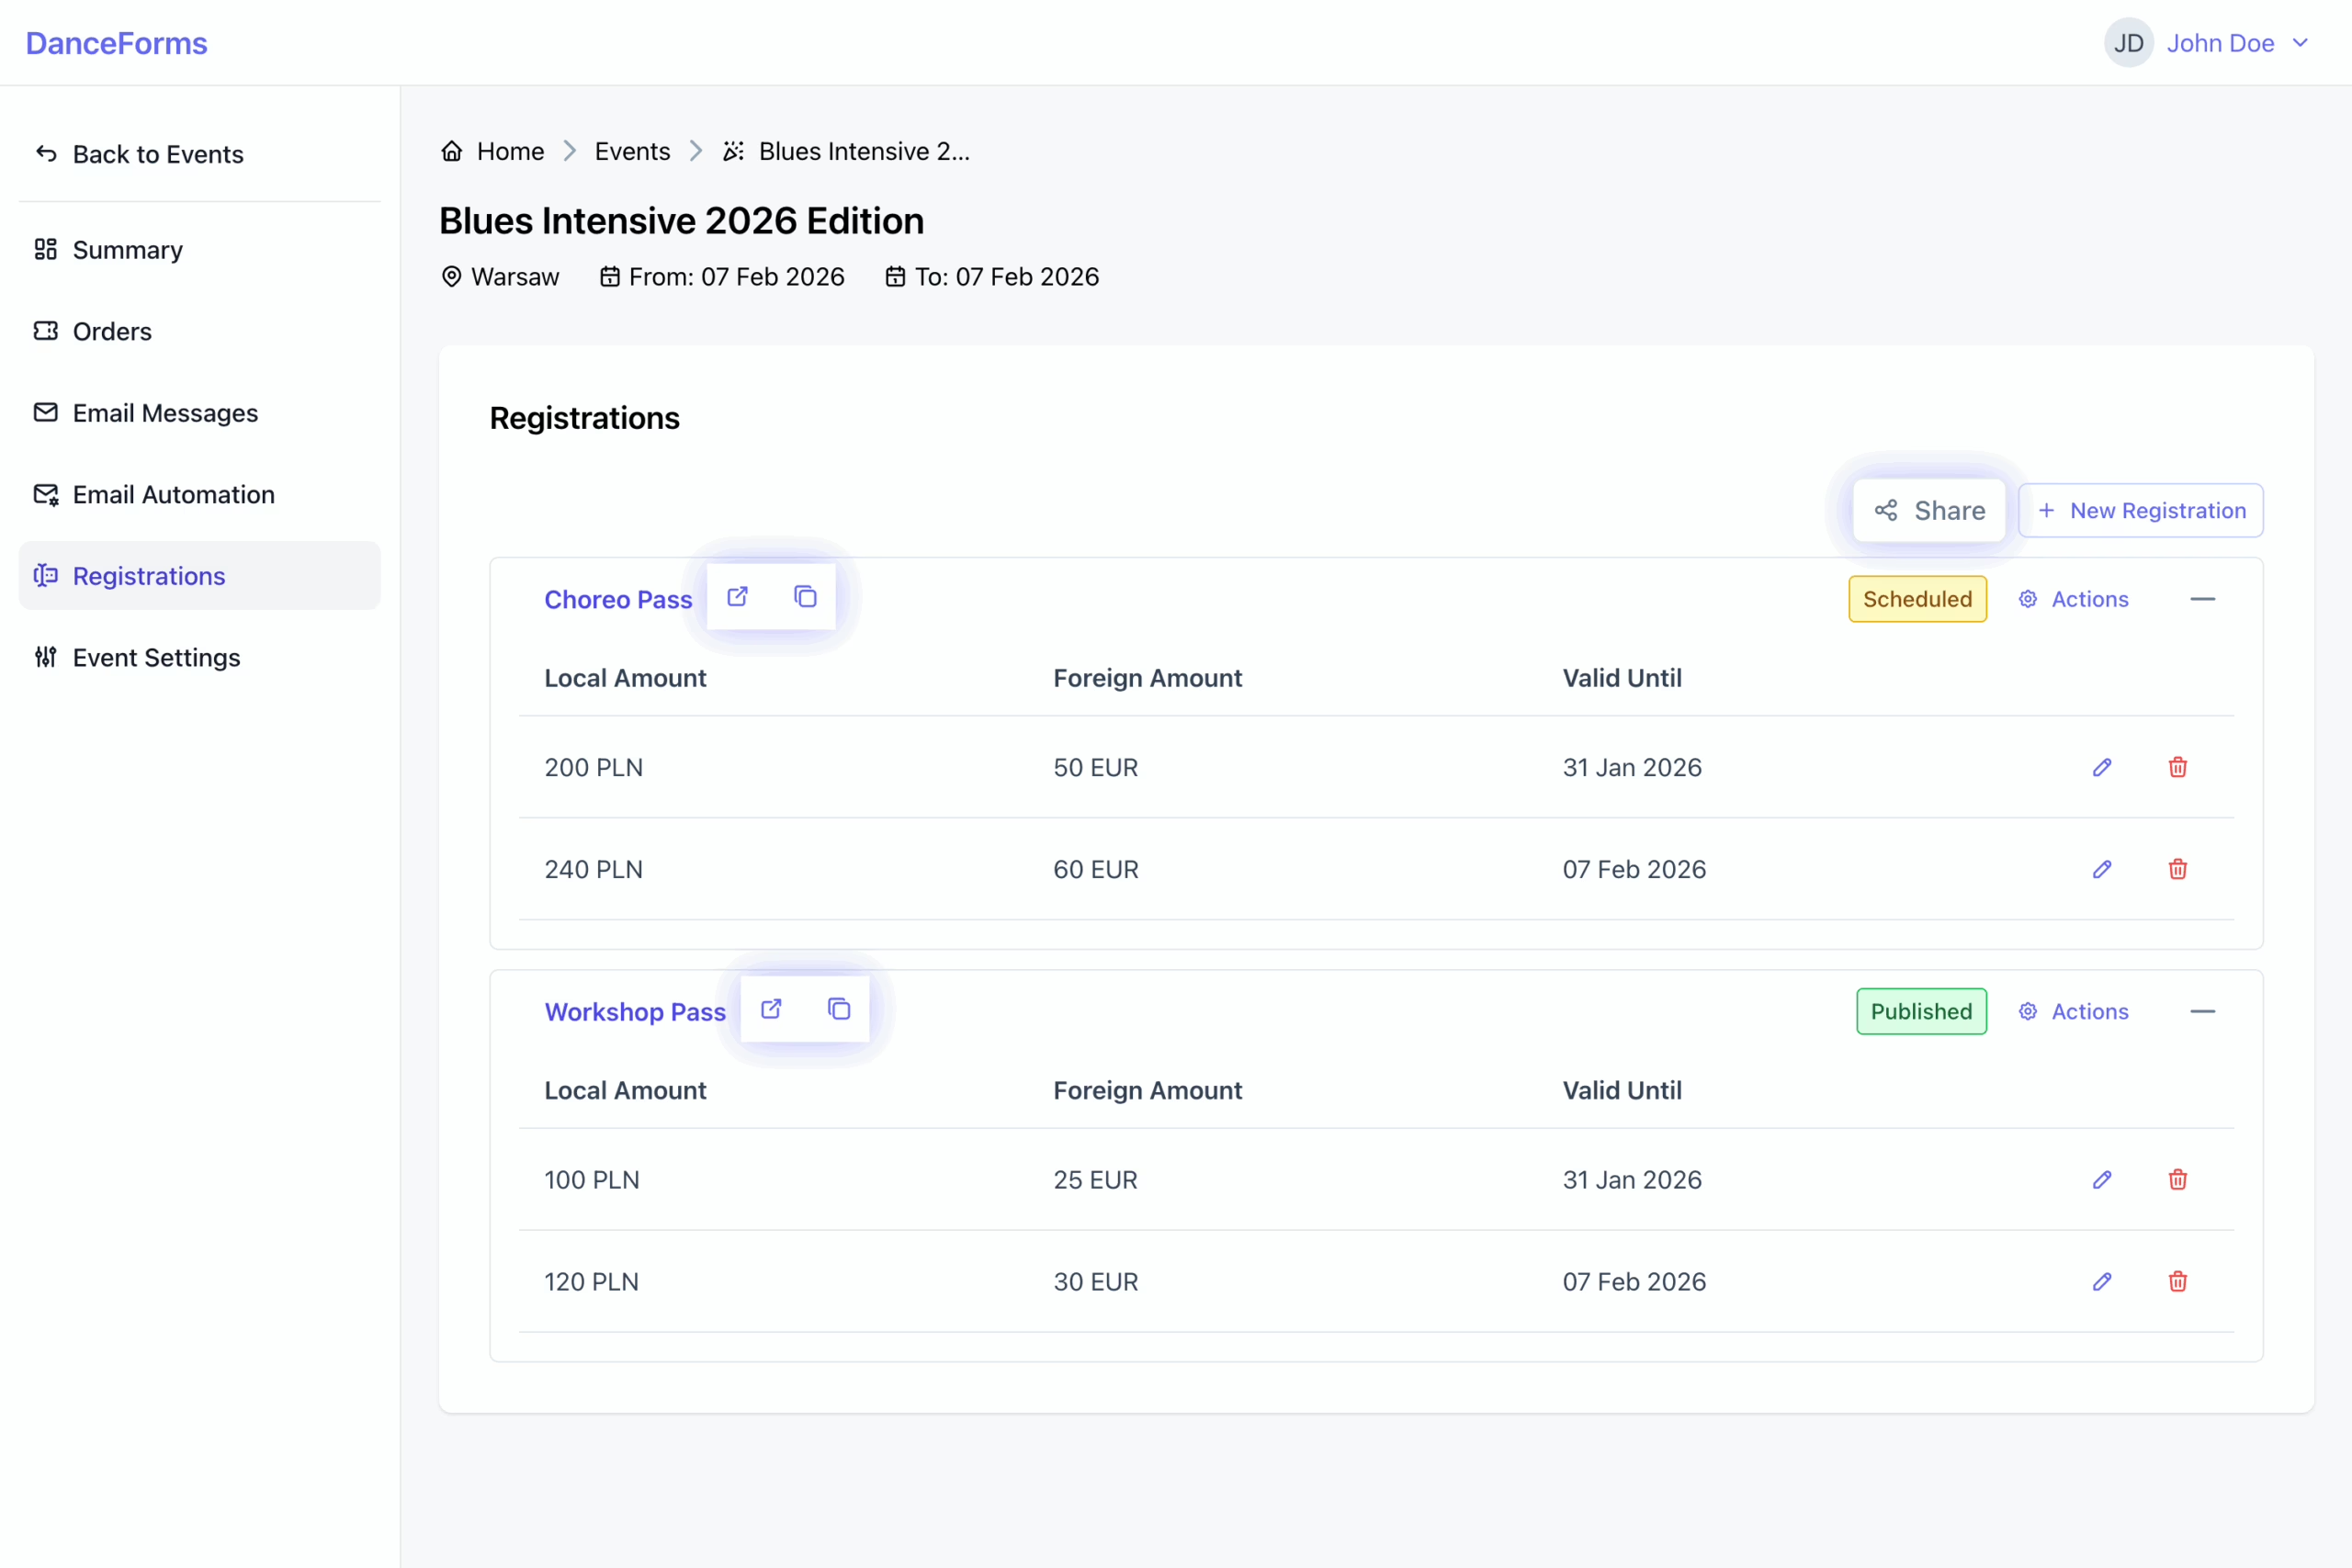
- Click the Actions button next to the registration name to open the dropdown menu.
- Select Publish Settings to open the form.
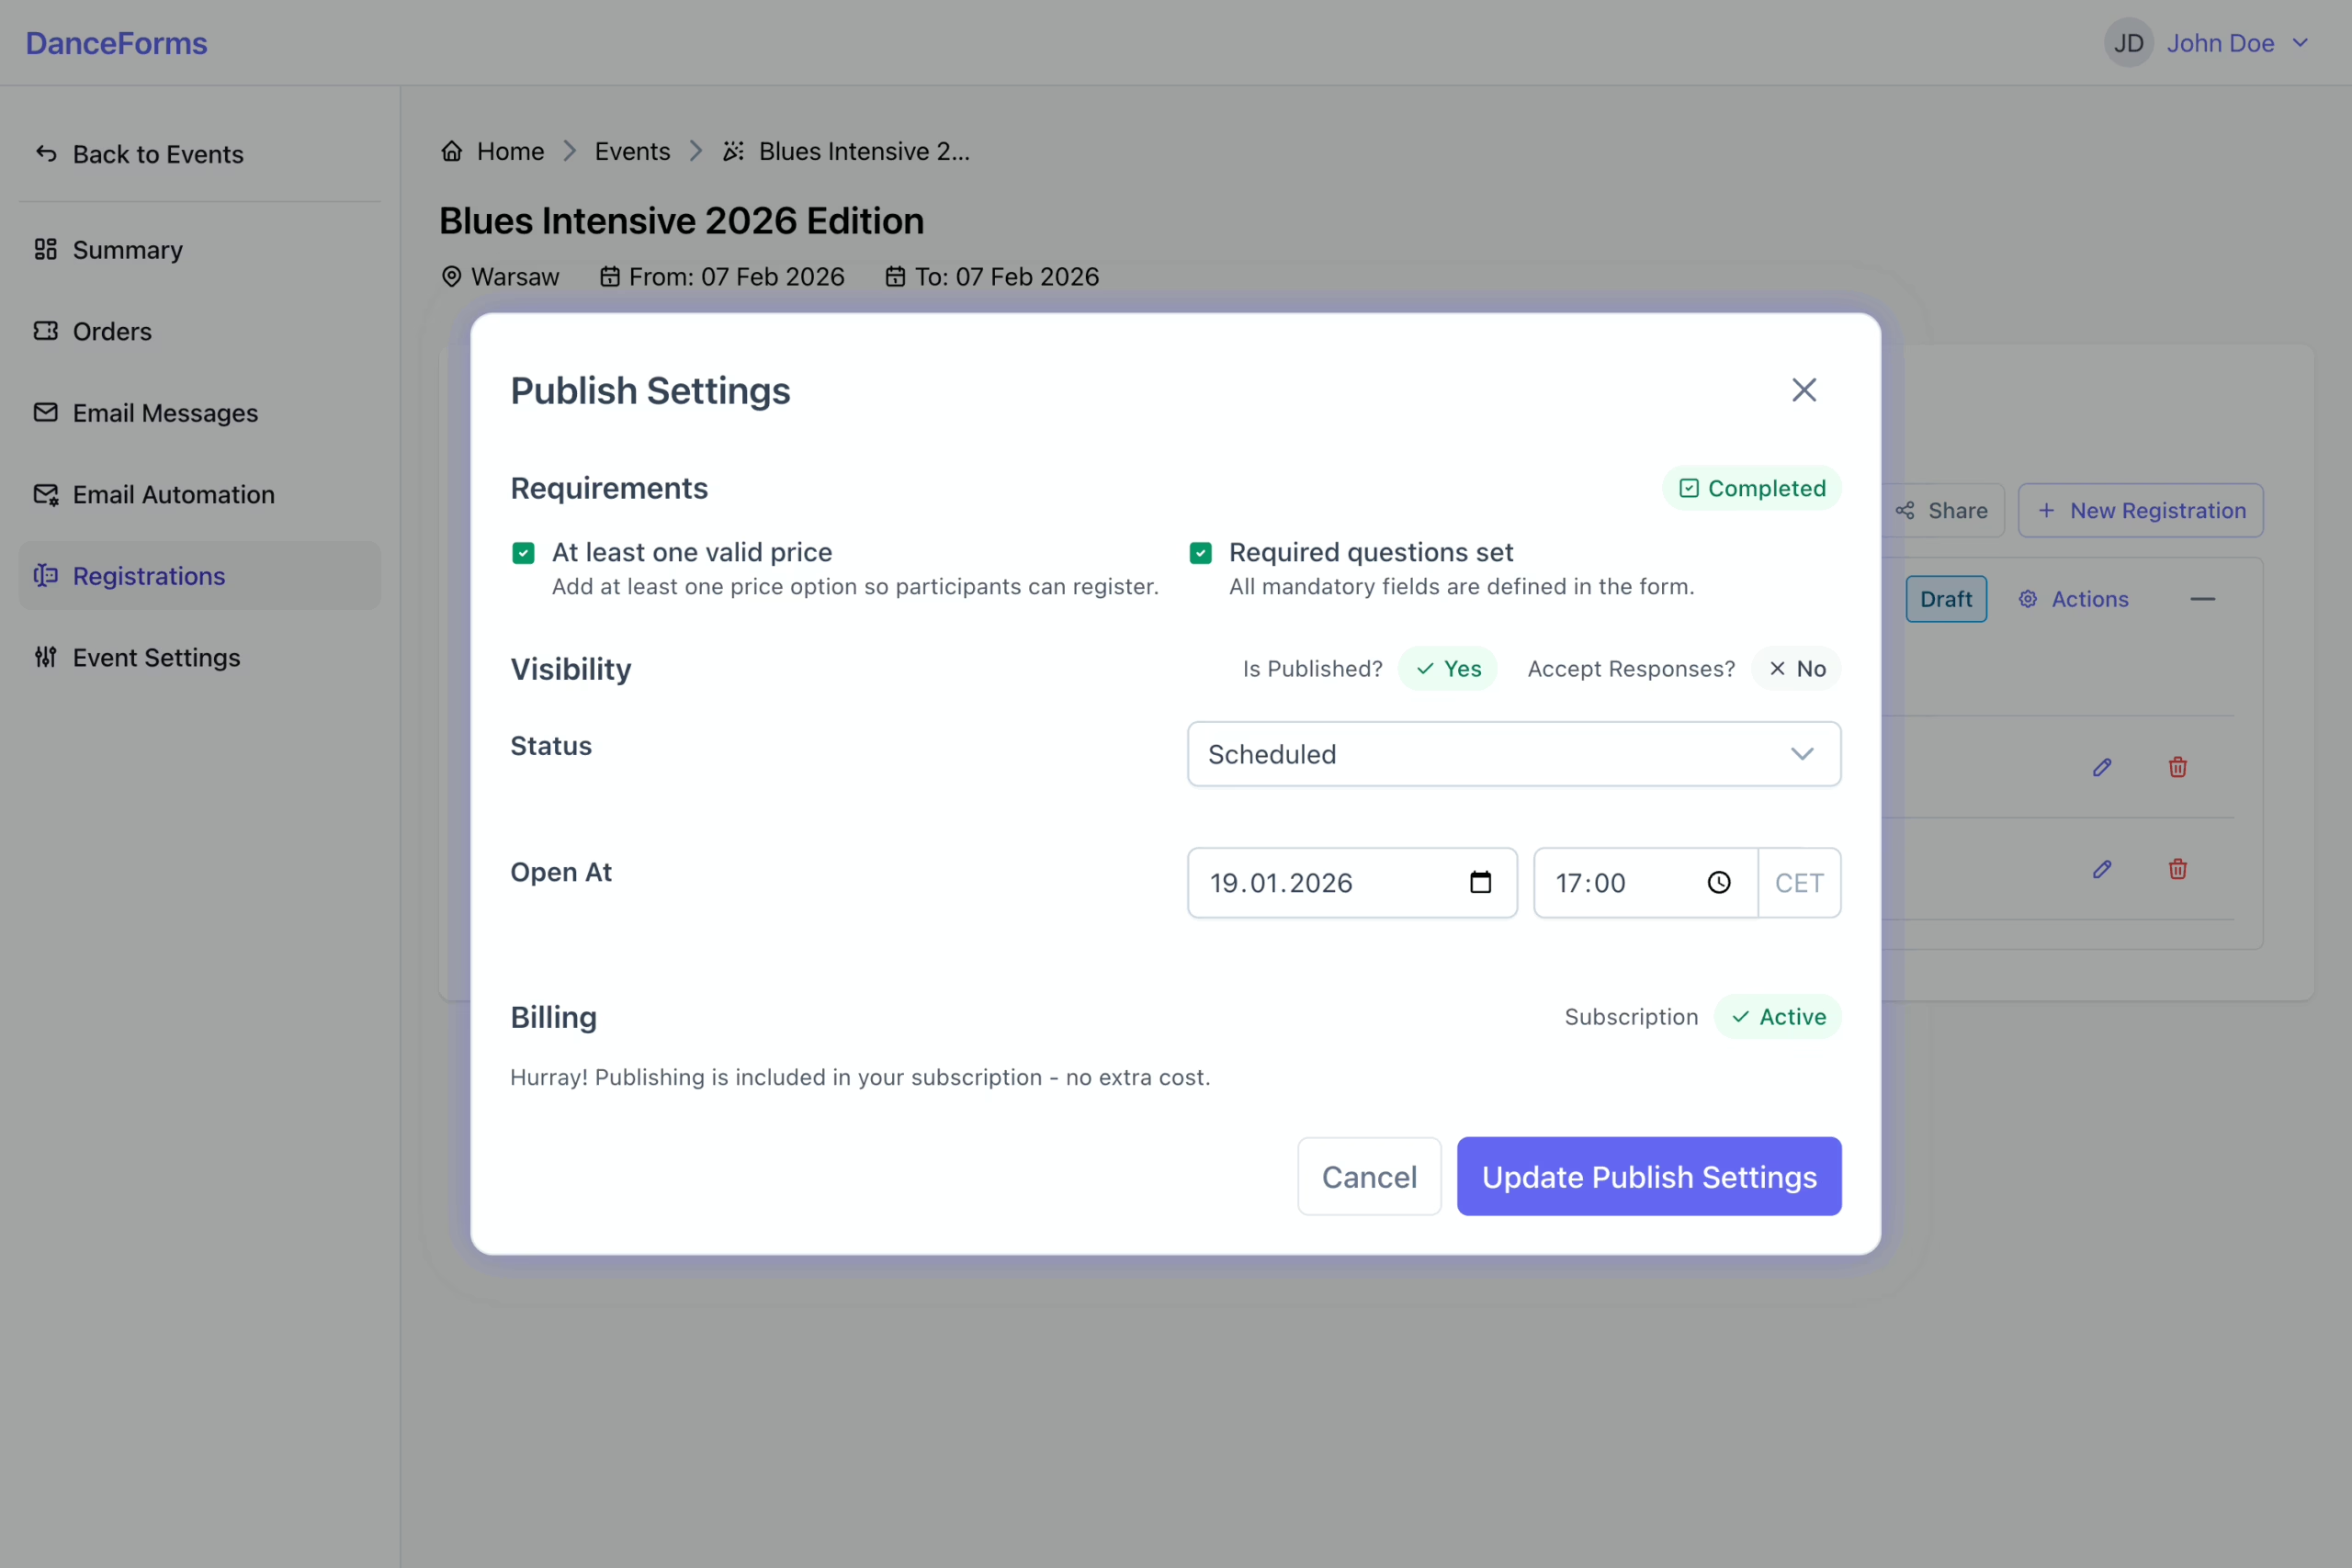
- Set the status to Scheduled and choose a date and time to publish the form later.
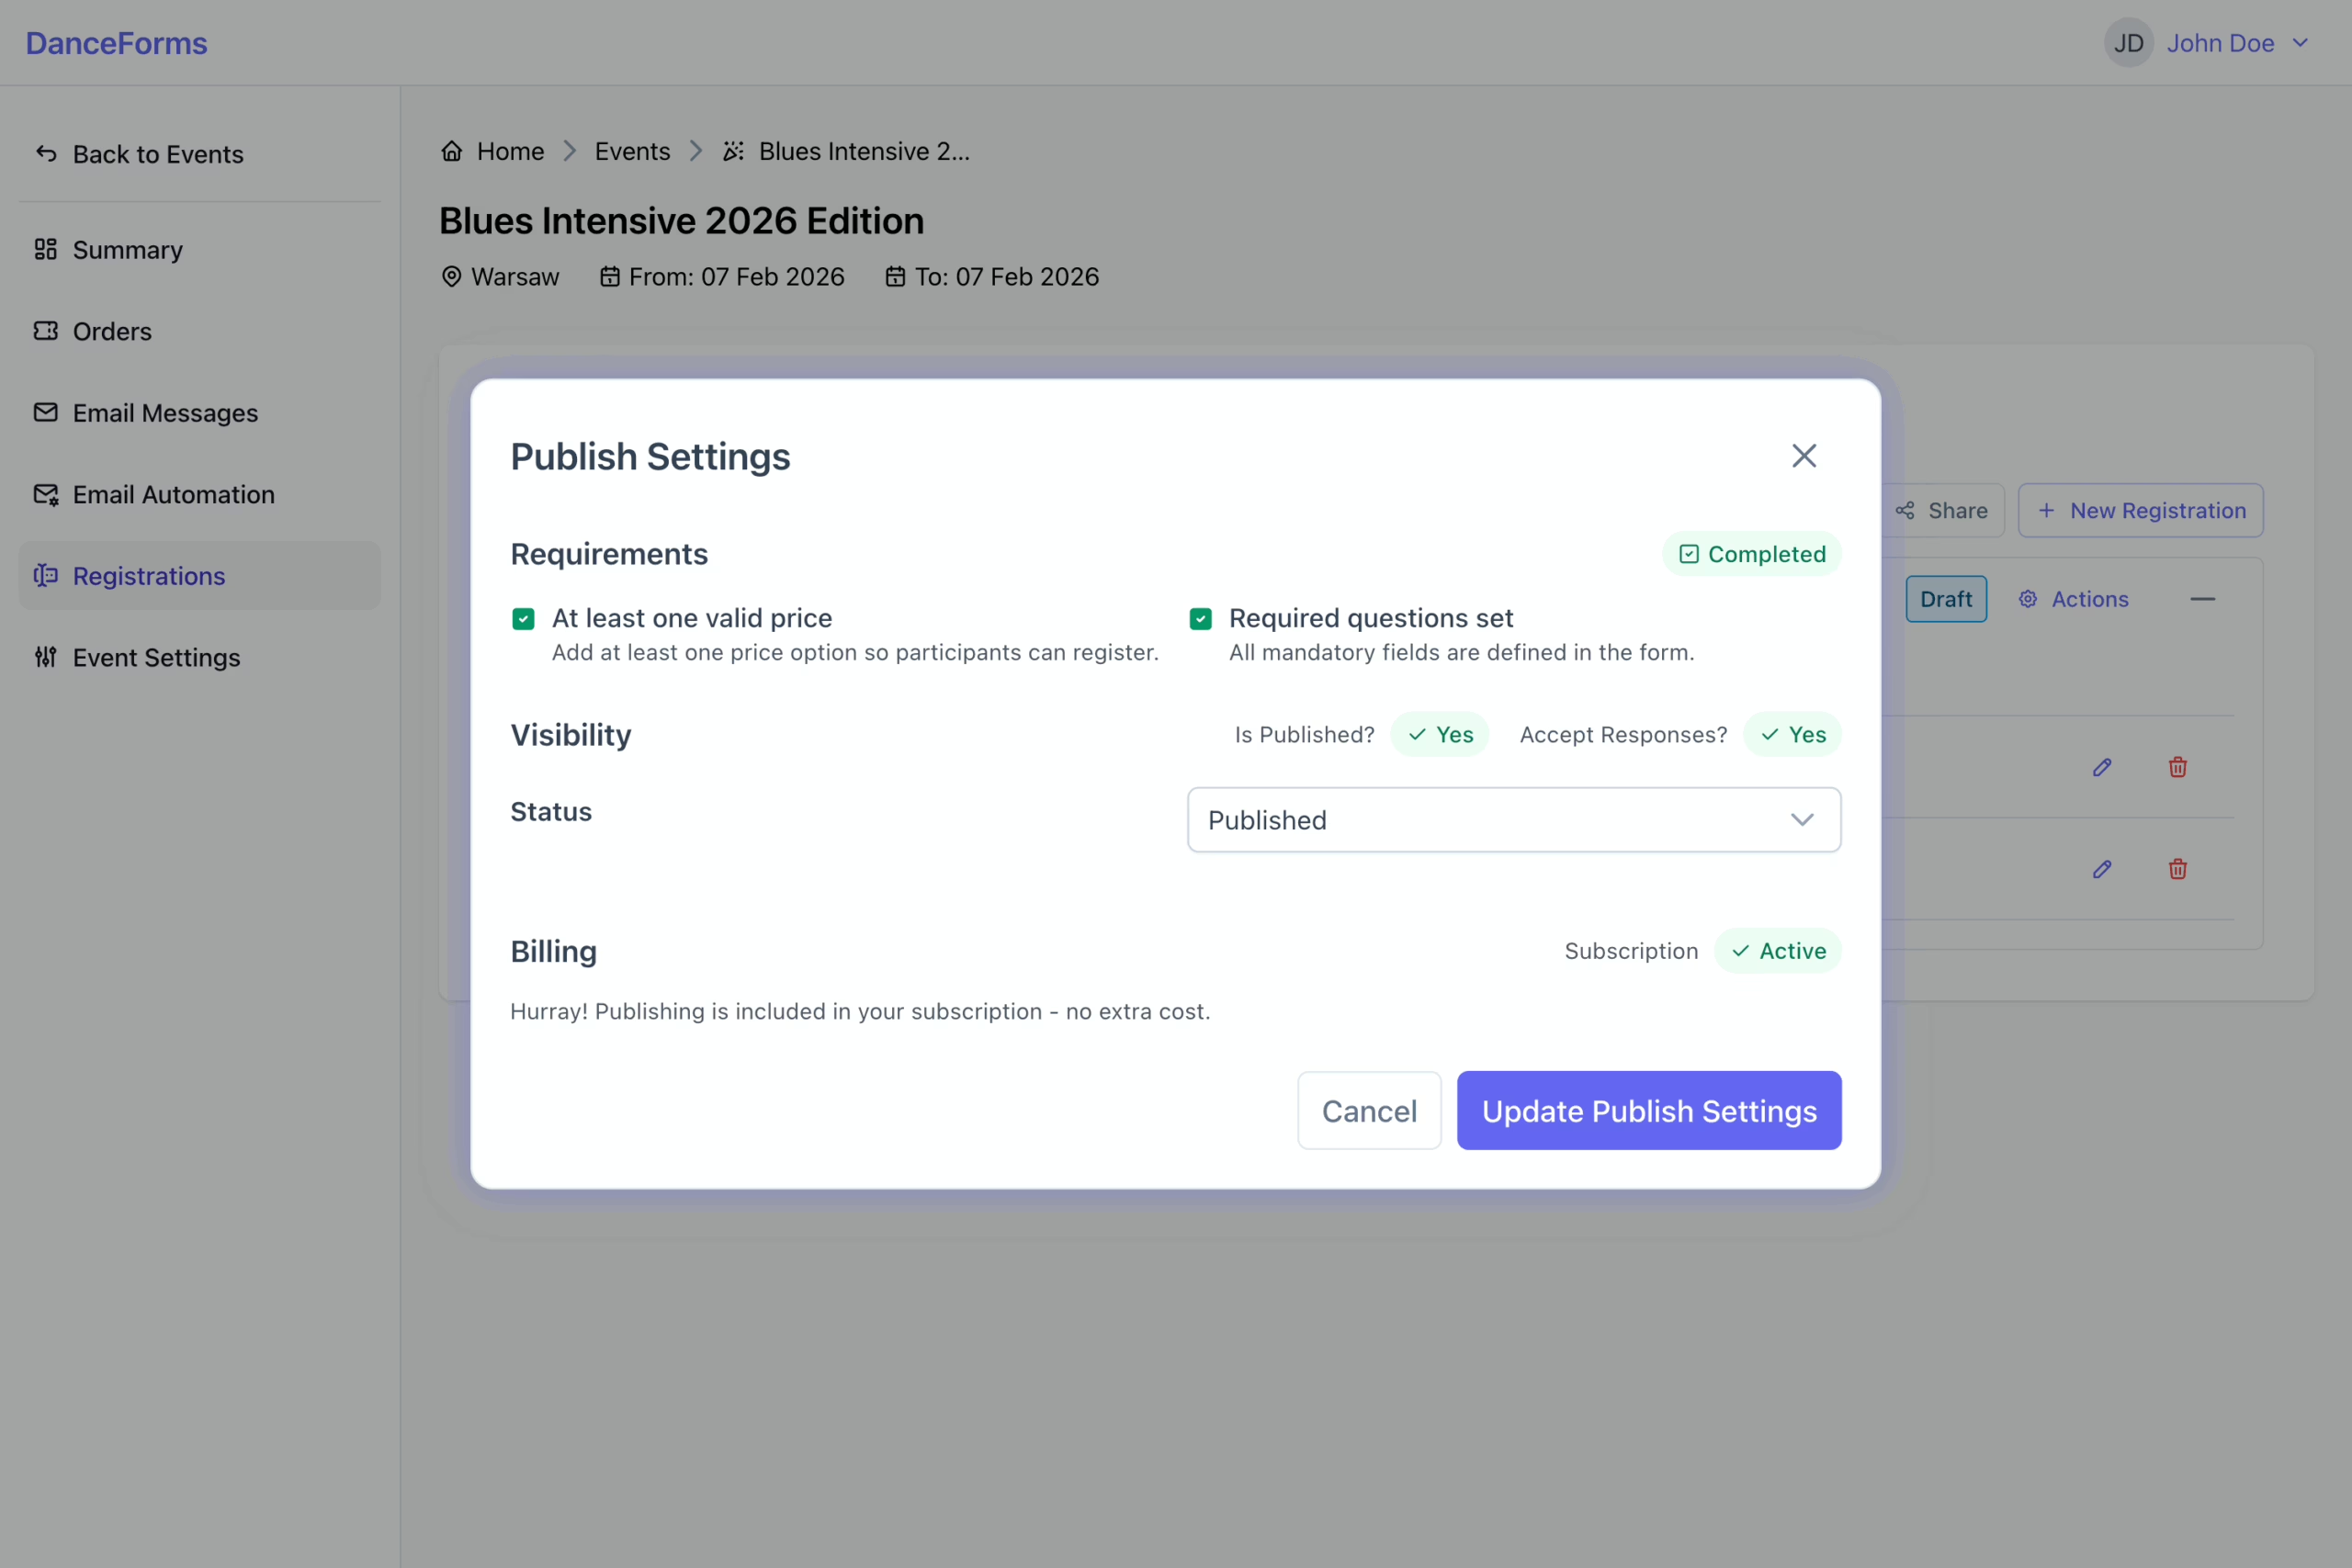
- Set the status to Published to make the form public immediately.
- Click Update Publish Settings to complete the process.
This step allows you to share all registration forms at once or individually.
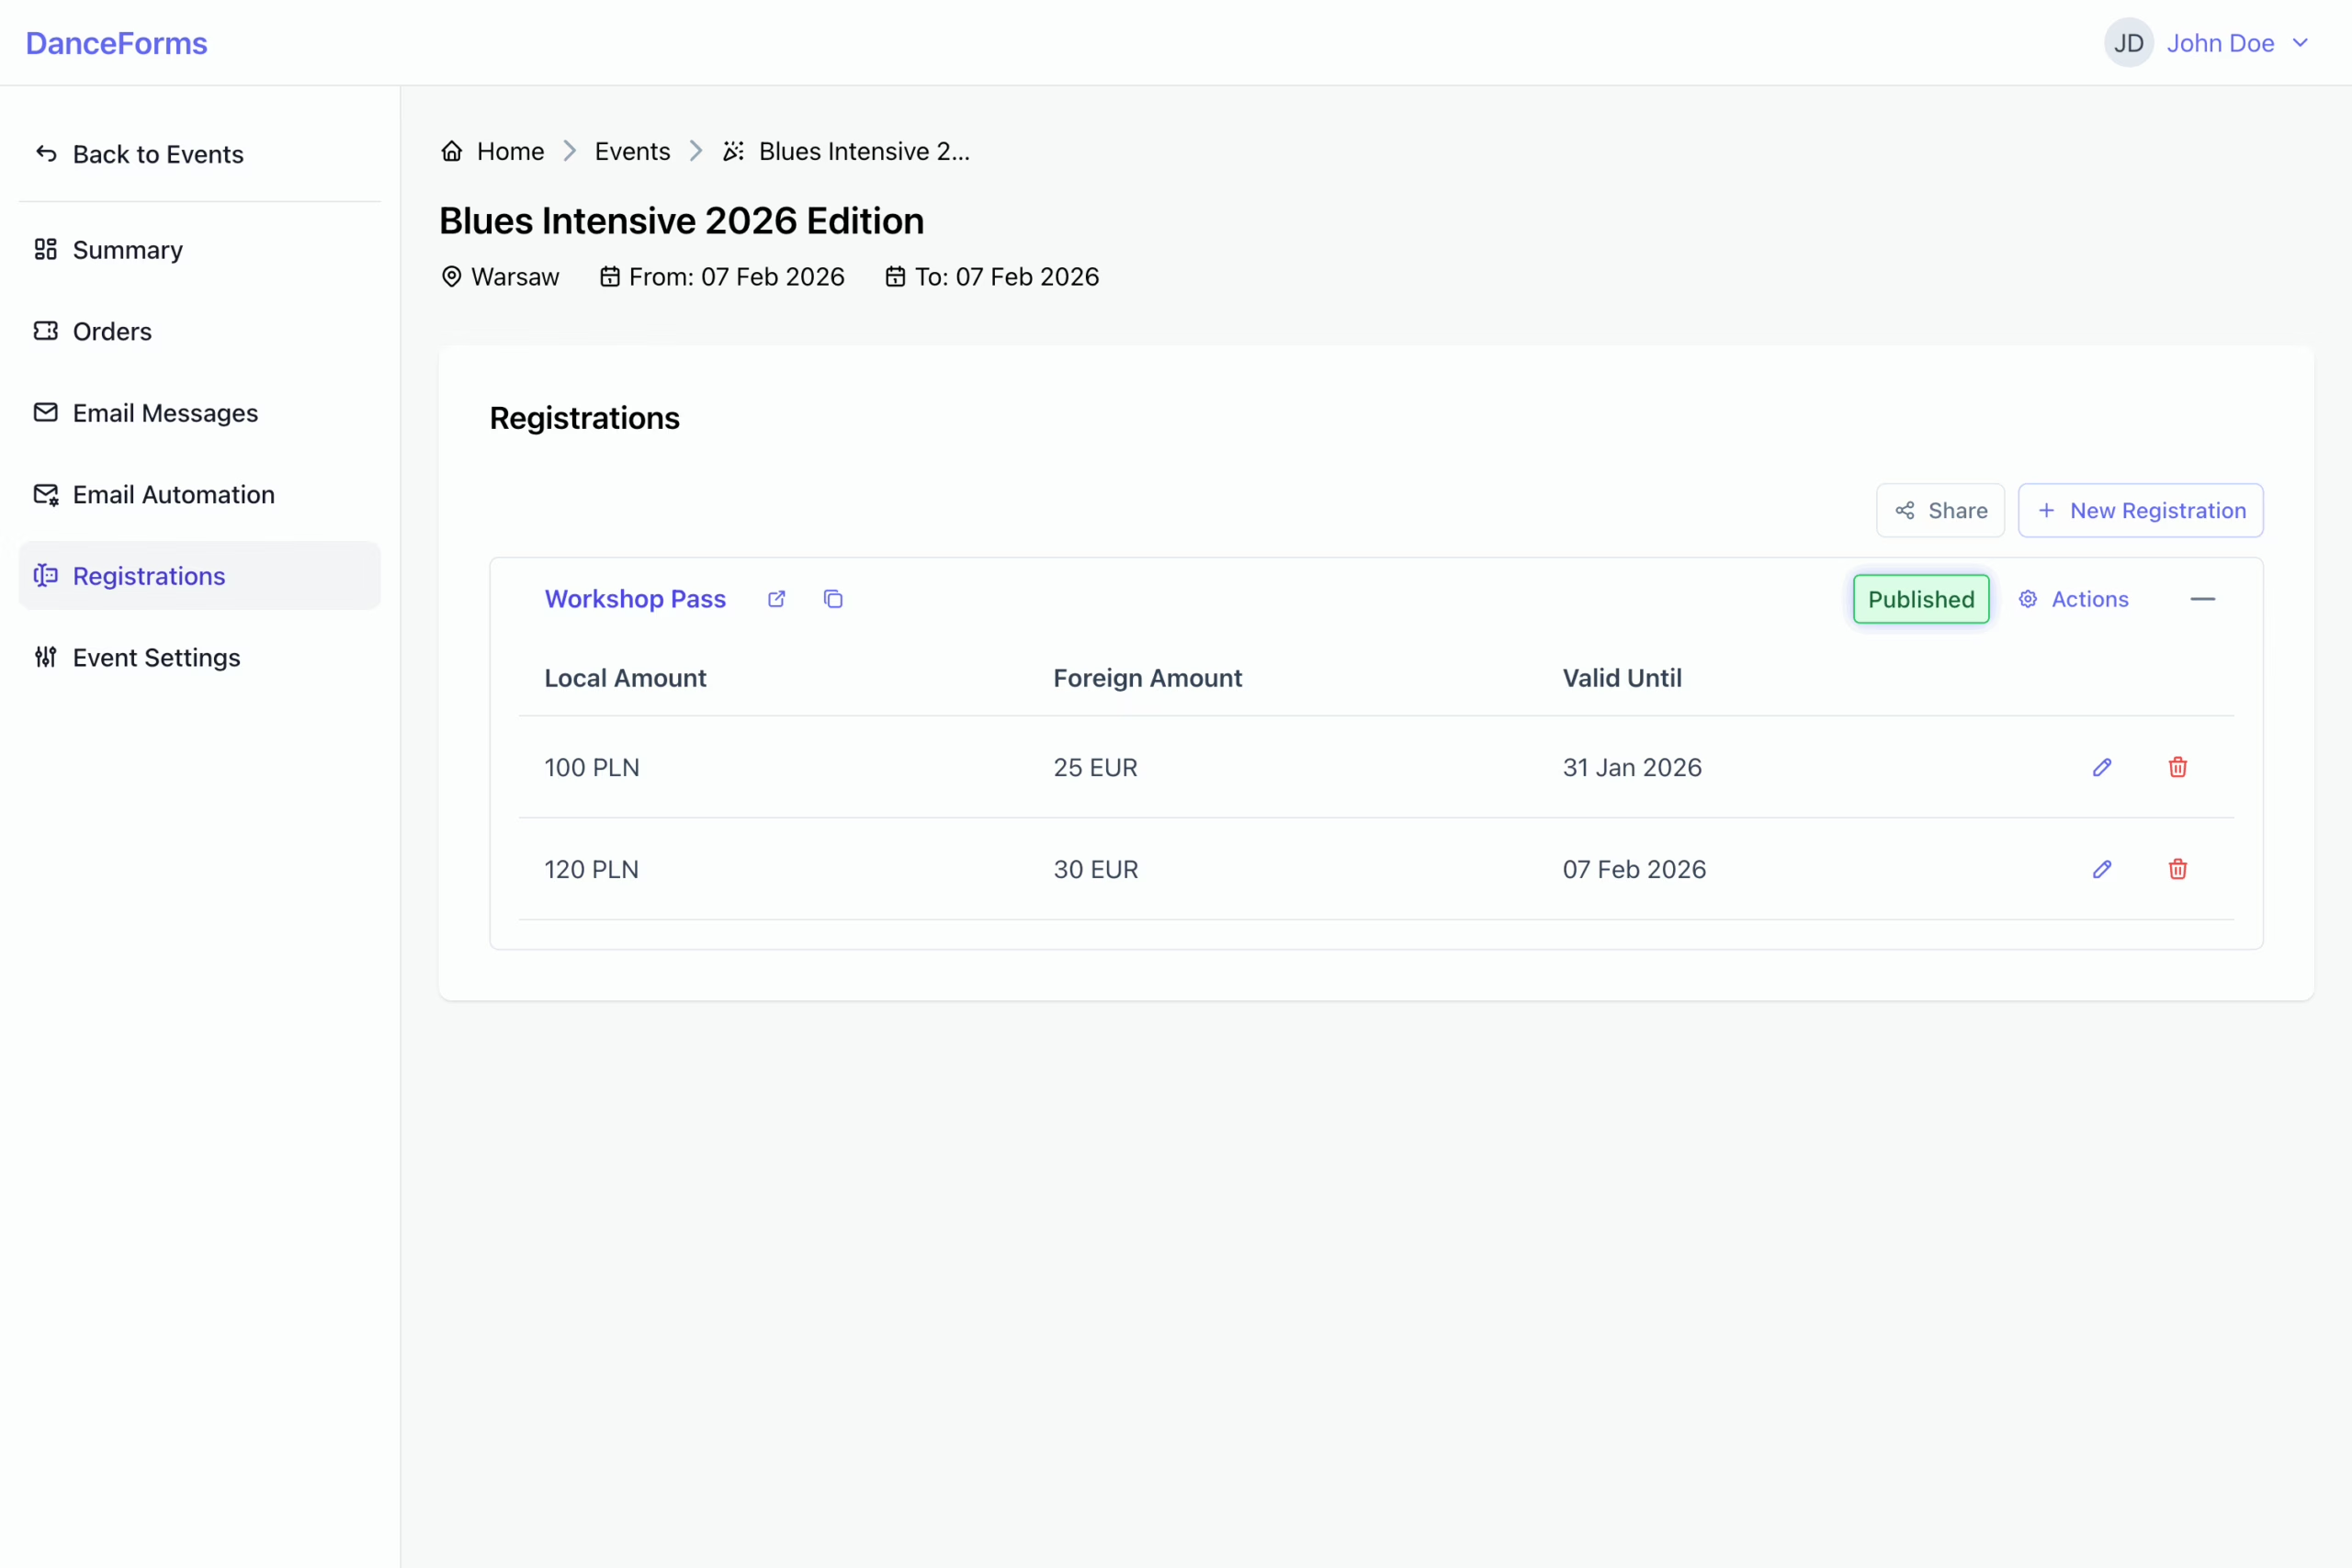
To copy a single URL:
- Click the Copy icon next to a registration name to copy its URL.
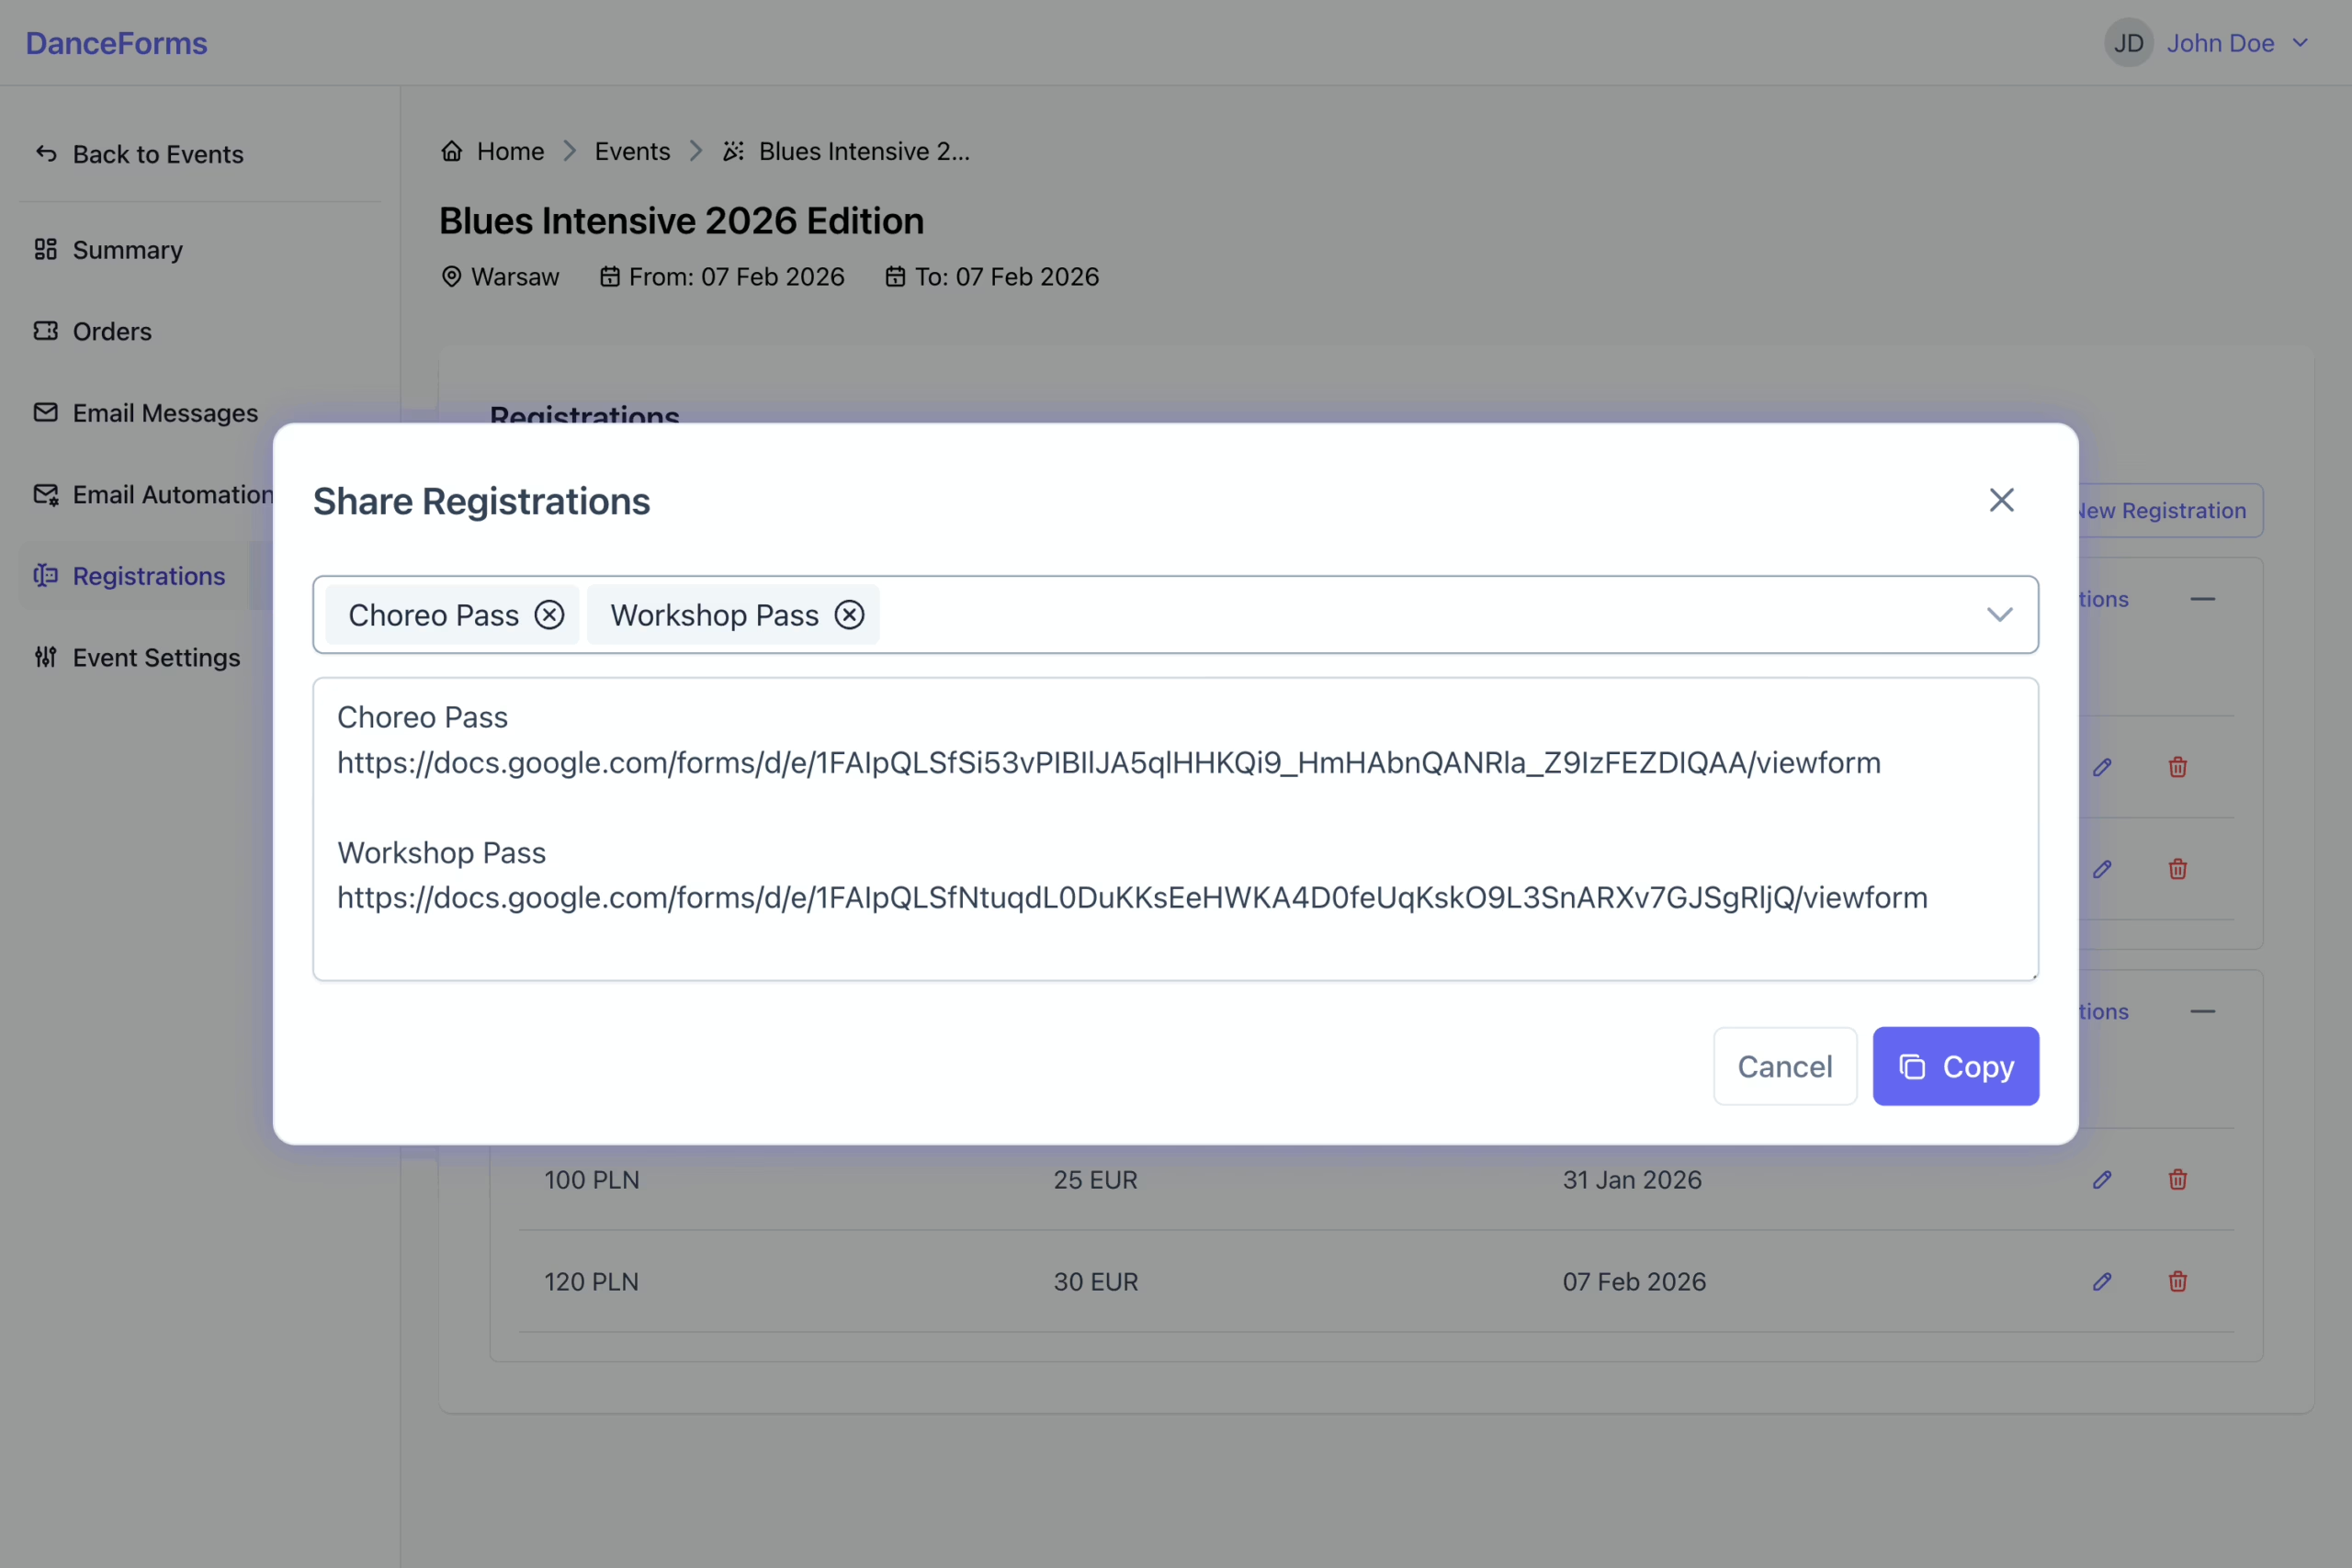
To copy multiple URLs:
- Click the Share button on the right side to open the share dialog.
- Select the registrations you want to share.
- Copy the generated text, including the URLs.